
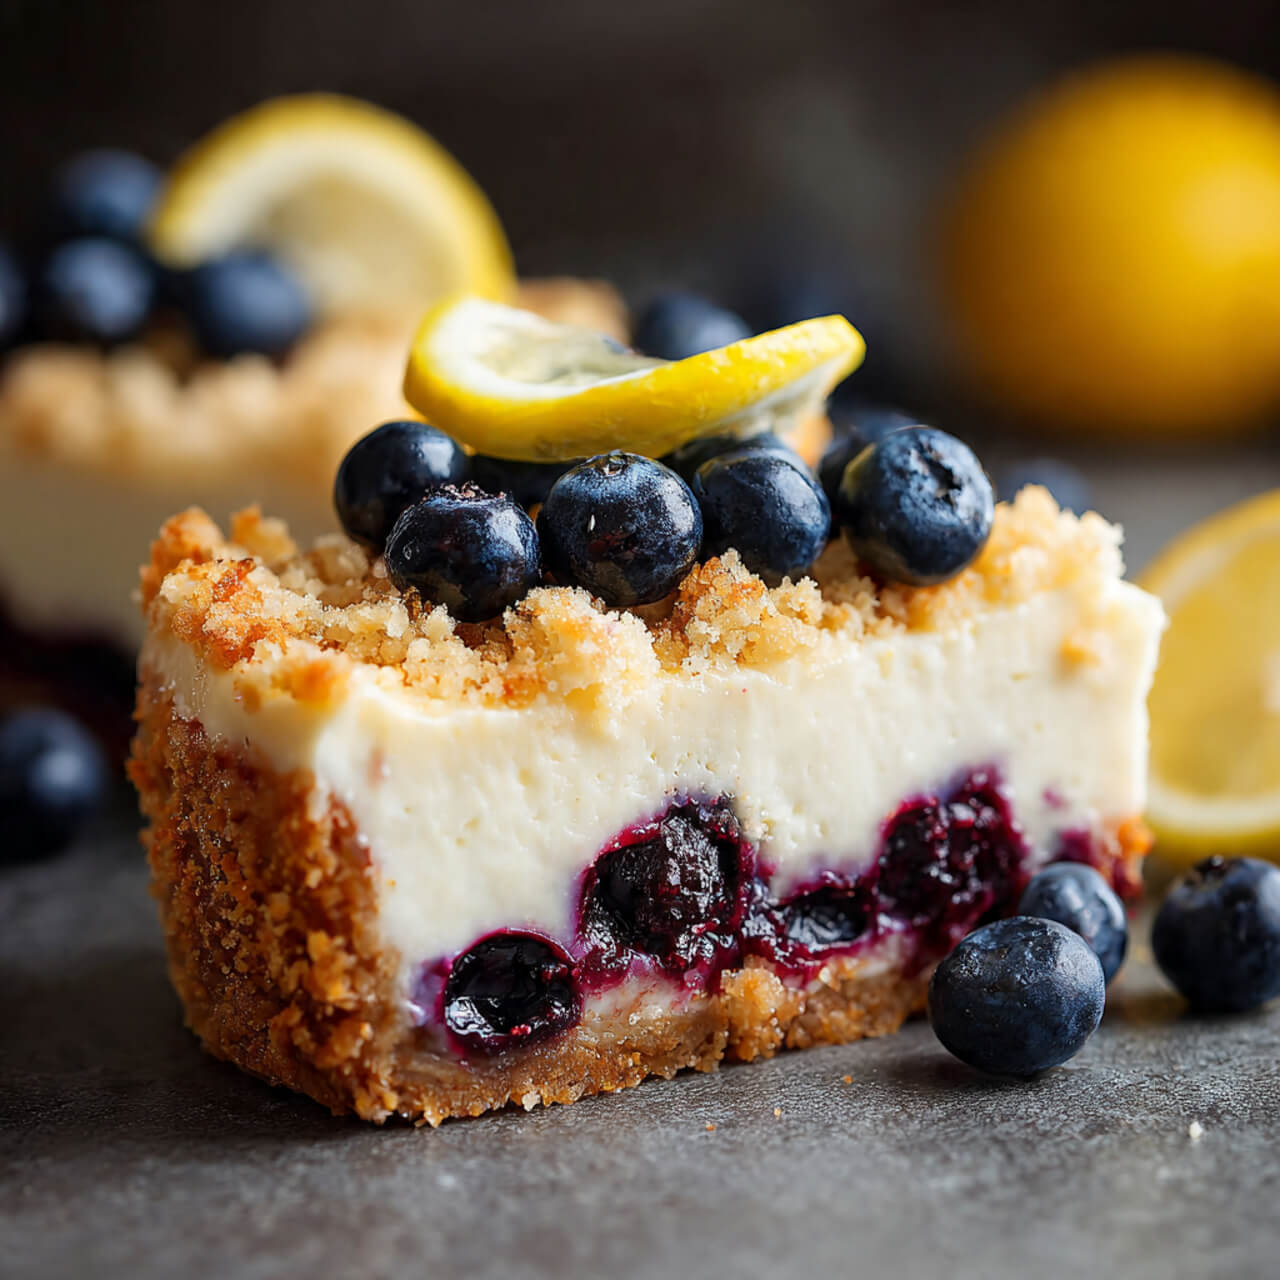
I’ll be honest right out of the gate: this blueberry lemon cheesecake crumble wasn’t planned. It happened on one of those “I need dessert but also I’m tired” afternoons. I had cream cheese that needed rescuing, a couple of lemons rolling around in the fridge drawer, and frozen blueberries I forgot I bought. You know where this is going, right?
What came out of the oven was… ridiculous. Creamy cheesecake, jammy blueberries, bright lemon zing, and a buttery crumble that tastes like it knows what it’s doing. I’ve made it dozens of times since, tweaked it a bit each round, and now it’s the dessert my friends quietly expect me to bring.
If you love blueberry lemon cheesecake, crave crumb topping desserts, or want something that looks fancy but doesn’t require pastry school credentials, you’re in the right place. FYI, this one disappears fast 🙂
Why This Blueberry Lemon Cheesecake Crumble Just Works
Ever notice how some desserts feel like they’re trying too hard? This one doesn’t. It layers flavors that naturally get along.
Here’s why this combo hits every time:
- Blueberries bring sweetness and a little tang
- Lemon cuts through the richness so it never feels heavy
- Cream cheese adds that classic cheesecake creaminess
- Crumble topping gives texture (aka the best bites)
IMO, the crumble is the real MVP here. Cheesecake alone is great. Cheesecake with crumble? Next-level.
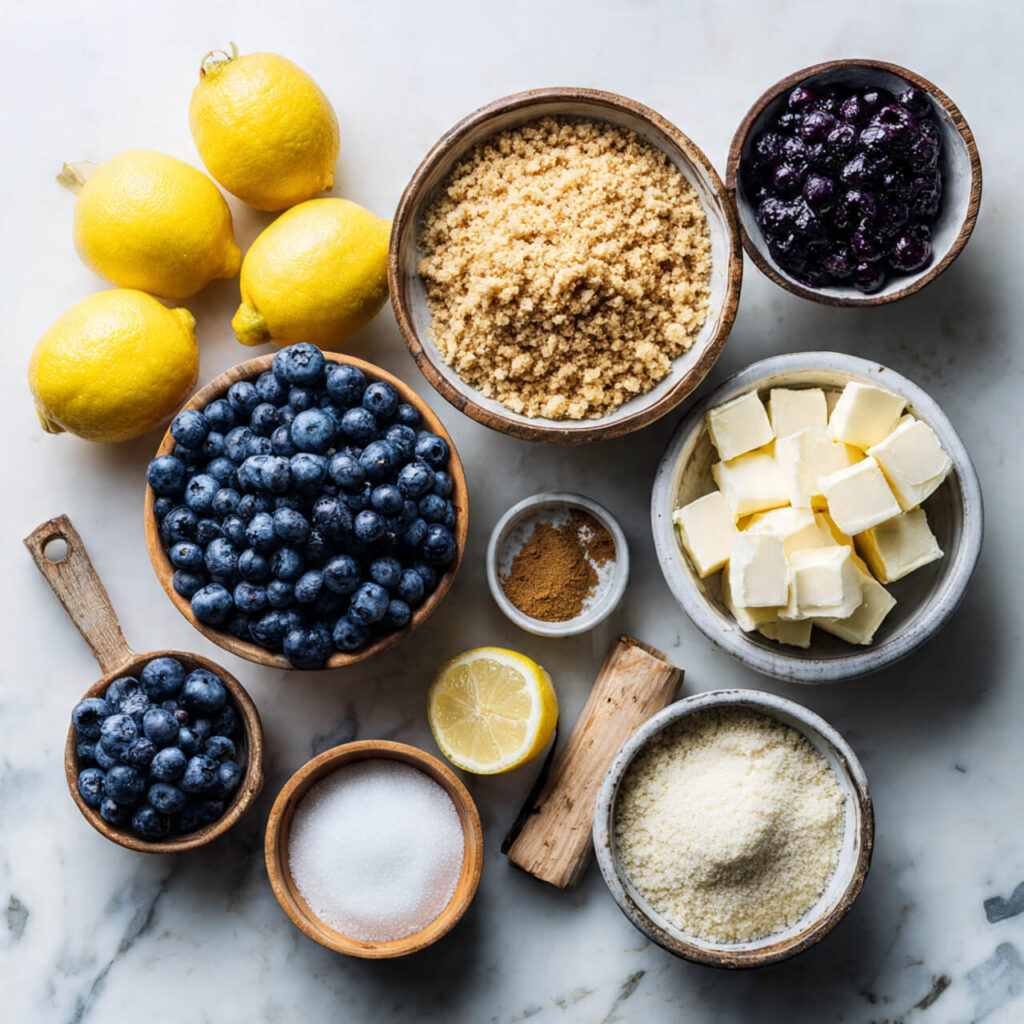
Ingredients That Actually Matter (And Why)
For the Crumble Topping
This is not the place to skimp. Trust me.
- All-purpose flour – structure, nothing fancy
- Old-fashioned rolled oats – texture, not mush
- Brown sugar – deeper flavor than white sugar
- Unsalted butter (cold) – creates those irresistible crumbs
- Pinch of salt – don’t skip it, ever
For the Cheesecake Layer
This layer should feel rich but not dense.
- Full-fat cream cheese – non-negotiable
- Granulated sugar
- Egg – binds everything
- Vanilla extract
- Fresh lemon zest + juice – bottled juice won’t hit the same
For the Blueberry Layer
Frozen works beautifully here, which makes this dessert very “Tuesday night friendly.”
- Blueberries (fresh or frozen)
- Sugar
- Cornstarch – thickens the juices
- Lemon juice – ties it all together
Tools I Always Reach For (Because They Make Life Easier)
I’m not into kitchen gadgets for the sake of gadgets, but a few things genuinely help.
- 9×9-inch baking pan – this size gives perfect layers
- Hand mixer – saves your arms and sanity
- Microplane zester – clean zest without bitterness
I’ve used the Microplane Classic Series Zester for years, and it’s still sharp enough to scare me (in a good way). If you want the exact one I swear by, this is it:
👉 https://amzn.to/3NfUJWi
For mixing the cheesecake layer, a basic KitchenAid 5-Speed Hand Mixer does the job without drama:
👉 https://amzn.to/497xDd4
Step-by-Step: How I Make Blueberry Lemon Cheesecake Crumble
Step 1: Prep Like You Mean It
Preheat your oven to 350°F. Line your pan with parchment paper, leaving overhang. Future you will thank you when it’s time to lift the bars out.
Step 2: Make the Crumble Topping
In a bowl, mix flour, oats, brown sugar, and salt. Cut in cold butter using your fingers until you get chunky crumbs.
Pro tip: I chill half the crumble while assembling. It keeps the topping extra crisp.
Step 3: Blueberry Layer
Toss blueberries with sugar, cornstarch, and lemon juice. That’s it. Don’t overthink it.
Step 4: Cheesecake Filling
Beat cream cheese until smooth. Add sugar, then egg, vanilla, lemon zest, and juice. Mix just until combined.
Overmixing adds air, and air leads to cracks. We don’t want cracks.
Step 5: Assemble
- Press half the crumble into the pan
- Spread cheesecake layer evenly
- Spoon blueberry mixture on top
- Sprinkle remaining crumble generously
Yes, generously. This is not the time for restraint.
Step 6: Bake
Bake for 40–45 minutes, until the top turns golden and the center barely jiggles.
Let it cool completely, then chill for at least 2 hours. I know it’s hard. It’s worth it.
Tips & Tricks I Learned the Hard Way
Use Room Temperature Cream Cheese
Cold cream cheese equals lumpy cheesecake. Lumpy cheesecake equals sadness.
Don’t Skip the Chill Time
Warm cheesecake bars fall apart. Cold ones slice clean and look bakery-level.
Lemon Zest Is Non-Negotiable
Zest carries the lemon aroma. Juice alone won’t give you that bright pop.
Frozen Blueberries Are Totally Fine
No need to thaw. Just toss with cornstarch and bake.
Variations I’ve Tried (So You Don’t Have To)
Make It Gluten-Free
Use a 1:1 gluten-free flour blend and certified GF oats. Works shockingly well.
Add Almond Flavor
Swap vanilla for almond extract in the cheesecake layer. Subtle but fancy.
Make It Extra Lemon
Add an extra teaspoon of zest if you love bold citrus. I usually do.
How I Serve It (And How It Disappears)
I cut these into squares and serve them slightly chilled. Sometimes I add:
- A dusting of powdered sugar
- A dollop of fresh whipped cream
- Or honestly… nothing at all
People always say, “This tastes like something from a bakery.” That’s my favorite compliment.
Storage & Make-Ahead Tips
- Store covered in the fridge for up to 5 days
- Freeze individual bars for up to 2 months
- Thaw overnight in the fridge, not on the counter
This makes it perfect for holidays, potlucks, or those “I need dessert tomorrow” moments.
Ingredients
Method
- Preheat oven to 350°F and line a 9×9 pan with parchment.
- Mix crumble ingredients until crumbly; set aside.
- Toss blueberries with sugar, cornstarch, and lemon juice.
- Beat cheesecake ingredients until smooth.
- Press half the crumble into the pan.
- Spread cheesecake layer evenly.
- Spoon blueberry mixture over cheesecake.
- Sprinkle remaining crumble on top.
- Bake 40–45 minutes until golden.
- Cool completely, then chill before slicing.
Notes
- Use full-fat cream cheese for best texture
- Chill before cutting for clean slices
- Frozen blueberries work perfectly
- Don’t overmix the cheesecake batter