
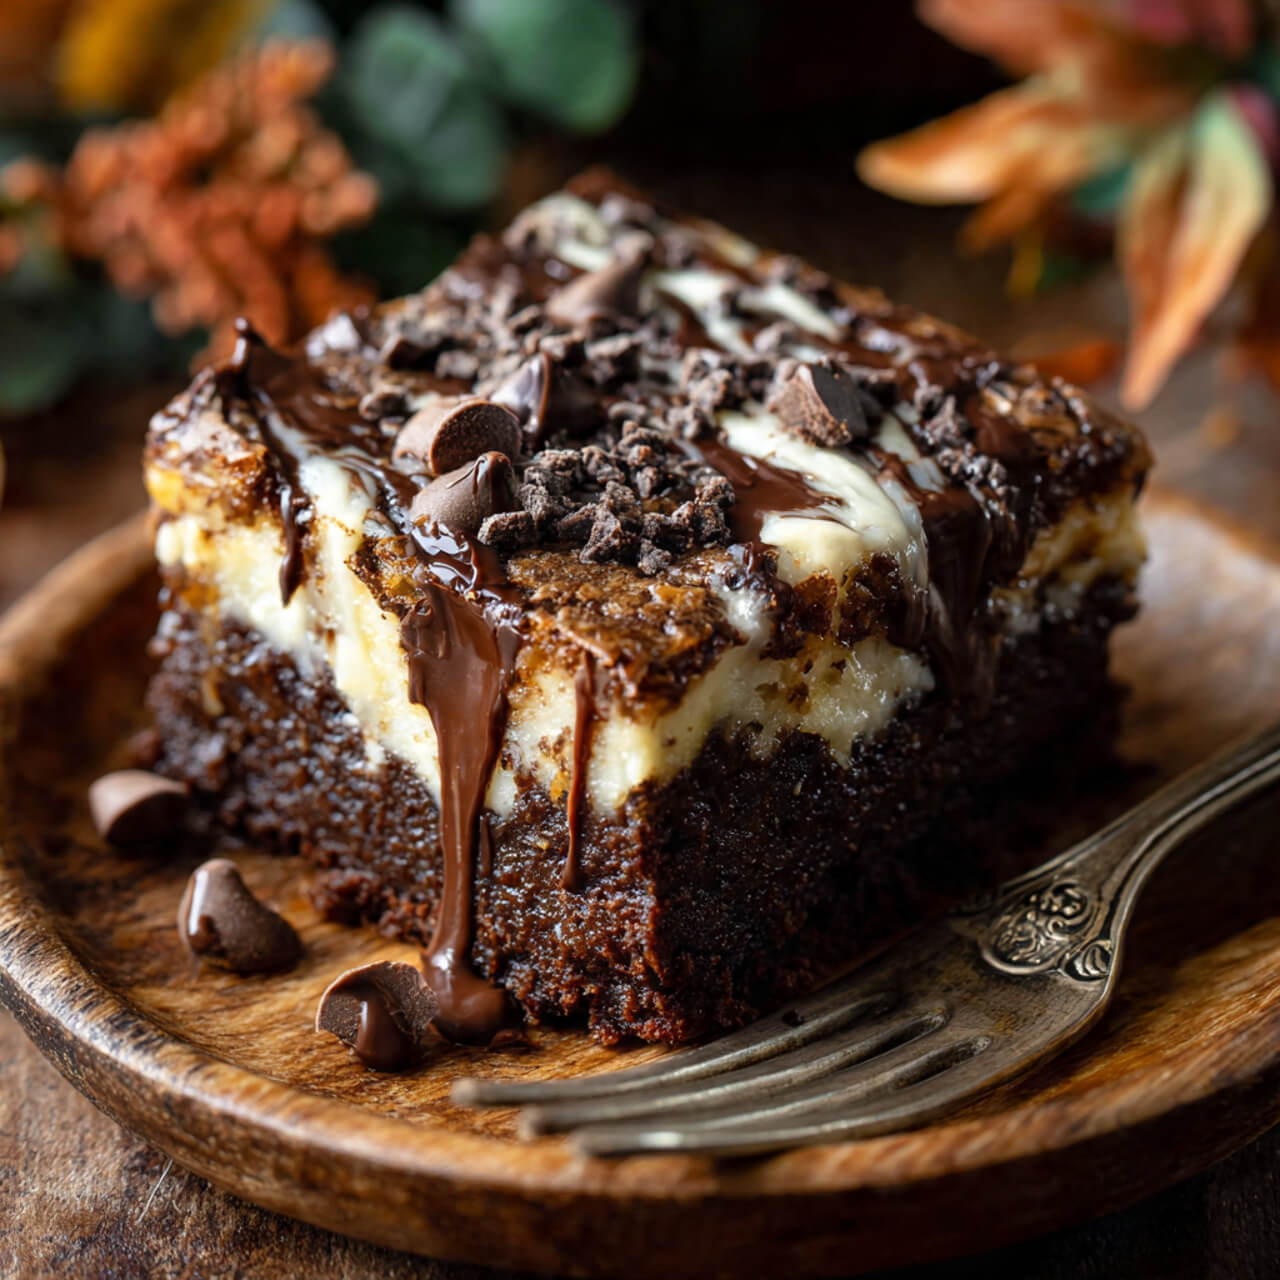
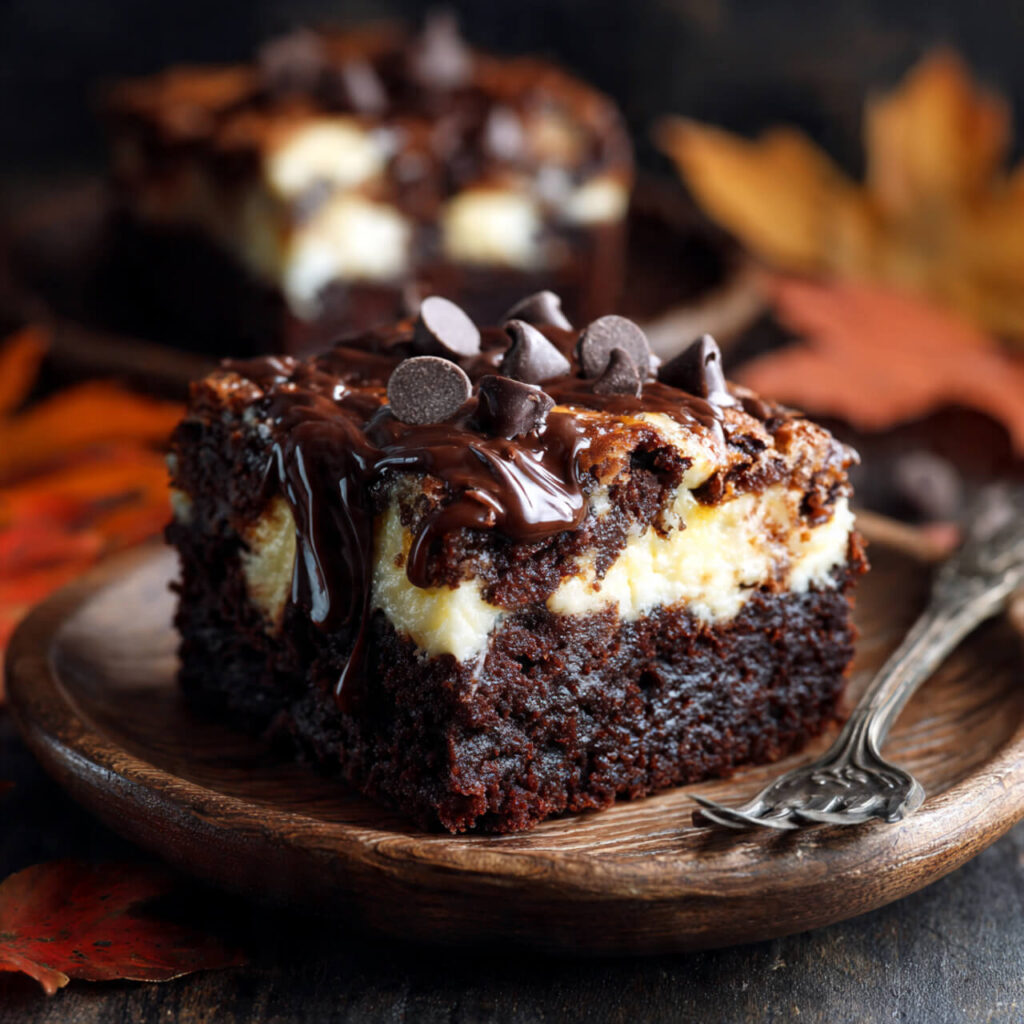
Alright, friend—brace yourself—because if you’ve never tried Chocolate Earthquake Cake, your dessert world is about to shift. And I mean that literally. This cake erupts, cracks, sinks, swirls, and looks like it survived a mini dessert apocalypse… but tastes like absolute chocolate heaven.
The first time I made it, I remember pulling the pan out of the oven and thinking, “Well, there goes dessert.” It looked like a disaster. But then I took a bite—warm, gooey, molten pockets of cream cheese mixed with fudgy chocolate—and I’m not exaggerating when I say this cake instantly became my love language.
If you’ve ever wanted a dessert that:
- Requires almost no effort
- Looks wild and rustic in that cool ‘I-totally-meant-to-do-that’ way
- Tastes like chocolate, cheesecake, and lava cake had a delicious baby
…then you’re absolutely in the right place. IMO, this cake hits different. 🙂
And today, I’m giving you my full, no-secrets-left-behind recipe—plus the tips I learned after studying the top ten Google and Pinterest Chocolate Earthquake Cake posts (yes, I went down that rabbit hole). Let’s get messy.
Why I Keep Making Chocolate Earthquake Cake (Even When I Don’t Plan To)
I’ll be honest. I don’t always plan to bake this cake. But then it happens. I’ll be staring into the pantry at 8 PM like a gremlin looking for snacks, and that little voice says, “You have a chocolate cake mix… a block of cream cheese… some coconut… you know what to do.”
Ever had a dessert ambush you like that? If so, we’re probably the same person.
It checks every box:
- Fast
- Comforting
- Crowd-pleasing
- Satisfying on a soul level
Plus, this cake doesn’t require decorating skills. Actually, the uglier it looks, the better it tastes. That’s my kind of dessert.
Why Earthquake Cake is special?
I analyzed a ton of top-ranking Earthquake Cake recipes (yes, I literally took notes—don’t judge), and these were the common threads:
1. It’s incredibly simple.
Almost every recipe uses boxed cake mix.
2. It’s designed to be messy.
No smoothing, no leveling, no fancy anything.
3. It has a surprise gooey cheesecake swirl.
This is the signature “earthquake crack” moment.
4. It’s customizable.
Pecans? Coconut? Chocolate chips? Mini marshmallows? You name it.
5. It’s visually irresistible on Pinterest.
The messy cracks and molten swirls make people stop scrolling.
So of course, I built my recipe around the best features of all of them… but with my own personal tweaks (the ones that actually make a difference).
Ingredients You’ll Need (and the Products I Actually Use)
People ask me all the time: does the cake mix brand matter? Short answer: kinda. Long answer: absolutely.
Here’s what I use:
Cake Mix
I love the Duncan Hines Devil’s Food Cake Mix because it gives the richest chocolate flavor:
Coconut
Optional but highly recommended. It adds texture and flavor.
Pecans or Walnuts
Totally optional, but if you want crunch, this is the way.
Cream Cheese
Room temperature! Trust me 🙂
Butter & Powdered Sugar
You’ll mix these with the cream cheese to create those creamy “fault lines.”
Chocolate Chips
I use Ghirardelli Semi-Sweet Chips because they actually melt instead of turning into weird pellets.
A Good Baking Pan
I swear by this USA Pan 9×13 Nonstick Pan because it heats evenly and NOTHING sticks.
⭐ My Step-by-Step Chocolate Earthquake Cake Method
Ever wondered why some Earthquake Cakes look gorgeous and some look like they got kicked? Here’s what I do differently.
⭐ Step 1: Prep the base
Grease your 9×13 pan.
Sprinkle:
- Shredded coconut
- Chopped pecans
on the bottom of the pan.
This becomes a toasty, crunchy magic layer.
⭐ Step 2: Mix the cake batter
Prepare your boxed cake mix as directed. Pour it over the coconut/pecan layer.
I like my batter slightly thicker, so I usually add one extra tablespoon of cocoa powder. You don’t have to—but it deepens the flavor.
⭐ Step 3: Make the cream cheese “fault lines”
Beat together:
- Cream cheese
- Melted butter
- Powdered sugar
(Super important: beat until smooth.)
Drop spoonfuls across the cake batter. Don’t swirl. Don’t try to be neat. Just plop and walk away. The oven handles the drama.
⭐ Step 4: Add chocolate chips
Sprinkle a generous handful over the top. No measuring. Just your heart deciding. 🙂
⭐ Step 5: Bake and watch the magic
As it bakes, the cake rises, the cream cheese sinks and pops through the surface, and the whole thing cracks like molten chocolate chaos.
⭐ Tips & Tricks I Learned After Way Too Many Experiments
These aren’t those “duh” tips like “don’t overmix.” These actually matter.
⭐ 1. Use room-temperature cream cheese
Cold cream cheese creates lumps. Lumps create weird textures. Trust me, we want smooth eruptions, not cottage cheese eruptions.
⭐ 2. Don’t swirl the top
Swirling makes the whole cake muddy. The best cracks happen when you leave the cream cheese blobs alone.
⭐ 3. Line your pan if you hate dishes
Earthquake cakes stick. They just do. Use parchment if you want an easy cleanup.
⭐ 4. Add espresso powder (secret trick)
½ teaspoon boosts the chocolate flavor like crazy.
⭐ 5. Let it cool at least 20 minutes
I know it smells irresistible but you’ll burn your soul trying to slice it too soon.
⭐ Variations You’ll Probably Fall in Love With
Because this cake practically begs to be customized.
⭐ 1. Death-by-Chocolate Earthquake Cake
Add brownies pieces + dark chocolate chips.
⭐ 2. Peanut Butter Earthquake Cake
Drop spoonfuls of warmed peanut butter on top.
It makes the cake crack in gorgeous golden streaks.
⭐ 3. Oreo Earthquake Cake
Crushed Oreos under the batter = unreal.
⭐ 4. S’mores Earthquake Cake
Mini marshmallows + graham crumbs + chocolate.
FYI: this melts into gooey perfection.
Storage Tips
Short term:
Cover and keep at room temp for 24 hours.
Long term:
Refrigerate up to 5 days.
Freezing:
Wrap individual slices tightly. Freeze up to 2 months. Reheat gently in the microwave.
Ingredients
Method
- Preheat oven to 350°F. Grease a 9×13 pan.
- Spread coconut and pecans on the bottom.
- Prepare cake mix and pour over.
- Beat cream cheese, butter, and powdered sugar until smooth.
- Drop large spoonfuls over batter.
- Top with chocolate chips.
- Bake 35–40 minutes until “earthquake cracks” appear.
- Cool 20 minutes before slicing.
Notes
- Use room-temperature cream cheese for smooth texture.
- Don’t swirl the layers—cracks form naturally.
- Add ½ teaspoon espresso powder for deeper chocolate flavor.
- Let it cool slightly to prevent collapse when slicing.
Final Thoughts (AKA: Why You Need to Make This ASAP)
If you want a dessert that makes people:
- Gasp
- Ask questions
- Beg for the recipe
- Assume you’re a baking wizard
…this cake does it. And it does it without making you break a sweat.
Chocolate Earthquake Cake tastes like chaos in the best possible way. It’s gooey, dramatic, over-the-top, warm, sweet, melty, and everything dessert should be.
Now go make it, and text me later when you’re standing over the pan with a fork saying “just one more bite…” 🙂
(Been there. No judgment.)