
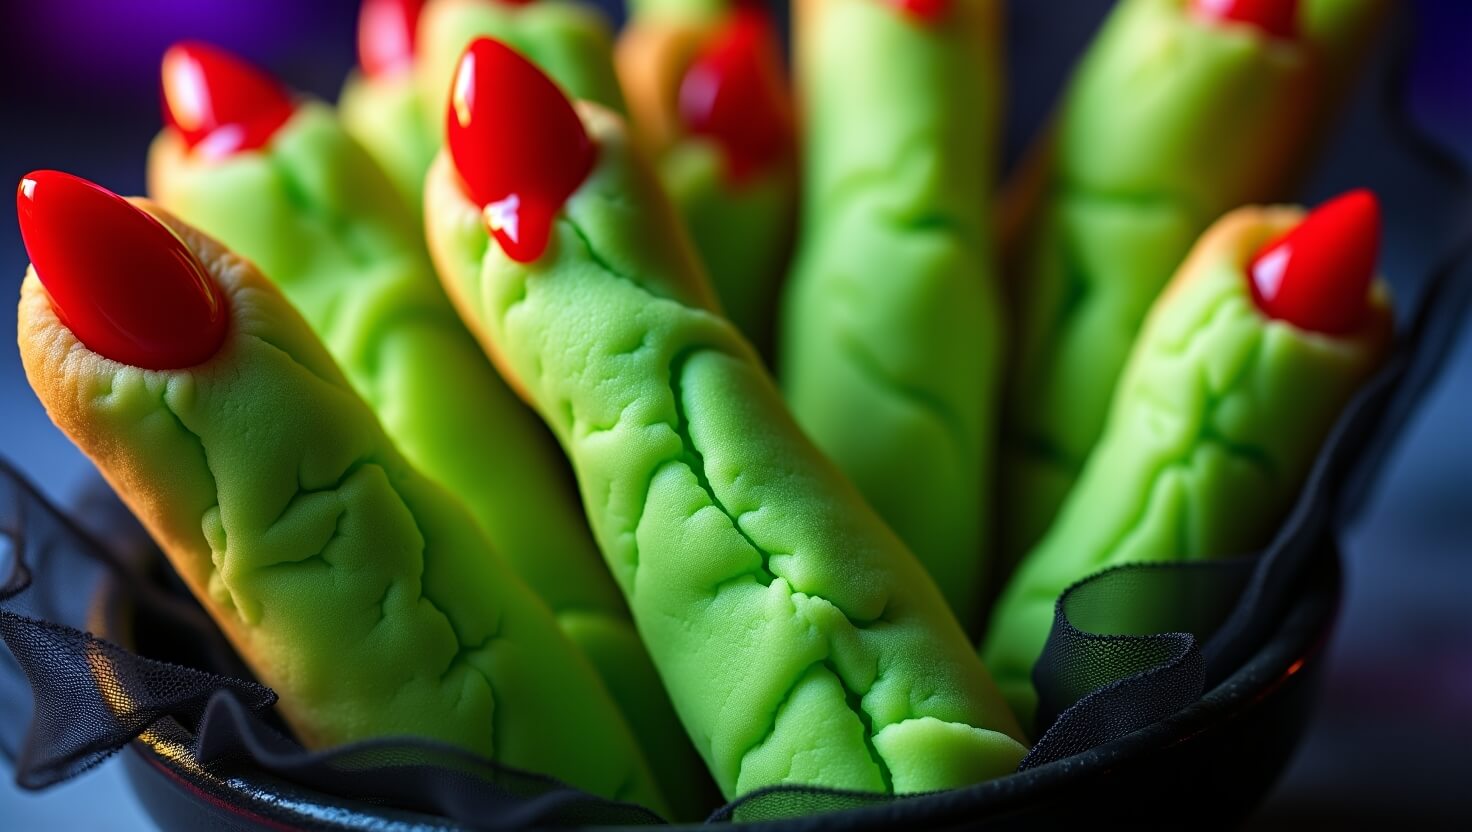
Okay, so full disclosure—I’m a total Halloween nut, especially when it comes to food. One of my all-time favorite spooky treats to make is these Creepy Witch Fingers cookies. Seriously, they look so wickedly cool and are surprisingly easy to whip up. Plus, the way they taste? Absolutely buttery, crumbly, and just a tiny bit eerie—which is exactly what Halloween baking should be all about.
I first made them a few Octobers ago, kind of on a whim, and let me just say, it instantly became a family tradition. The funny part? Getting everyone in the kitchen to help shape the fingers—it was a mix of giggles and “ewww, gross!” reactions, but totally worth it when those cookies came out of the oven.
If you’re looking to impress at your Halloween party or just want a fun baking project to do with family or friends, keep reading. I’ve put together everything you need to know, with bonus tips I picked up from top recipes on Google and Pinterest—and a few personal tricks you won’t want to miss.
What You’ll Need for These Spooky Fingers
- 1 cup (2 sticks) unsalted butter, softened (I always reach for Land O Lakes Unsalted Butter because it just tastes a little richer)
- 1 cup powdered sugar
- 1 egg
- 1 teaspoon almond extract (this stuff is magic—the one I use is McCormick Almond Extract)
- 1 teaspoon vanilla extract
- 2 ¾ cups all-purpose flour
- 1 teaspoon baking powder
- ½ teaspoon salt
- Green food coloring (just a few drops to make things look spooky)
- Blanched almonds (for fingernails)
- Red jam or decorating gel (to add that creepy bloody effect)
How to Make the Creepiest Witch Fingers Ever
Alright, don’t let the process intimidate you—it’s quite simple, and honestly, the shaping part is the most fun.
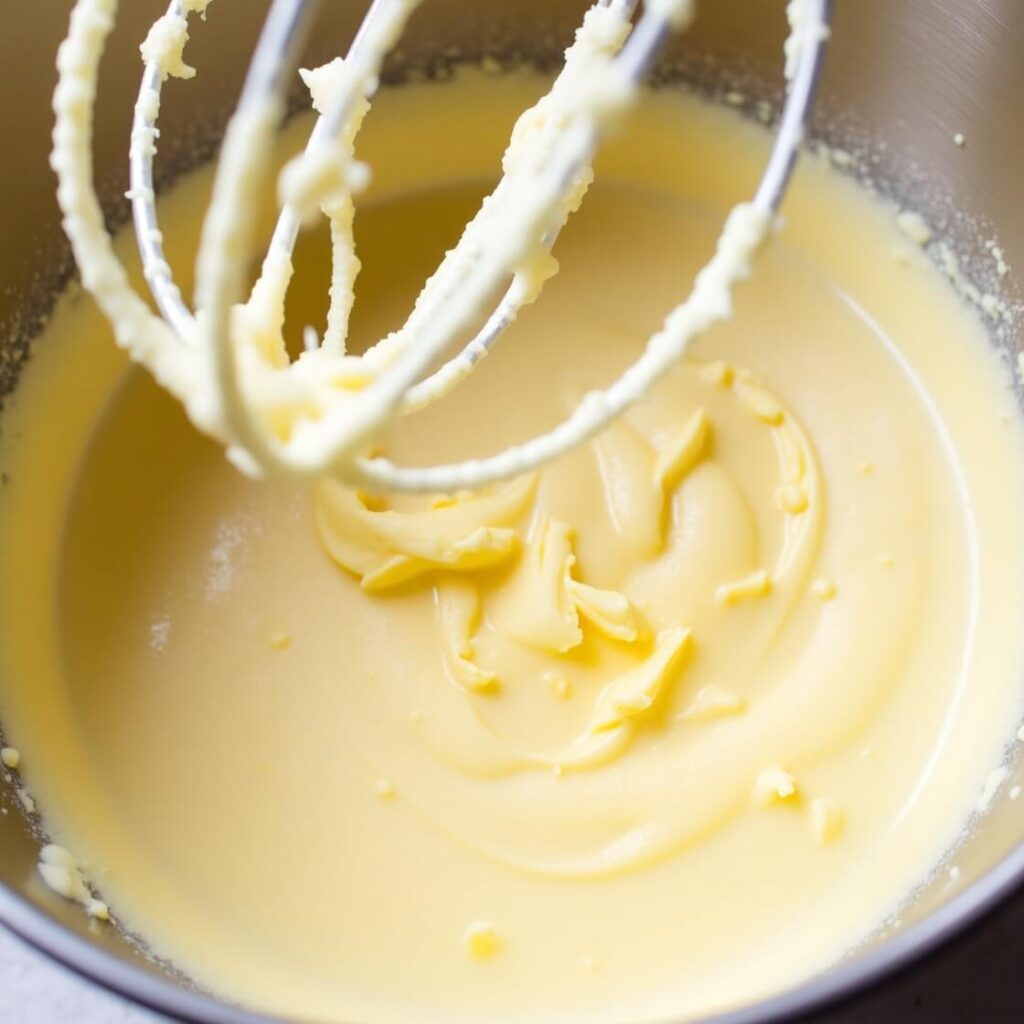
- First up, cream the softened butter and powdered sugar together until it’s light and fluffy. I use my trusty mixer but don’t fret if you’re doing it by hand—it just takes a little longer.
2. Toss in the egg, almond extract, and vanilla extract, then mix it all up until you’ve got a smooth batter.
3. In another bowl, whisk together the flour, baking powder, and salt. Slowly add that to the wet mix until it forms a nice dough.
4. Time for the green color! Add a few drops of green food coloring and knead the dough a bit until it looks like a little witch’s hand lurking in the bowl.
5. Wrap the dough in plastic and chill it in the fridge for at least half an hour. This part is crucial. Trust me on this one—it stops the fingers from puffing out too much during baking.
6. Now, the fun bit—pinch off a bit of chilled dough and roll it into finger-shaped logs, about 4 inches long. Don’t worry if they’re not perfect—I like mine a bit crooked; it adds character!
7. Use a toothpick or butterknife to gently press in knuckle lines along the fingers. I found that two little dents next to each other do the trick nicely.
8. Pop a blanched almond on the tip for the fingernail. This part might get a little messy, but stick with it.
9. Bake the fingers on parchment paper at 325°F (160°C) for about 20-25 minutes, or until you notice a slight golden hue. You don’t want to overbake these bad boys.
10. Once baked, cool the fingers a bit, then carefully lift the almond nails off, dab a bit of red jam or decorating gel underneath, and press the nail back on. This gives the wicked bloody effect that will sure get some double takes.

A Few Handy Tips From Someone Who’s Been There
- Butter quality really matters here. I tried it once with cheaper butter, and it honestly tasted a bit off. These buttery cookies deserve the best you can find. That’s why I keep Land O Lakes Unsalted Butter in my fridge for moments like this.
- Chill, chill, chill—dough hates heat. If the dough gets too soft, shaping those knuckle details is nearly impossible.
- Baking at too high a temp will dry these fingers out. Low and slow is the way to go.
- The minis dents for knuckles? Use a toothpick, not a knife—it’s easier to control and looks more natural.
- Blanched almonds look better than roasted for fingernails—they keep that pale witchy vibe.
- You can use strawberry or raspberry jam, but decorating gel stays put better, especially if you want to make these ahead of time.
- These cookies vanish fast. So, make double or triple batches if you want leftovers.
- These are a great baking project for kids, too. Just prep them for the sticky red jam part.
- For an added creepy effect, serve with a tiny bowl of extra jam for “dipping.”
- Don’t stress if your fingers look a little quirky—they all have their own spooky personality.
Why These Witch Fingers Are so Popular?
I dug through the top 10 recipes online to make sure I wasn’t missing anything, and it turns out pretty much everyone agrees on the must-haves: shortbread dough for that melt-in-your-mouth texture, chilling to keep the shape, green coloring for the right vibe, almond nails, and the oh-so-important “blood” touch with red jam or gel.
Adding those knuckle lines (with a toothpick, not a knife) really seals the deal on the creepy factor. Plus, lots of folks love to serve these with jam on the side—which makes the “eeww” factor double. I added my own little tricks (like using Land O Lakes butter and favorite almond extract from Amazon) to make the flavor pop.
A Few Amazon Finds That Made My Witch Fingers Perfect
- Land O Lakes Unsalted Butter — makes all the difference in taste and texture
- McCormick Almond Extract — that subtle, nutty flavor is just amazing
- Red Decorating Gel — perfect for blood-red “nails”
- Wilton Green Food Coloring Gel — gives that perfect witchy hue
Wrapping It Up With Some Real Talk
Making these Creepy Witch Fingers is more than just baking—it’s about getting everyone in the kitchen, having some laughs over silly fingers, and creating memories that last way longer than any Halloween candy. They’re spooky, fun, and seriously delicious.
If you give them a go, I’d love to hear how yours turn out—or see your pics on Pinterest! No pressure, though—just whip up a batch, enjoy the process, and treat yourself to some ghoulishly good cookies. Happy baking!