
Let me guess. You want a dessert that feels fresh, looks impressive, and doesn’t require you to babysit an oven like it’s a newborn. Same. That’s exactly how lemon lush bars became my not-so-secret weapon.
The first time I made these, I brought them to a backyard cookout where everything else screamed “heavy.” Ribs. Potato salad. More potato salad. Then these chilled, creamy, lemony bars hit the table—and suddenly everyone wanted “just a small piece.” Spoiler: there were no leftovers.
If you love bright lemon flavor, creamy layers, and desserts that magically disappear from the pan, stick with me. I’ve made these more times than I can count, tweaked them endlessly, and learned exactly what makes them lush instead of meh.
What Are Lemon Lush Bars, Anyway?
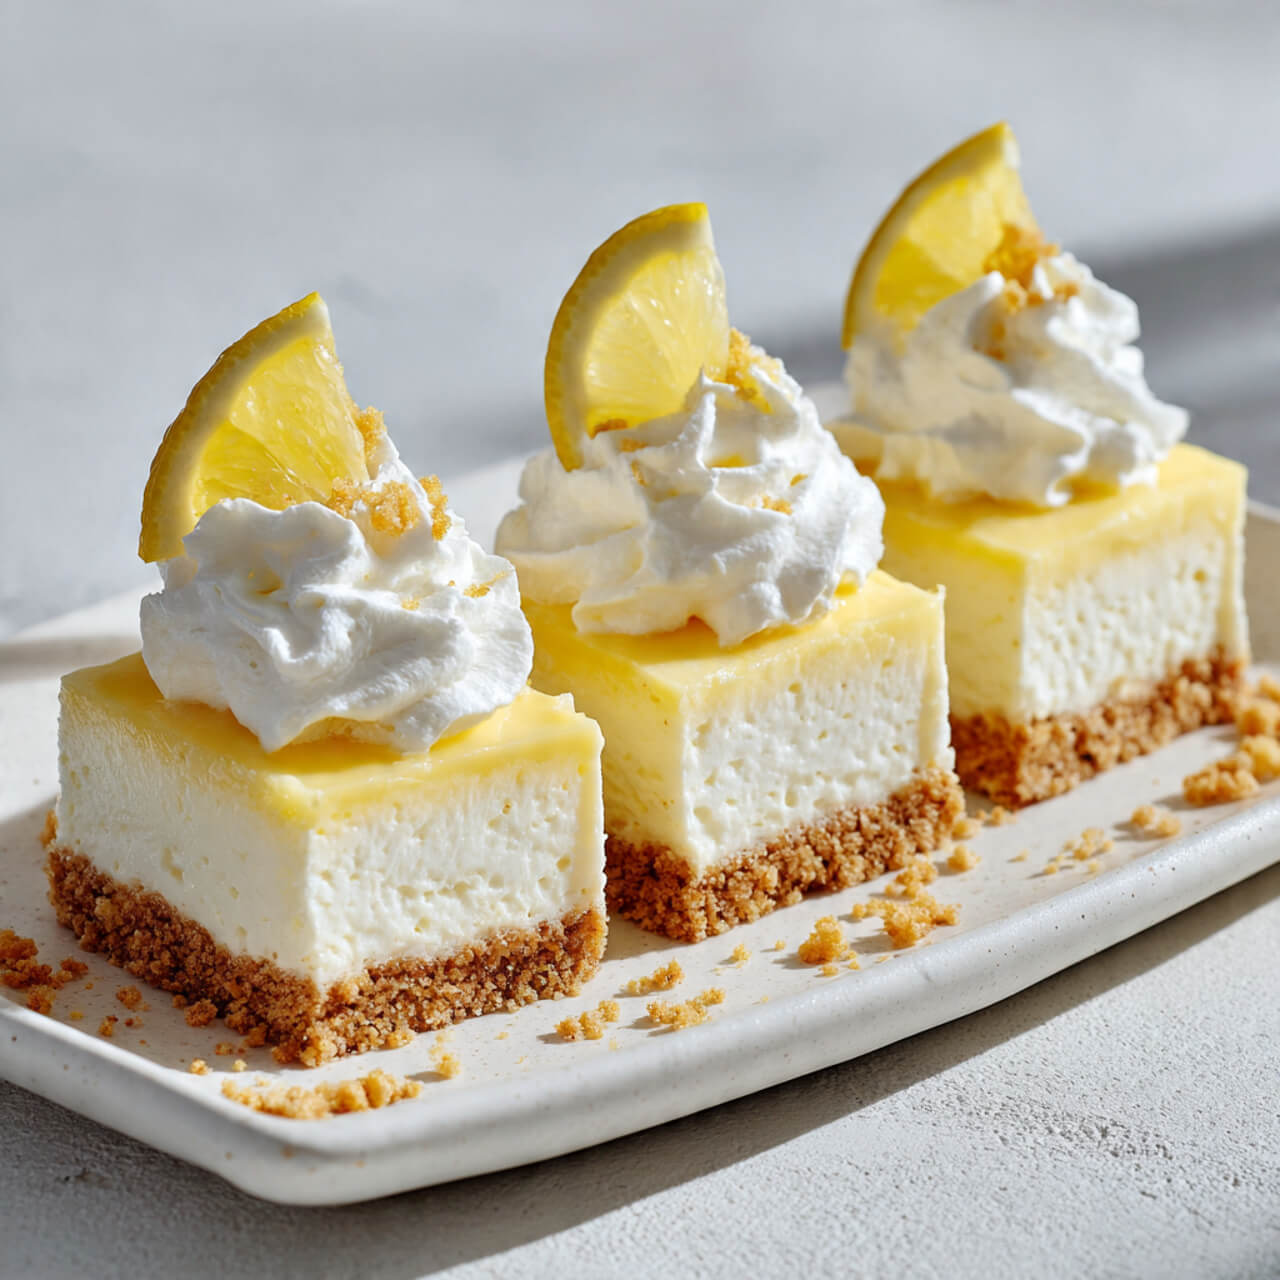
Think of lemon lush bars as the dessert equivalent of a cool breeze on a hot day. They’re layered, chilled dessert bars with:
- A buttery cookie or graham cracker crust
- A light, whipped cream cheese layer
- A tangy lemon pudding layer
- A fluffy whipped topping finish
No frosting skills. No fancy decorating. Just clean slices and happy people.
Ever wonder why they’re called “lush”? One bite explains everything.
Why I Keep Coming Back to This Recipe
I bake a lot. Like… a lot. But lemon lush bars hold a permanent spot in my recipe rotation because:
- They balance sweet and tart perfectly
- They feel indulgent without being heavy
- They’re make-ahead friendly (huge win)
- They look fancy while being shockingly easy
And IMO, lemon desserts don’t get enough love compared to chocolate. These bars fix that injustice.
The Layers That Make or Break Lemon Lush Bars
The Crust: Don’t Rush This Part
I’ve tried shortbread cookies, vanilla wafers, and even golden Oreos. They all work, but graham crackers win for reliability.
I crush them finely, mix with melted butter, and press firmly into the pan. I bake the crust briefly to set it—yes, some folks skip baking, but I like structure. No soggy bottoms here.
Helpful tool I use every time:
👉 9×13 baking dish with straight edges: https://amzn.to/3Y6ABs5
The Cream Cheese Layer: Smooth or Bust
This layer makes or breaks the whole dessert. I always let the cream cheese soften fully. Cold cream cheese creates lumps, and lumps ruin vibes.
I whip together:
- Cream cheese
- Powdered sugar
- Whipped topping
The result? Light, slightly tangy, and sturdy enough to hold the lemon layer.
Pro tip:
I use an electric hand mixer like this one:
https://amzn.to/3MPuB4w
Worth every penny, especially when you bake often.
The Lemon Layer: Bright, Tangy, Perfect
I use instant lemon pudding mix and cold milk. Nothing fancy, but the flavor hits just right. The key is whisking until thick, then letting it rest for a minute before spreading.
Ever tasted lemon desserts that feel fake or too sharp? This balances sweetness and citrus without that artificial punch.
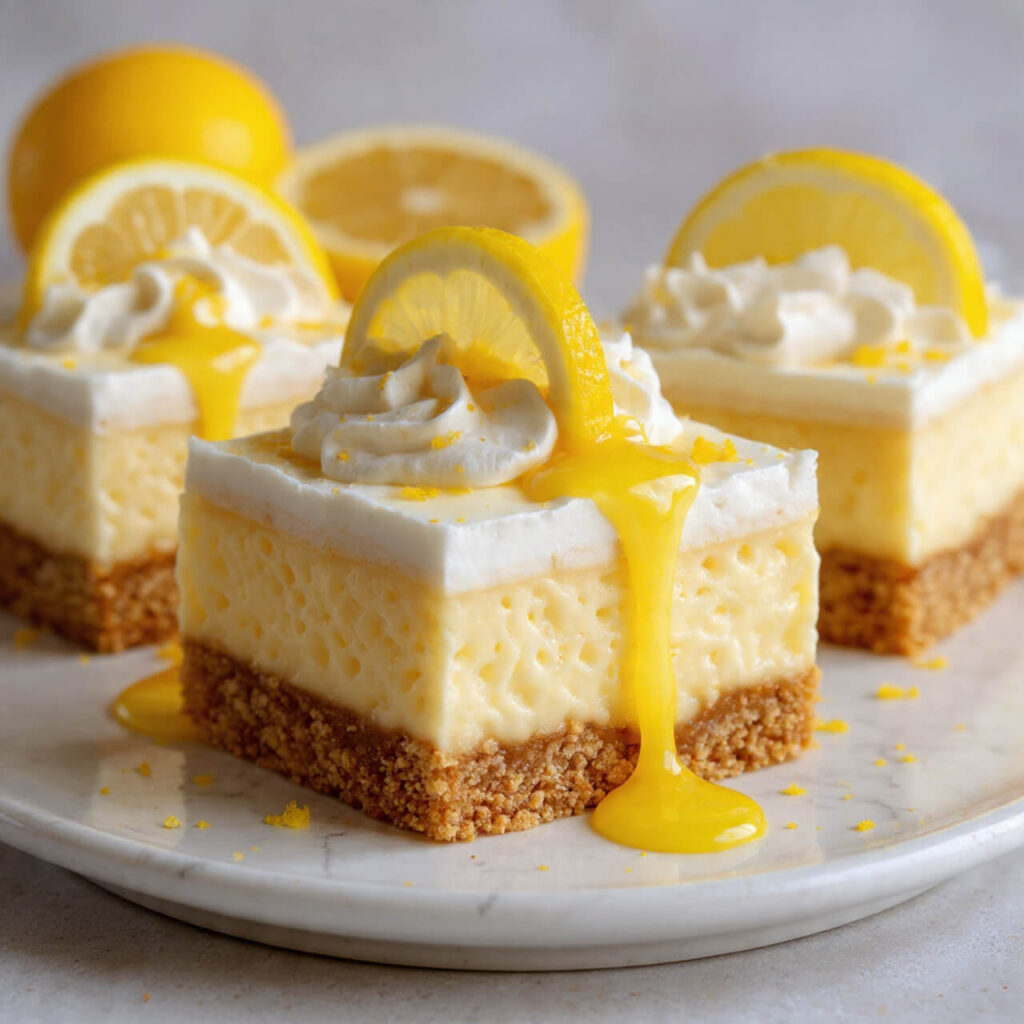
The Topping: Keep It Light
I finish with a generous layer of whipped topping and sometimes lemon zest if I’m feeling extra. Fresh zest adds aroma more than flavor, and honestly? It looks pretty.
Optional, not required—but I’ve never regretted it.
Ingredients I Trust (And Why)
I’ve tested store brands, name brands, and everything in between. Here’s what consistently works best for me:
- Graham crackers – Fine crumb, not chunky
- Unsalted butter – You control the salt
- Full-fat cream cheese – Don’t cheap out here
- Instant lemon pudding mix – Jell-O brand works great
- Cold whole milk – Helps pudding set properly
- Whipped topping – Homemade or store-bought
FYI, if you want to go homemade on whipped cream, use powdered sugar—not granulated—or things get grainy fast :/
Tips I Learned the Hard Way (So You Don’t Have To)
I’ve messed these up enough times to know better now.
- Chill between layers if your kitchen runs warm
- Spread gently so layers don’t mix
- Use an offset spatula for clean layers
👉 This one lives in my drawer: https://amzn.to/3MZGcOl - Refrigerate at least 4 hours, overnight is even better
Want clean slices? Wipe your knife between cuts. It’s annoying but worth it.
Variations I Actually Make
Because sometimes you want to mix things up without reinventing the wheel.
Lemon Blueberry Lush Bars
- Add a thin layer of blueberry pie filling between cream cheese and lemon
- Shockingly good combo
Lemon Coconut Lush Bars
- Swap graham crackers for vanilla wafers
- Sprinkle toasted coconut on top
Extra Lemon Lovers Version
- Add lemon zest to the cream cheese layer
- Use lemon-flavored cookies for the crust
Ever tried lemon + ginger cookies for the crust? Game changer.
Storage & Make-Ahead Tips
These bars love the fridge.
- Store covered for up to 4 days
- Don’t freeze—the texture turns weird
- Make them the night before serving for best results
They actually taste better on day two, which feels illegal for dessert.
Why These Lemon Lush Bars Always Win at Gatherings
I’ve served these at:
- Summer BBQs
- Baby showers
- Office potlucks
- “I just need something sweet” Tuesdays
People always ask for the recipe. Not sometimes. Always. And I think it’s because these bars feel refreshing when everything else feels heavy.
Plus, lemon desserts cut through rich meals like a champ. Ever notice that? That’s why this works.
Ingredients
Method
- Preheat oven to 350°F. Mix crumbs and butter, press into pan, bake 10 minutes. Cool.
- Beat cream cheese and powdered sugar until smooth. Fold in whipped topping. Spread over crust.
- Whisk pudding mix and milk until thick. Spread gently over cream layer.
- Top with whipped topping. Chill at least 4 hours before slicing.
Notes
- Use fully softened cream cheese for smooth layers
- Chill completely before cutting
- Don’t overmix pudding—thick is good
- Wipe knife between slices for clean edges
Final Thoughts Before You Grab the Lemons
If you want a dessert that looks impressive, tastes like summer, and doesn’t stress you out, lemon lush bars deserve a spot in your kitchen. They’re creamy, tangy, nostalgic, and weirdly comforting.
Make them once, and they’ll quietly become your go-to. And when someone asks, “Who made these?”—yeah, that’ll be you.
Alright, go clear some fridge space. You’ll need it 🍋