
If you’ve ever stood in the dessert aisle debating whether you should buy something sweet or convince yourself you “don’t really need it,” let me just tell you — these No-Bake Biscoff Cheesecake Cups are the reason I stopped pretending I have that kind of self-control. The first time I made them, I told myself I’d save the batch for guests. Spoiler alert: the guests never saw a single cup. I ate them all. Happily. With zero remorse.
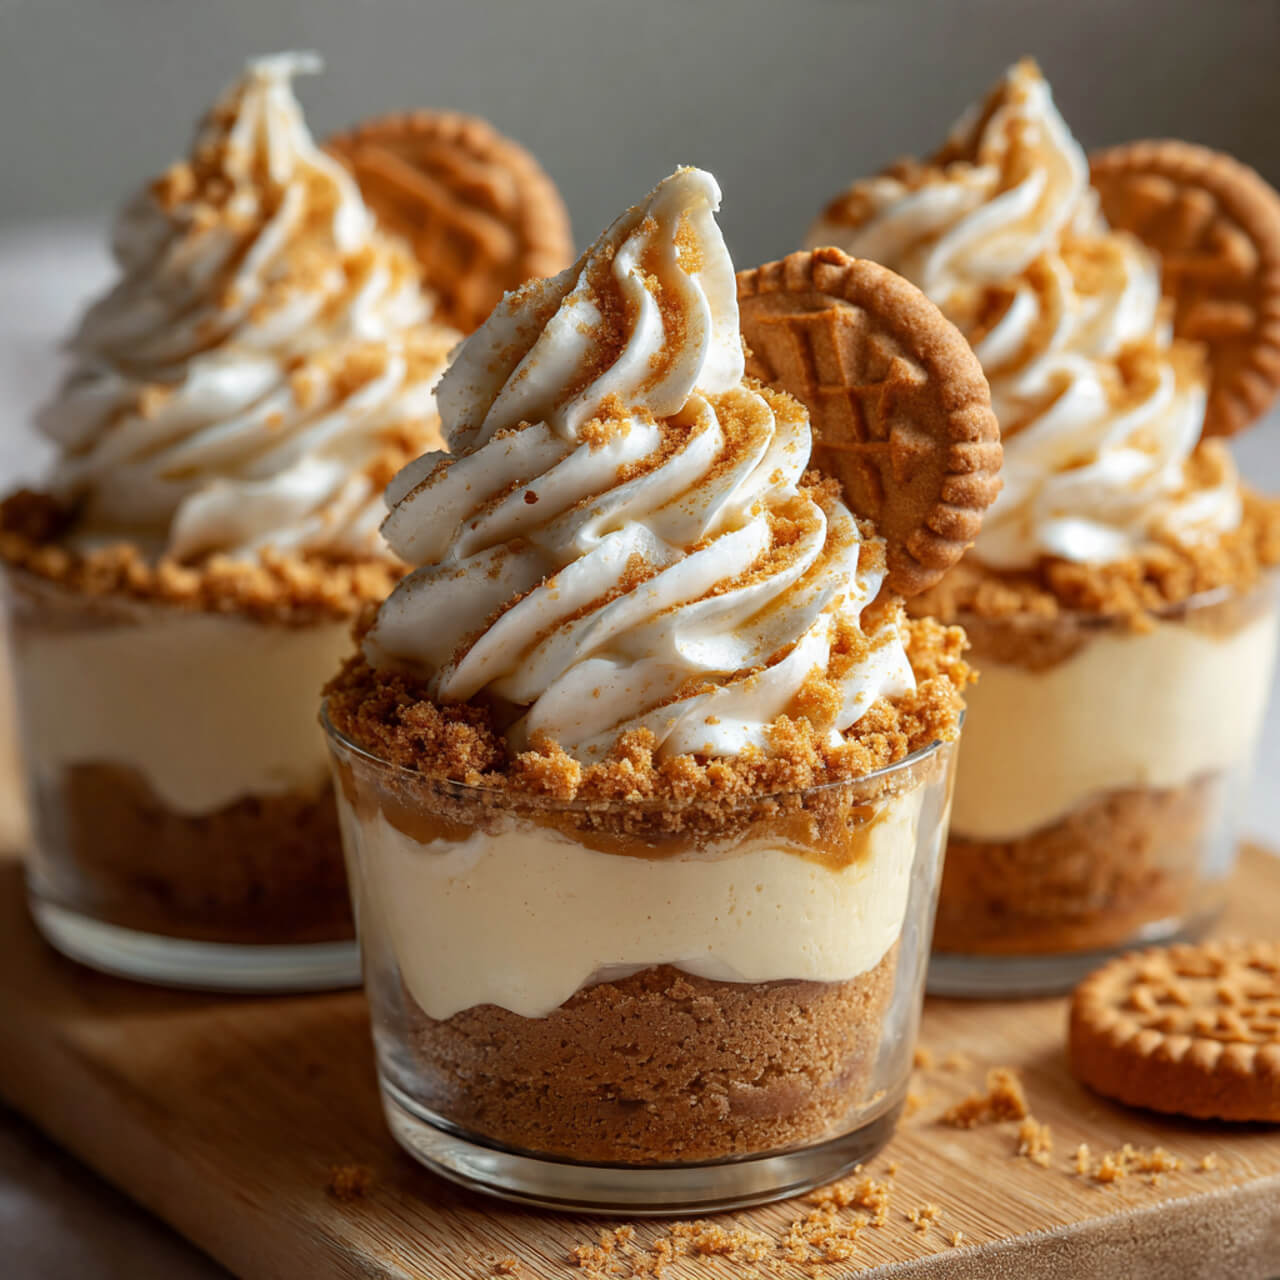
These cheesecake cups hit every craving at once: creamy from the cheesecake, crunchy from the Biscoff crumbs, and that warm caramelized-cookie flavor that should honestly be illegal. And the best part? No baking. No water baths. No cracked tops. No “why did my cheesecake turn into a science experiment?” moments. Just mix, layer, chill, and enjoy.
If you want a dessert that feels impressive but takes minimal effort (a vibe I chase daily), then pull out your mixing bowls, because these Biscoff cheesecake cups are about to become your new signature thing.
Why These No-Bake Biscoff Cheesecake Cups Always Impress
I swear these cups have a 100% success rate with guests. Even people who claim they “don’t like sweets” (yes, they exist, and yes, I question them deeply) somehow finish these in minutes. Ever wonder why some desserts hit the sweet spot more than others? Simple:
You get multiple textures in one bite.
The crunchy cookie layer
- the silky cheesecake
- the gooey Biscoff drizzle
= actual dessert magic.
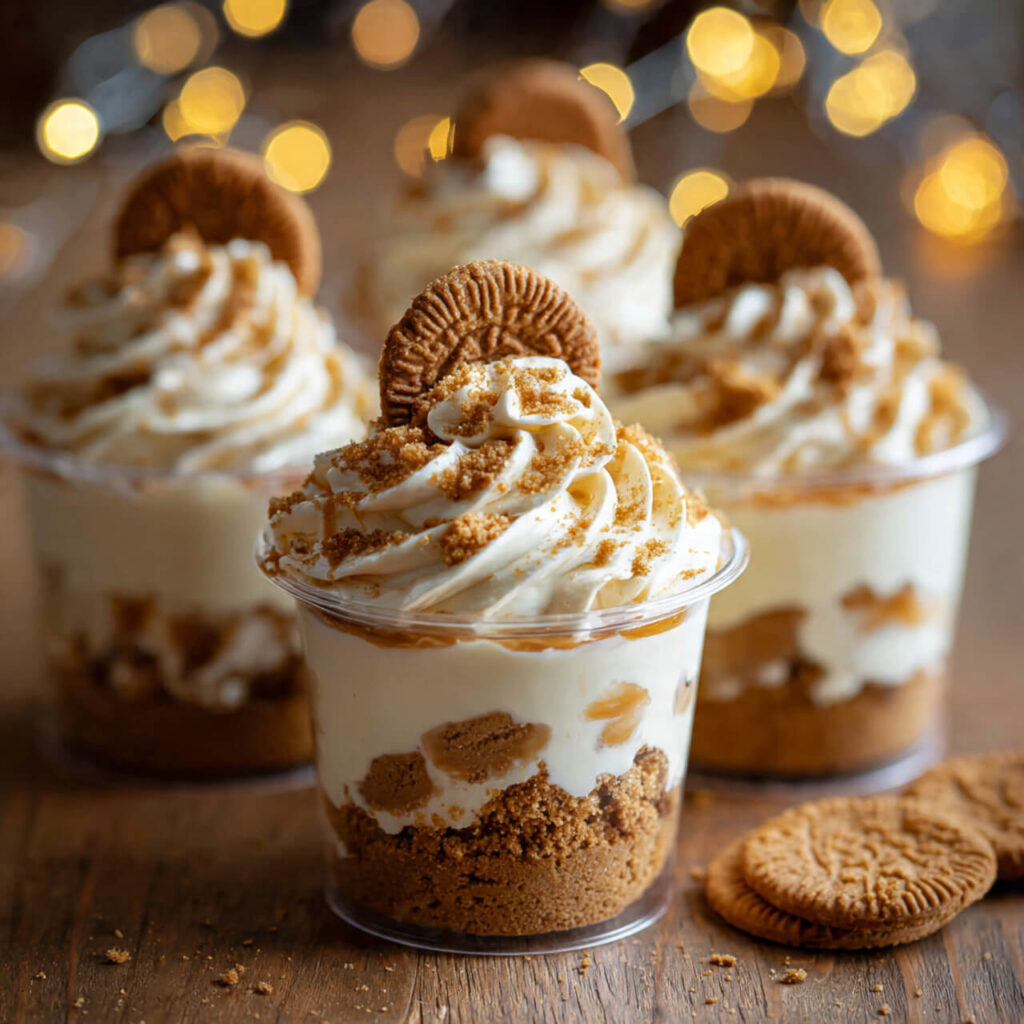
And because everything happens in cups or jars, the dessert looks adorable without you doing anything fancy. Dessert that makes you look like you tried? Yes, please.
Ingredients You’ll Need (and Why They Matter)
I keep this recipe simple, because no-bake desserts should be fun, not stressful.
- Biscoff cookies (obviously the star)
- Cream cheese (full-fat is the move — trust me)
- Heavy cream (to make the filling extra fluffy)
- Powdered sugar
- Biscoff spread (aka cookie butter, aka the nectar of the gods)
- Vanilla extract
- Butter (for the cookie crust)
Helpful Tools I Use (No URLs, just names)
- OXO Good Grips Mini Whisk Set – perfect for whipping cream or mixing small batches.
- Cuisinart Hand Mixer – saves your arms when whipping the cheesecake filling.
- Ball 8oz Mason Jars – ideal for layering these cheesecake cups and storing them neatly.
- Rubbermaid Brilliance Food Containers – great for refrigerating leftovers, assuming you actually have any (I usually don’t).
- Wilton Piping Bags – for piping cheesecake neatly into cups if you want them to look bakery-level cute.
These aren’t required, but they make the process feel smoother and more professional (or at least make you feel like you’re on a cooking show, which IMO is half the fun).
How to Make the Perfect Biscoff Crust
Let’s be honest, the crust is half the reason we love these cups. It’s sweet, buttery, crunchy, and straight-up addictive. And it’s super easy.
Why it works
Biscoff cookies have built-in caramel notes, so when you mix them with melted butter, the flavor intensifies. The crumbs cling together without becoming mushy — a problem that happens with some graham crackers.
How to make it
- Crush your cookies into fine crumbs.
(I place them in a Ziplock bag and gently “release stress” with a rolling pin. Works every time.) - Mix with melted butter until the texture feels like slightly wet sand.
- Press into the bottom of your jars or cups.
The crust sets beautifully once chilled, and no baking means no worrying about burning anything. Easy.
The Creamiest No-Bake Cheesecake Filling
The filling is honestly what makes these cups borderline dangerous. I say that because I routinely “taste test” way too much before it even makes it into the jars.
What makes it creamy?
- Full-fat cream cheese
- Whipped heavy cream
- A spoonful (or two) of Biscoff spread
Heavy cream gives lift, Biscoff spread adds that warm caramel cookie flavor, and the cream cheese holds everything together. If you’ve ever had a no-bake cheesecake that tasted runny or bland, you’ve probably had one without enough fat to stabilize it. Fat = flavor = structure.
Flavor tip
Add just a smidge of vanilla. It balances the sweetness and makes the filling taste more rounded, less one-note.
Why These Cheesecake Cups Are Amazing for Meal Prep and Parties
These cheesecake cups aren’t just tasty — they’re unbelievably convenient.
1. They chill well
You can make them 24 hours in advance, and they taste even better the next day.
2. They portion easily
No slicing, no crumbling, no weird corner pieces.
3. They travel amazingly
Pop a lid on the mason jars, toss them in a cooler bag, and boom — picnic-ready dessert.
4. They store beautifully
The Ball 8oz Mason Jars keep them fresh for days. They also just make dessert look cute. And IMO, cute desserts taste better. Facts.
Let’s Build the Cups (Step by Step)
Here’s where the fun starts.
1. Make the crust
Mix Biscoff crumbs with melted butter. Spoon and press into the bottom of your jars.
2. Make the cheesecake filling
Use the Cuisinart Hand Mixer to beat cream cheese until fluffy.
Add powdered sugar, Biscoff spread, and vanilla.
In a separate bowl, whip the heavy cream until soft peaks form.
Fold it gently into the cream cheese mixture.
3. Layer the cheesecake
Spoon or pipe the cheesecake filling over the crust.
(I use Wilton Piping Bags when I’m feeling extra, but a spoon works fine.)
4. Add the Biscoff topping
Warm a bit of Biscoff spread in the microwave so it becomes pourable.
Drizzle over the cheesecake filling.
5. Add crumbs on top
Just a sprinkle for texture. Not too much unless you want a “crumb explosion” with the first bite.
6. Chill
Refrigerate for at least 2 hours (overnight is best).
7. Serve
Top with whipped cream or more Biscoff if you feel chaotic (I usually do).
Fun Variations You Should Absolutely Try
Biscoff Banana Cream Cups
Add thin banana slices between the layers.
It tastes like a fancy banana pudding had a love child with a cheesecake.
Biscoff Strawberry Swirl Cups
Add a swirl of strawberry jam.
Sweet + fruity + caramelized Biscoff = perfection.
Biscoff Chocolate Cups
Add a thin layer of melted chocolate on top of the crust.
Decadent doesn’t even begin to describe it.
Mini Biscoff Cheesecake Shots
Serve them in tiny glasses for parties.
Warning: people will ask for the recipe.
Common Mistakes (and How to Avoid Them)
Using cold cream cheese
Cold cream cheese refuses to mix smoothly and leaves lumps.
Bring it fully to room temp. Your filling will thank you.
Over-whipping the cream
If your cream turns grainy, the texture of your cheesecake becomes weird.
Whip to soft-medium peaks only.
Not chilling long enough
Two hours minimum.
Four hours if you want the cups to taste like they came from a bakery.
Using too much butter in the crust
It turns greasy fast. Stick to the recipe measurements.
Ingredients
Method
- Crush cookies and mix with melted butter.
- Press into jars or cups.
- Beat cream cheese, sugar, Biscoff, and vanilla until smooth.
- Whip cream to soft peaks and fold in.
- Layer filling over crust.
- Drizzle Biscoff and chill two hours.
- Serve cold.
Notes
- Room-temperature cream cheese gives the smoothest texture.
- Don’t skip chilling — it sets the cheesecake properly.
- Don’t over-whip your cream or the filling becomes grainy.
- For extra flavor, add a tiny pinch of cinnamon to the crust.