
Hey, you chocolate lovers out there—yeah, you know who you are. Picture this: It’s one of those sweltering summer afternoons where turning on the oven feels like a personal attack, and all you want is a rich, fudgy treat that comes together faster than you can say “room service.” That’s exactly how I stumbled into making no-bake chocolate biscuit cake years ago, during a family reunion where everyone was too hot to bake but nobody wanted to skip dessert. I threw this together with whatever I had in the pantry, and boom—it became the hit of the day. Ever had a dessert that feels indulgent but requires zero skill? This one’s it, my friend. Let’s chat about why this no-bake chocolate biscuit cake has saved my sweet tooth more times than I can count.
Why I Can’t Get Enough of This Chocolate Biscuit Cake Magic
Man, there’s something downright addictive about biting into a slice where crunchy biscuits meet that silky chocolate coating—it’s like a grown-up version of those candy bars you hoarded as a kid. I first tried it after seeing a pin on Pinterest that promised “effortless elegance,” and honestly, it delivered. No eggs cracking, no timers buzzing, just mix, press, chill, and done. What hooks me every time? The way the biscuits soak up just enough chocolate to soften at the edges but stay crisp in the middle. Ever wondered why this beats a baked cake on a busy weeknight? It’s forgiving—if your chocolate seizes a bit, no biggie, just stir harder.
In my house, this cake shines for potlucks or last-minute cravings. The kids love the crunch; I love how it uses simple stuff like graham crackers or digestives that you probably already stock. And FYI, if you’re watching calories, it clocks in around 300 per slice—not bad for something this decadent. Top recipes online rave about its versatility too; you can tweak it for holidays with nuts or fruit, keeping it fresh no matter the season.
Gathering Your Ingredients: Keep It Real and Pantry-Friendly
I always start with what I’ve got on hand—nothing fancy required. Grab about 14 ounces of digestive biscuits or graham crackers; break them roughly so you get those satisfying chunks. For the chocolate heart, I reach for 8-9 ounces of good dark chocolate—70% cocoa minimum, because milk chocolate turns it too sweet for my taste. Melt in 1/2 cup unsalted butter and a full 14-ounce can of sweetened condensed milk; that’s the glue that makes everything bind without falling apart.
Throw in extras if you’re feeling it: a handful of chopped walnuts or pecans for crunch (I toast mine first—trust me, it amps the flavor). A teaspoon of vanilla extract rounds it out, or splash in some rum if it’s an adults-only night. Oh, and for that pro touch, I swear by the Ghirardelli 60% Cacao Bittersweet Chocolate Chips from Amazon. They melt like a dream and elevate the whole thing without breaking the bank.
My Step-by-Step Guide: From Pantry to Plate in Minutes
Alright, let’s roll up our sleeves—metaphorically, since no oven’s involved. I do this on the counter while humming along to my playlist; it’s that casual.
Breaking and Prepping the Biscuits
First, I smash those biscuits into bite-sized pieces—aim for about an inch, nothing uniform. Use your hands or a rolling pin in a zip-top bag; the messier, the better for texture. I remember one time rushing and grinding them too fine—ended up with a mushy blob, lesson learned. Set them aside in a big bowl. Ever notice how the right chunk size makes or breaks the cake? It does.
Melting the Chocolate Symphony
Now, the fun part: Combine your chocolate, butter, and condensed milk in a microwave-safe bowl. Nuke in 20-second bursts, stirring each time until it’s glossy and smooth—takes maybe 2 minutes total. If you prefer stovetop, use a double boiler; I got mine on Amazon, the Farberware Classic Stainless Steel 2-Quart Double Boiler Insert, and it prevents scorching every single time. Stir in vanilla here if using. The smell alone? Pure heaven. Don’t overheat, or it’ll seize—I’ve burned a batch or two, ugh.
Mixing and Molding Like a Pro
Pour that warm chocolate mix over the biscuits (and nuts). Fold gently with a spatula until every piece gets coated—don’t stir like crazy, or you’ll crush the biscuits. Line an 8×4-inch loaf pan with parchment or plastic wrap; I skip this once and regretted the stuck-on disaster. Spoon the mixture in, then press down firmly with the back of a spoon or your hands. Pack it tight; loose spots lead to crumbly slices. Smooth the top, cover with more wrap, and pop it in the fridge.
The Chill and Reveal
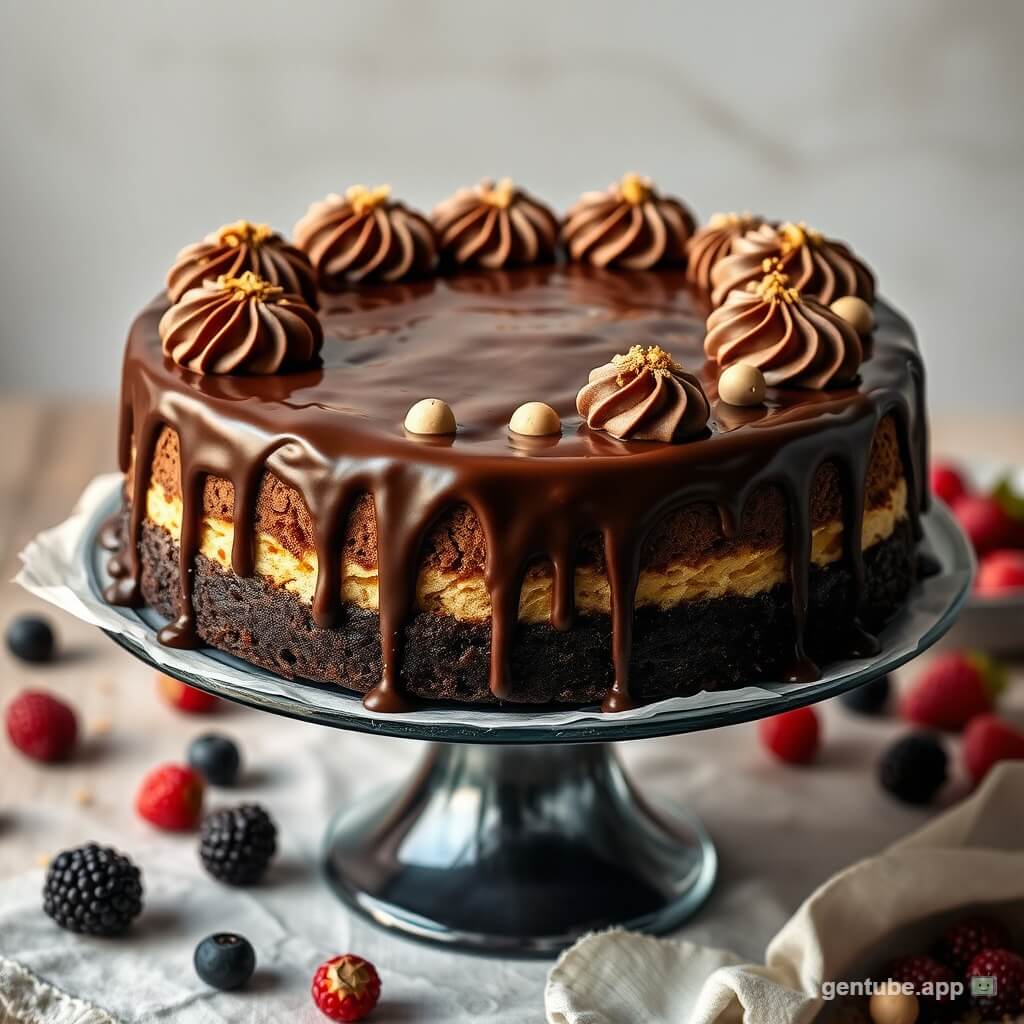
Let it set for at least 4 hours—overnight if you can wait that long. I once sliced early for impatient guests; total fail, all gooey. When ready, lift it out, peel the wrap, and slice into thick pieces. Dust with cocoa or drizzle melted chocolate for flair. Serve at room temp for best texture—cold, it’s firmer; room temp, it’s fudgy bliss.
Humor break: Isn’t it wild how something this simple can look like you slaved over it? My sister-in-law always asks for the “secret recipe”—I just grin and say, “Patience and good chocolate.”
Tricks I’ve Picked Up: Making It Foolproof Every Time
Over the years, I’ve tweaked this enough to dodge common pitfalls. Top blogs emphasize quality chocolate for that snap, and they’re spot on—cheap stuff turns waxy. Here’s what works for me:
- Biscuit balance: Use sturdy ones like McVitie’s digestives; softer cookies absorb too much and sog out.
- Melt low and slow: High heat kills the smoothness—patience pays off in that velvety coat.
- Add-ins for wow: Stir in raisins or marshmallows for chew; I’ve done espresso powder for a mocha twist that wows coffee fans.
- Press power: Really compact it—think of it as building a chocolate fortress. Weak structure? Crumbles on the plate.
- Storage smarts: Keeps in the fridge up to a week, or freeze slices for up to a month. Thaw overnight for freshness.
- Diet swaps: Go dairy-free with coconut condensed milk and vegan chocolate—tastes just as rich, IMO.
Ever tried adding orange zest? It cuts the sweetness with a citrus zing; my holiday version’s a crowd favorite. And if nuts aren’t your thing, dried cranberries add tart pop without overpowering.
Variations That Keep It Exciting in My Kitchen
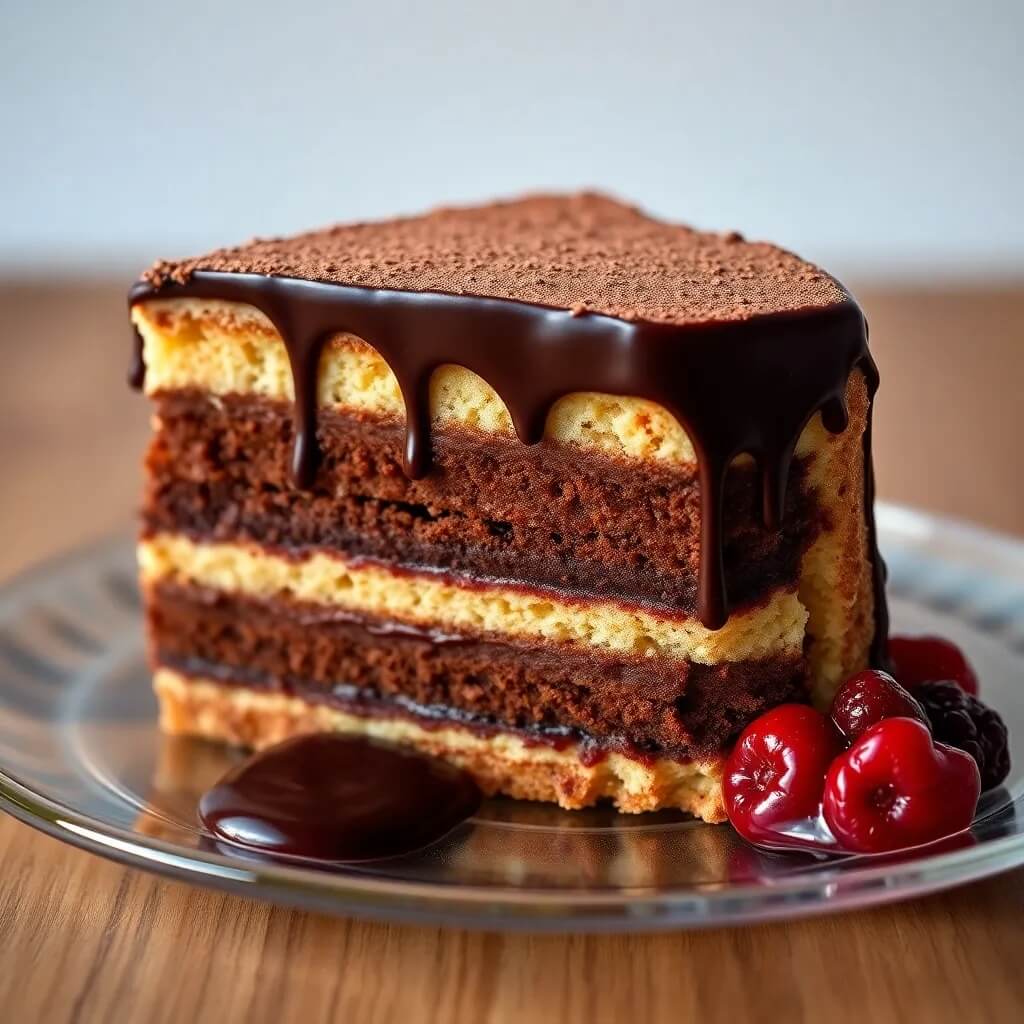
Boredom’s the enemy, right? I switch it up seasonally. For Christmas, I fold in candied ginger and top with white chocolate drizzle—festive and fancy. Summer calls for a lighter version with milk chocolate and crushed pretzels for salty crunch. Pinterest’s full of these ideas, like royal-inspired takes with cherries (nod to Queen Elizabeth’s fave), but I keep mine straightforward.
One flop I had: Adding fresh fruit—too moist, led to moldy spots. Stick to dry add-ins. For kids, skip booze and go heavy on mini marshmallows; they turn it into s’mores territory. These tweaks come from scanning top recipes—folks love the no-bake ease but crave personalization.
Nutrition Scoop and Why It Fits Real Life
Per slice (about 10 servings), you’re looking at roughly 320 calories, 18g fat (mostly from chocolate), 35g carbs, and 5g protein—decadent but not overboard. It’s got some fiber from biscuits and antioxidants from dark chocolate, so it feels semi-healthy. Compared to baked cakes? Way less sugar rush, no empty flour calories.
I track loosely, but this satisfies without the crash. Pair with berries for balance, or enjoy solo on a rough day. Sarcasm incoming: Who needs a diet when chocolate’s this easy to love?
Serving It Up: Ideas to Make It Shine
Slice thick and plate with whipped cream or ice cream—vanilla cuts the richness perfectly. For parties, cut into squares and arrange on a platter with fruit skewers. My go-to? A dusting of powdered sugar and a mint leaf for that Instagram pop. Pinterest pros suggest vertical slices to show layers; it photographs like a dream.
Ingredients
Method
- Break biscuits into chunks and place in a large bowl.Melt chocolate, butter, and condensed milk in microwave (20-second bursts) or double boiler until smooth; stir in vanilla.Pour over biscuits (and nuts); fold until coated.Line 8×4-inch loaf pan with parchment; press mixture firmly into pan.Chill 4+ hours until set; slice and dust with cocoa.
Notes
- Quality chocolate is key – Use at least 70% cocoa to avoid overly sweet results; cheaper bars can turn grainy.
- Don’t rush the chill – At least 4 hours ensures firm slices; cutting early leads to mess.
- Press tightly – Loose packing causes crumbling; use a spoon bottom for even compaction.
- Room temp serving – Let sit 10 minutes before slicing for the best fudgy texture.
Wrapping This Chocolate Chat: Your Turn to Indulge
There you go—that’s my heartfelt rundown on no-bake chocolate biscuit cake, from my first frantic family make to now, when it’s my reliable dessert hero. Crunchy, chocolatey, zero oven drama—what’s not to love? Grab those ingredients, give it a whirl, and tell me your twists. Maybe it’ll become your staple too. After all, life’s too short for complicated sweets—keep it simple and savor the yum 🙂