
I’ll just say it—no-bake millionaire shortbread feels like a cheat code. It looks bakery-level fancy, tastes like something you’d pay way too much for at a café, and somehow doesn’t require an oven, a mixer, or a meltdown. That combo alone earned this recipe a permanent spot in my dessert rotation.
The first time I made it, I needed a dessert for a summer get-together. My oven already hated me, the house felt like a sauna, and I still wanted something impressive. Enter this glorious stack of buttery base, rich caramel, and glossy chocolate. People asked if I bought it. Someone asked if I trained professionally. I did not correct them.
If you want a dessert that delivers maximum wow with minimal effort, grab a pan and keep reading.
What Exactly Is Millionaire Shortbread?
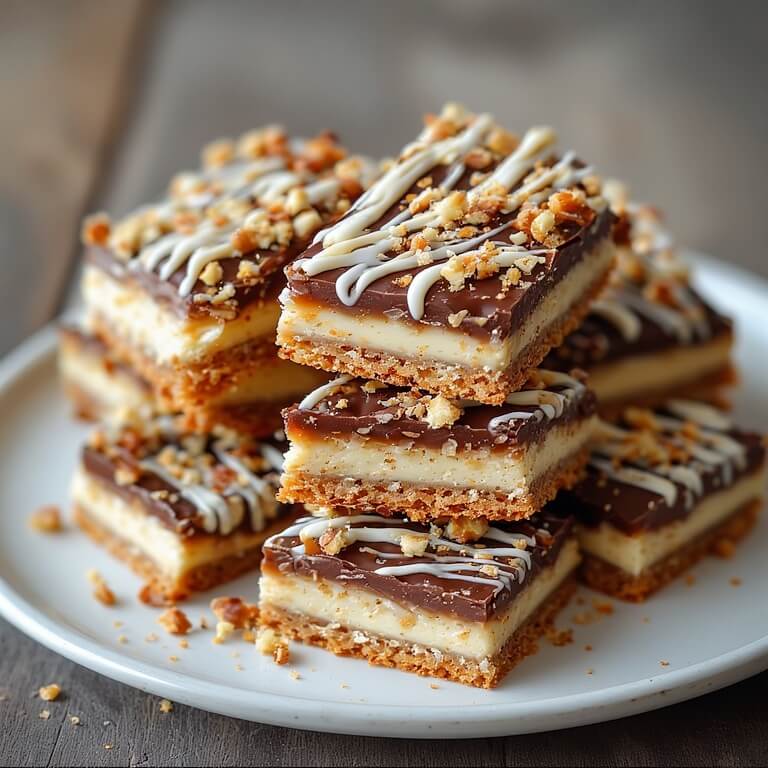
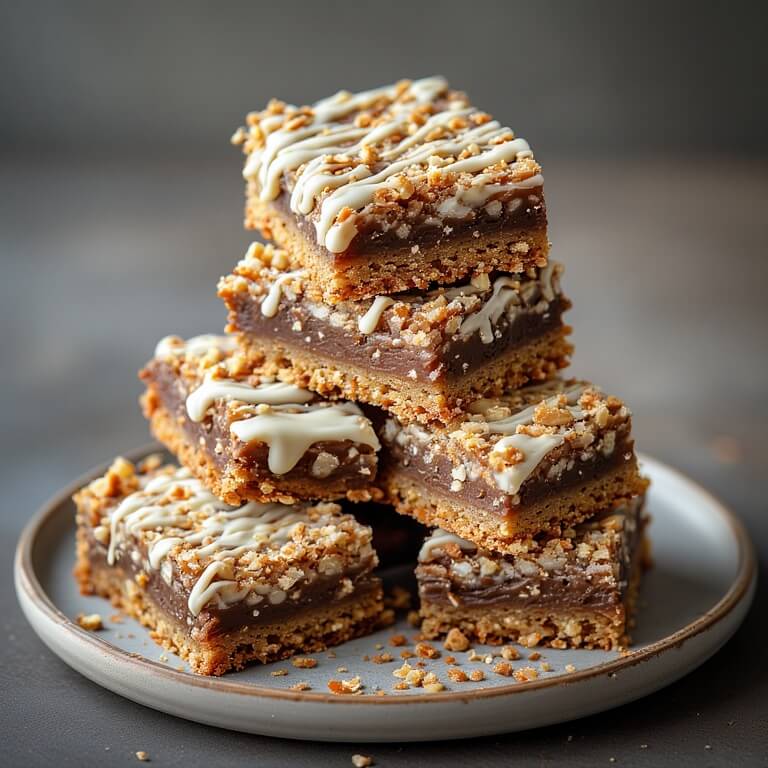
Classic millionaire shortbread comes from the UK and features three iconic layers:
- Shortbread base – buttery and crumbly
- Caramel layer – thick, gooey, and indulgent
- Chocolate topping – smooth, rich, and snappy
The no-bake version skips the oven but keeps all the flavor. IMO, it actually works better for beginners because there’s no risk of overbaking the base or scorching caramel on the stove for an eternity.
Ever wondered why it’s called “millionaire”? Because it tastes outrageously rich—like dessert royalty. Simple as that.
Why I Prefer the No-Bake Version (And You Might Too)
I’ve baked the traditional version plenty of times. It’s great… when it behaves. The no-bake version wins for everyday life.
Here’s why I reach for it again and again:
- No oven required (summer-friendly win)
- Foolproof layers with clean slices
- Shorter prep time
- Perfect make-ahead dessert
- Consistent results every time
FYI, chilling does most of the work here. Your fridge basically becomes your sous-chef 🙂
Let’s Talk Ingredients (Because Quality Matters)
The Base: Simple but Mighty
The base uses crushed cookies and melted butter. I usually go with shortbread cookies or digestive biscuits. Graham crackers work too, but shortbread gives that classic richness.
To crush cookies without rage, I use a food processor like the Cuisinart 14-Cup Food Processor
👉 https://amzn.to/49CxX2o
Could you use a zip-top bag and a rolling pin? Sure. Have I broken a bag mid-crush before? Also yes.
The Caramel: Where People Lose Their Minds
I use sweetened condensed milk, butter, and brown sugar. This combo gives you thick, sliceable caramel without candy thermometers or anxiety.
A heavy-bottomed saucepan matters here. I rely on the All-Clad Stainless Steel Saucepan
👉 https://amzn.to/4pEkwVM
Even heat = no scorched caramel = happiness.
The Chocolate: Keep It Simple
Good-quality chocolate chips or chopped chocolate bars work perfectly. I stick with semi-sweet or dark chocolate for balance.
For clean melting, I use a Pyrex Glass Mixing Bowl Set
👉 https://www.amazon.com/dp/B00M2J7PCI
Microwave-safe, sturdy, and zero drama.
Step-by-Step: How I Make No-Bake Millionaire Shortbread
Step 1: Make the Base
I crush the cookies into fine crumbs and mix them with melted butter until everything looks like damp sand. I press this mixture firmly into a lined square pan.
Tip: Use the bottom of a measuring cup to compact the base evenly. Uneven bases lead to weird slices, and nobody wants that.
I chill the base while I prep the caramel.
Step 2: Cook the Caramel (Don’t Walk Away)
I melt butter and brown sugar over medium heat, then stir in the condensed milk. I stir constantly for about 5–7 minutes until the caramel thickens and turns golden.
Ever wondered why caramel feels like it takes forever? Because it does… until it suddenly doesn’t. Stay close.
Once thick, I pour it over the chilled base and smooth it out quickly. Back into the fridge it goes.
Step 3: Add the Chocolate Layer
I melt chocolate gently, either in the microwave or over a double boiler. I pour it over the set caramel and tilt the pan to spread it evenly.
For neat chocolate layers, I let the caramel chill completely first. Warm caramel + hot chocolate = chaos.
I chill the whole pan for at least 2 hours before slicing.
How I Slice It Without Cracking the Chocolate
This took me a few tries to master. Here’s what works:
- Use a sharp knife
- Run the blade under hot water
- Wipe it dry before each cut
- Slice straight down—no sawing
I also let the bars sit at room temperature for about 5 minutes before slicing. Cold chocolate behaves better with a little patience.
Flavor Variations I Actually Make
Salted Caramel Millionaire Shortbread
I sprinkle flaky sea salt over the chocolate while it’s still warm. Sweet + salty always wins.
Peanut Butter Chocolate Top
I swirl melted peanut butter into the chocolate layer. It tastes like a candy bar, and I regret nothing.
Dark Chocolate Espresso
I add a pinch of espresso powder to the melted chocolate. Subtle, grown-up, and dangerously good.
IMO, the base recipe stays strong no matter how you riff on it.
Common Mistakes (AKA Lessons I Learned the Hard Way)
- Rushing the caramel – It needs time to thicken
- Using high heat – Burnt caramel smells like betrayal
- Skipping parchment paper – Removal becomes a nightmare
- Cutting too soon – Layers need time to set
Ever ruined a dessert by being impatient? Same. Chill time matters.
Why This Dessert Works for Parties and Gifting
I love desserts that travel well, slice cleanly, and don’t need reheating. No-bake millionaire shortbread checks every box.
I’ve wrapped individual bars for bake sales, gifted them during holidays, and stacked them on platters for parties. They disappear fast. Like, suspiciously fast.
Ingredients
Method
- Mix cookie crumbs and melted butter. Press firmly into a lined 8×8-inch pan. Chill.
- Melt butter and brown sugar over medium heat. Stir in condensed milk.
- Cook, stirring constantly, until thick and golden (5–7 minutes).
- Stir in vanilla and pour over base. Chill until set.
- Melt chocolate with oil or butter. Pour over caramel.
- Chill until firm, then slice and serve.
Notes
- Stir caramel constantly to prevent burning
- Chill each layer fully before adding the next
- Use parchment paper for easy removal
- Store bars refrigerated for up to 5 days