
Ever wanted a dessert that feels like cheating (because it basically is), yet gets you all the “OMG this is amazing” reactions? Well friend, say hello to Oreo Icebox Cake. This treat taps into the lazy-chef magic of “assemble + chill + devour.” I made it for the first time on a lazy Sunday afternoon when I was too tired to turn on the oven — and wow, that first bite hit me like a nostalgia bomb.
If you’re browsing late at night and craving cookies + cream + creaminess, this cake is your BFF. I’m gonna walk you through exactly how I make it — with all the little secrets I picked up after multiple “almost disasters.”
Why I Love Oreo Icebox Cake (And Why It’s Perfect for You)
🧊 What is an Icebox Cake, Anyway?
An icebox cake — sometimes called “refrigerator cake” — is a no-bake dessert made with layers of cookies or wafers and whipped cream (or creamy fillings), chilled until the layers meld together into a cake-like texture.
Historically, this dessert got its name from the “icebox,” the predecessor of modern refrigerators. People back then layered cookies and cream and stashed the creation in the icebox so it would firm up overnight. Sounds retro, but the result is timeless.
Why It’s a Winner
- No baking required — so no oven heat, no stress, no overheating your kitchen.
- Crazy simple ingredients — you likely have what you need. Cookies + whipped cream/cream + maybe a little sugar/vanilla and done.
- Kid-friendly & foolproof — great for potlucks, quick desserts, last-minute cravings, or impressing friends without a ton of effort.
- Flexible & customizable — you can play around with different cookie flavors (classic Oreo, mint, golden, etc.), add fruit or pudding layers, or go simple and classic.
My Tried-and-True Oreo Icebox Cake Recipe (Because I’m That Guy Who Tests Twice)
Here’s the recipe I use when I want a guaranteed hit. I’ve tweaked things a bit based on what I learned reading lots of high-ranking recipes (and making mistakes).
What You’ll Need (Ingredients)
- 2 standard packages of classic Oreo cookies (or any Oreo flavor you like)
- 2 cups (about 480 ml) heavy whipping cream, cold
- ¼ cup powdered sugar
- 1 teaspoon pure vanilla extract
- Optional: extra crushed Oreos or chocolate shavings for topping
Recommended Kitchen Tools (that make life easier)
- A stand mixer — whipping cream by hand is possible, but gets messy.
- A 9×13 inch baking dish or 8×8 inch cake pan (whatever you have)
- A rubber spatula — helps spread cream smoothly without breaking cookies
- Optional: parchment paper — makes cleanup much easier
Step-by-Step: How to Make It (So You Don’t End Up with Soggy Cookies)
1. Chill & Prep
Pop the mixing bowl (and beaters) into the fridge for 15–20 minutes. Cold tools = better whipped cream.
Pour your heavy cream, powdered sugar, and vanilla into that chilled bowl. Whip on high until you get firm peaks. (If you under-whip, the cake will be runny; over-whip and you risk it turning buttery — bland, I know.)
2. Layering Time
- Spread a thin layer of whipped cream at the bottom of your pan — this “glues” everything together.
- Arrange a single layer of Oreos on top. If needed, break a few to fill gaps.
- Dollop on a layer of whipped cream (about ¼–⅓ of total), spreading gently to fully cover cookies.
- Repeat: Oreo layer → whipped cream layer → final whipped cream layer on top.
Pro tip: Don’t overfill. If your pan overflows, you might love mess more than dessert.
3. Cover & Chill
Cover tightly (plastic wrap works fine) and refrigerate at least 6–8 hours, but overnight is best. I often make this after dinner and serve it the next evening. Overnight chilling helps the cookies absorb moisture and soften into a creamy, cake-like texture.
4. Slice & Serve
When you’re ready, run a warm knife under hot water, dry it off, and cut into slices. Clean slices look way better (and taste better) when the knife is warm.
Sprinkle crushed Oreos or chocolate shavings on top if you’re feeling fancy. Serve chilled.
Some Nerdy Tips & Tricks (Because I Care 😉)
- Use cold cream & cold bowl. Cold everything helps whipped cream whip faster and hold shape.
- Don’t rush the chill time. Even though you’re tempted to dig in after a couple hours — resist. Overnight makes a huge texture difference.
- If you use flavored Oreos (mint, birthday cake, etc.), consider reducing powdered sugar — some flavors are sweeter, and too much sweetness can kill the balance.
- Don’t overcrowd the pan. If your layer of Oreos is uneven or stacked too crookedly, the whole slice becomes unstable. Cut a few cookies to fill gaps instead of cramming them in.
- Optional add-ons: Fresh berries, chocolate drizzle, crushed nuts, or even a layer of pudding — just make sure you don’t over-load the cake or it’ll get messy. Some popular variations use pudding mixes + whipped topping or even instant pudding + Cool Whip to get a denser cream layer.
What the “Best” Recipes Get Right (And What I Borrowed From Them)
I spent hours reading the top 10 or so high-ranking Oreo icebox cake recipes and blogs, and here’s what tends to show up again and again — and what I include in my version:
- Use whipped cream (or heavy cream)— not just Cool Whip. Fresh whipped cream tastes richer and less artificial.
- Keep it simple (few ingredients). Most top recipes stick to Oreos + cream + sugar + vanilla.
- Chill overnight. Top blogs always recommend at least 6–8 hours, but prefer overnight so cookies soften properly.
- Use standard cookie layers — not fancy wafers (especially since many classic wafers are discontinued). Most cooks now accept regular Oreos as the go-to.
- Proper layering and pan size. A 9×13 or 8×8 works best; overstuffing or wrong pan shape risks sloppy, uneven cake.
I wove all those into my recipe to get something that works close to 100% of the time — even if I’m half-asleep when I make it.
Variations & Fun Twists (For When You’re Feeling Extra)
Because plain Oreos + cream is classic, but sometimes you want to get weird:
- Fruit twist: Add a layer of fresh strawberries or raspberries between cream layers. They add brightness and a little juicy pop. Many versions add berries for freshness.
- Mint / flavored Oreo cake: Use mint Oreos, birthday-cake Oreos, or golden Oreos for a flavor shift. Some folks even pair with mint extract or sprinkles for a fun look.
- Pudding-style richness: Mix instant pudding (vanilla or chocolate) into your whipped cream for a denser, richer filling — similar to some popular recipes I saw.
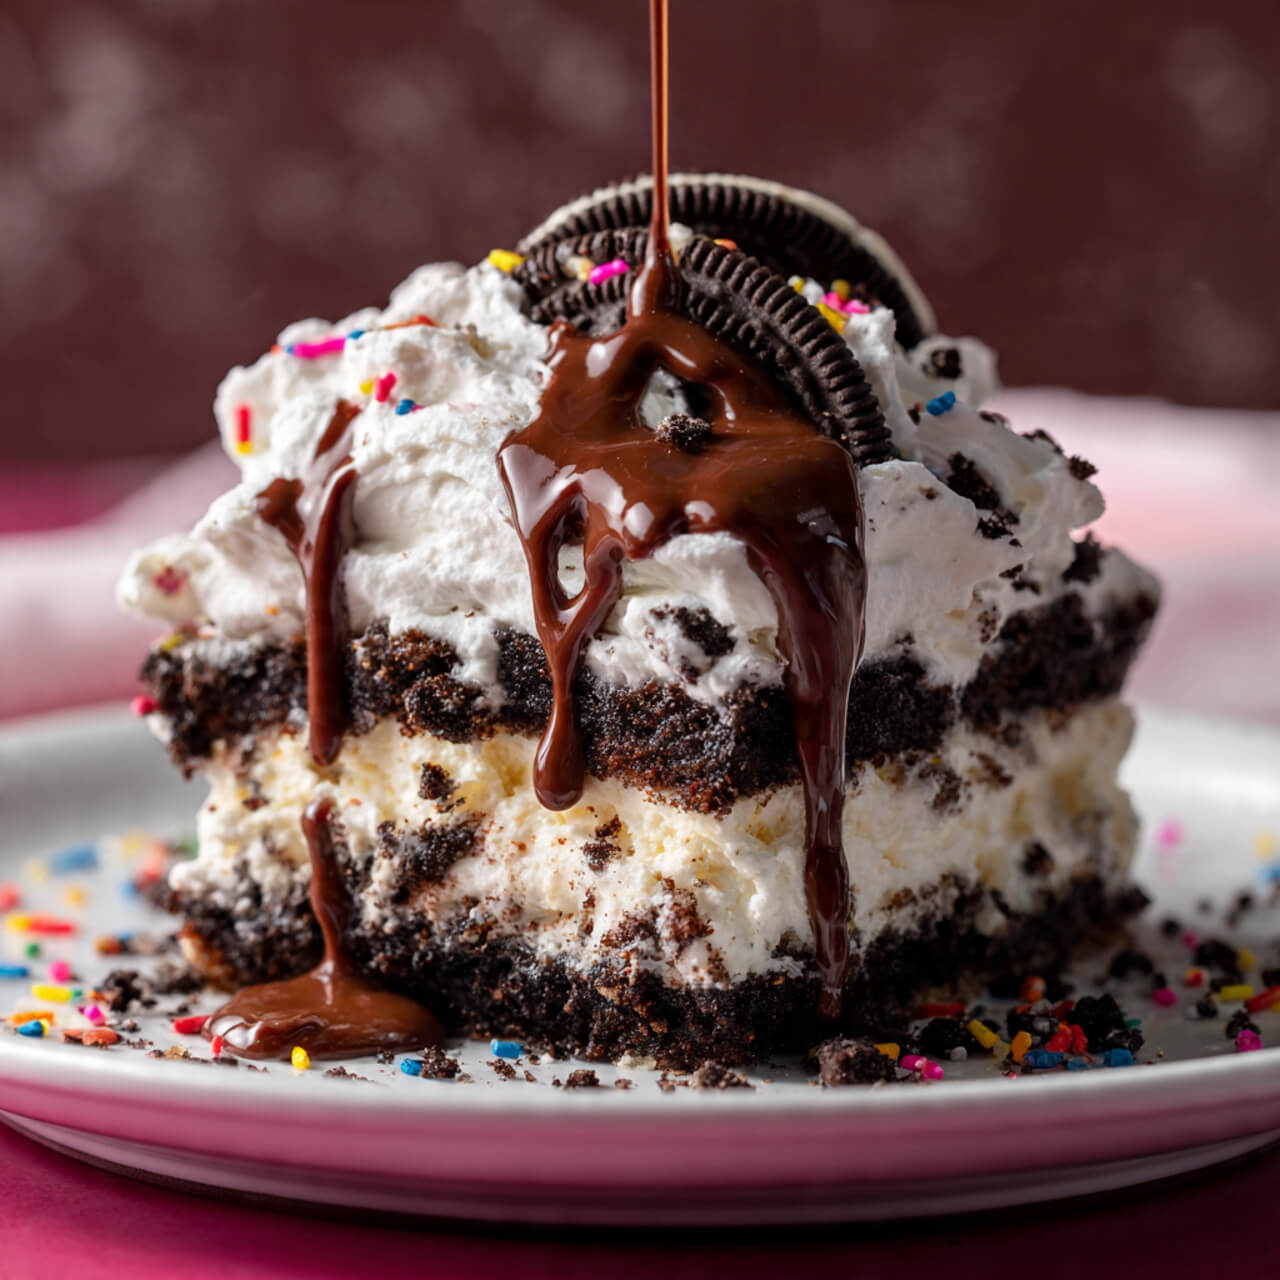
- Chocolate drip: Melt some chocolate ganache or fudge and drizzle on top before chilling — gives a bakery-style finish. (I did this once for a dinner party; zero leftovers.)
Ingredients
Method
- Chill the mixing bowl and beaters for 15–20 minutes.
- Pour cold heavy cream, powdered sugar and vanilla into bowl; whip until stiff peaks form.
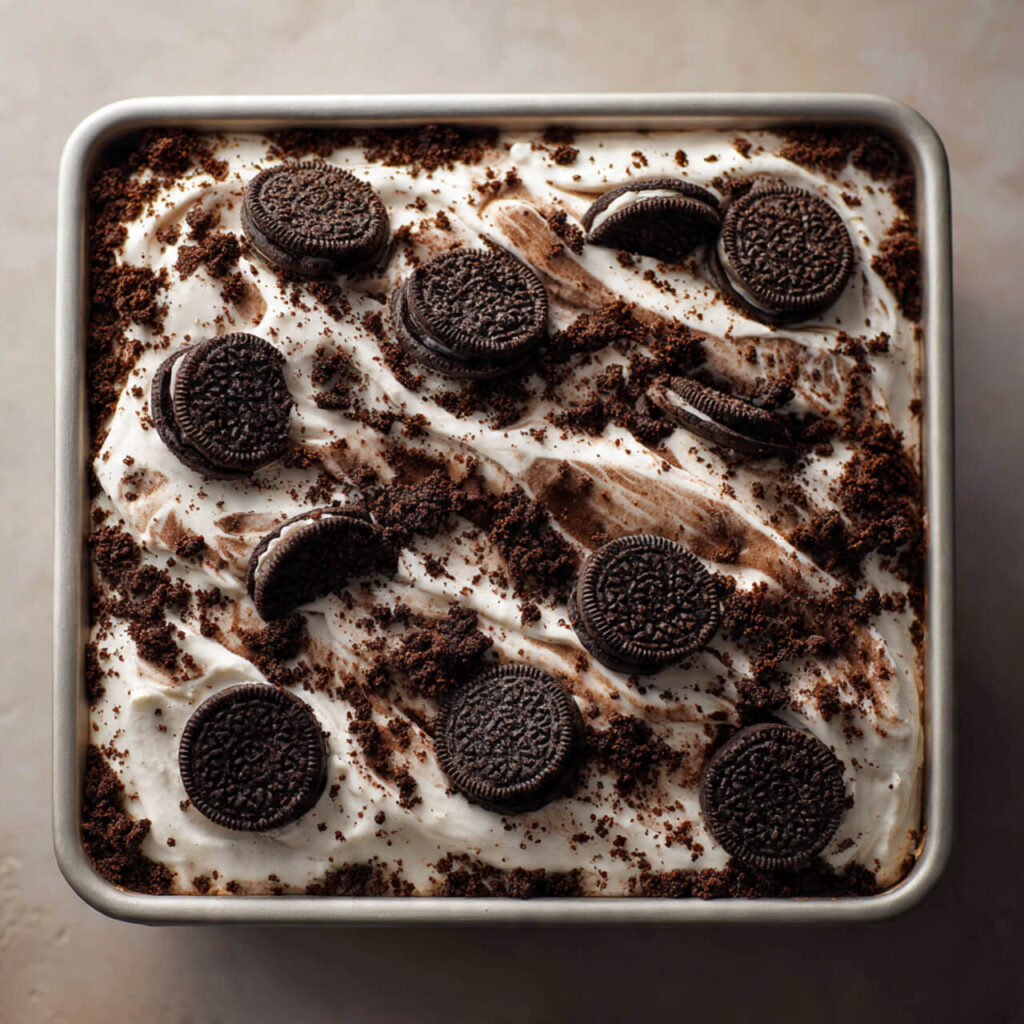
- Line a 9×13 (or 8×8) pan (optionally with parchment paper).
- Spread a thin layer of whipped cream at bottom.
- Arrange a layer of Oreos on top (break a few to fit if needed).
- Spread about ⅓ of the whipped cream over the Oreos.
- Add a second layer of Oreos.
- Spread remaining whipped cream over top, smoothing the surface.
- Cover tightly and refrigerate for at least 6–8 hours (overnight recommended).
- To serve: warm a knife under hot water, dry it, slice, and optionally top with crushed Oreos or chocolate shavings.
Notes
- Use cold cream and cold bowl for better whipped cream.
- Don’t skip the chill — overnight is ideal for perfect texture.
- If using flavored Oreos (mint, birthday cake, etc.), consider reducing powdered sugar — some flavors are sweeter.
- Feel free to mix in fruit, pudding, or chocolate drizzle for fun variations.
My Final Thoughts (Because I’m That Friend Who Actually Cares)
Man, I still remember the first time I took a bite of this cake — I felt like I had unlocked some secret dessert achievement. It was creamy, smooth, slightly cool from the fridge, with just enough cookie-crunch turned soft to feel like cake.
This cake has saved me at more than one last-minute get-together. I once whipped it up in 20 minutes after a hectic day and walked into a potluck like I was a dessert wizard. The compliments came fast and hard.
If you want, next time I can share with you 5–6 fun flavored icebox cake variations (mint, peanut butter, fruit-layered, pudding-style, etc.) that totally change the vibe.
So go on — grab those Oreos, get whisking, and treat yourself. Because you deserve dessert that’s easy, indulgent, and totally zero stress 😉
Happy chilling (and devouring)!