
I’m just going to say it—peanut butter blossoms are non-negotiable in my house. If it’s December and there’s no tray of peanut butter cookies with chocolate kisses on top, something has gone very wrong.
But here’s the twist. A few years ago, I got lazy. Not “order takeout lazy,” but “I do not want to wash ten measuring cups” lazy. So I started experimenting with three-ingredient peanut butter blossoms, and… wow. They worked. Like, dangerously well.
Ever wondered if fewer ingredients could actually make cookies better? I did too. Turns out, the answer is yes—and I’ve been baking these ever since.
Why These 3 Ingredient Peanut Butter Blossoms Actually Work
At first, I didn’t trust them. No flour? No butter? No baking powder doing its science-y thing? It felt illegal.
But here’s why they work (and why top recipes all lean on the same logic):
- Peanut butter provides fat and structure
- Sugar creates sweetness and crisp edges
- Egg binds everything together
That’s it. No fillers. No distractions. Just cookie logic doing its thing.
IMO, the simplicity makes the peanut butter flavor stronger, not weaker. And the texture? Soft in the middle, lightly crisp on the outside. Exactly what you want.
My Personal Rule for Peanut Butter (Learned the Hard Way)
Let me save you a batch of disappointment.
Do not use natural peanut butter.
I tried it once. The oil separation wrecked the dough, and the cookies spread like pancakes. Stick with a classic, shelf-stable option.
I always use Jif Creamy Peanut Butter because it bakes consistently every time.
You can find it here if you need it:
Smooth peanut butter = predictable cookies. Predictable cookies = happiness.
Ingredients (Yes, Only Three)
Here’s the full lineup. No surprises.
- 1 cup creamy peanut butter
- 1 cup granulated sugar
- 1 large egg
That’s it. No salt needed. Peanut butter already handles that.
And for the classic finish:
- Hershey’s Milk Chocolate Kisses (unwrapped and waiting)
I buy the big bag because “one per cookie” is a lie we tell ourselves.
Step-by-Step: How I Make Them (Without Stress)
Step 1: Preheat and Prep
I preheat my oven to 350°F and line a baking sheet with parchment paper. I learned the hard way that skipping parchment leads to sticky bottoms and regret.
Step 2: Mix the Dough
I add the peanut butter, sugar, and egg to a bowl and mix until smooth. I use a simple whisk or spatula—no mixer needed.
The dough looks thick and slightly glossy. That’s exactly right.
Step 3: Roll and Coat
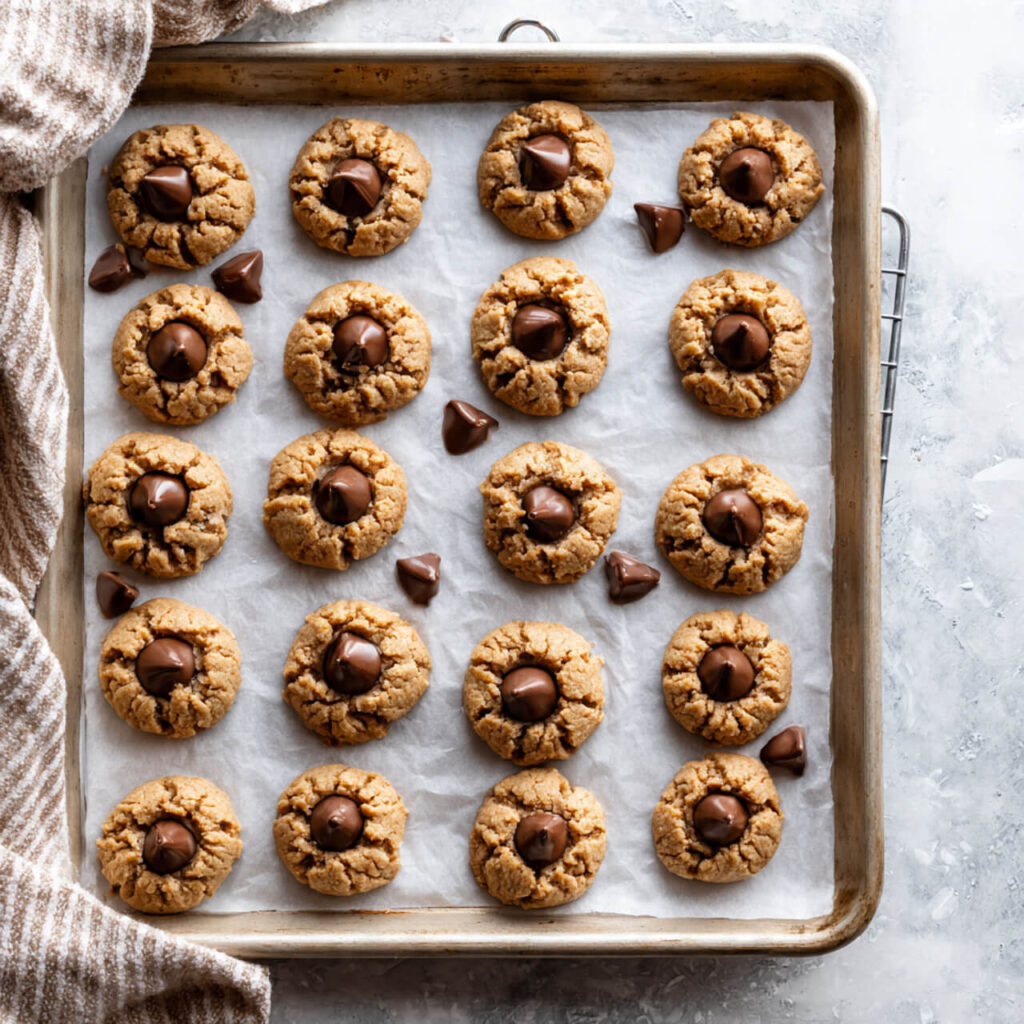
I roll the dough into 1-inch balls and place them on the baking sheet, leaving space between each one.
Sometimes I roll them lightly in sugar for sparkle. Sometimes I forget. Both ways work.
Step 4: Bake
I bake the cookies for 8–10 minutes. They look soft when they come out, and that’s perfect.
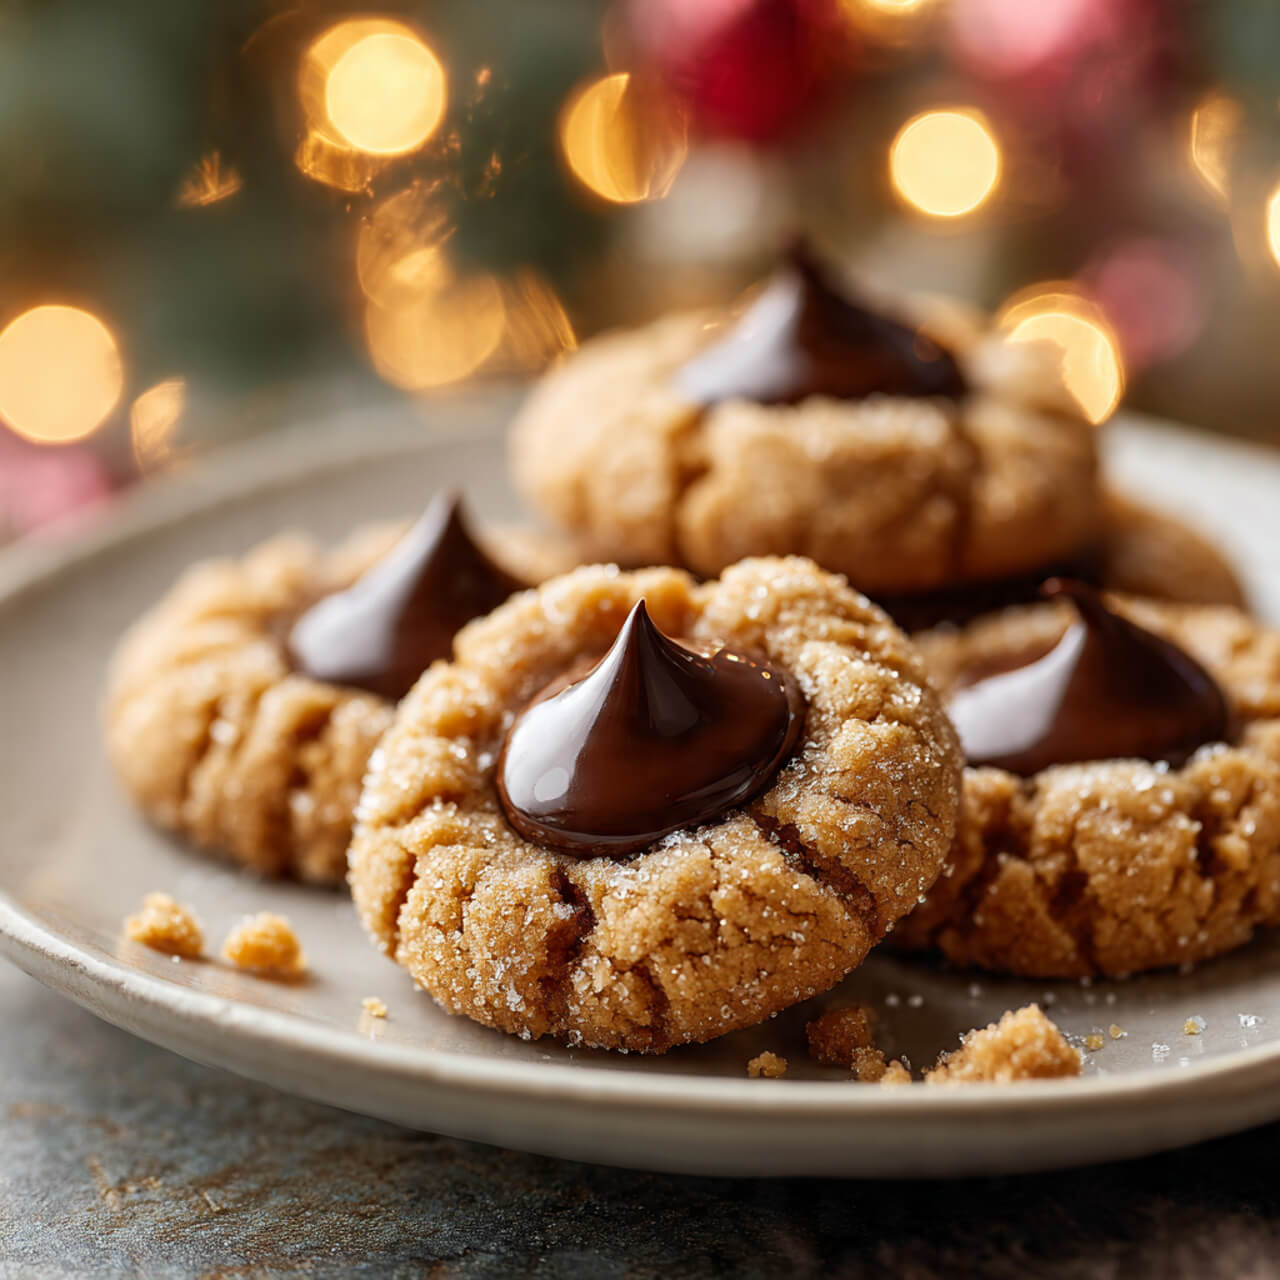
Step 5: Add the Kiss
I press a chocolate kiss gently into the center immediately after baking. The cookie cracks slightly around the edges—classic look.
Ever notice how that crack makes them look bakery-worthy? Love that.
Timing Tip That Actually Matters
Most top recipes mention this, and they’re right:
Add the chocolate while the cookie is hot.
Wait too long, and the cookie stiffens. Press too hard, and the cookie collapses. Gentle and quick wins here.
I keep the kisses unwrapped and ready before the cookies go in the oven. No scrambling. No melted chocolate fingers.
Tools I Use (And Why They Help)
You don’t need fancy gear, but a couple things make life easier.
- Nordic Ware Aluminum Baking Sheets – bake evenly, no hot spots
- OXO Silicone Spatula – scrapes every bit of dough
I’ve tried cheaper pans. They warp. These don’t.
Texture Talk: Soft vs Crispy (Choose Your Path)
If you want soft and chewy:
- Bake closer to 8 minutes
- Let cookies cool on the tray
If you want slightly crisp edges:
- Bake 10 minutes
- Transfer to a cooling rack sooner
I usually land somewhere in the middle because compromise feels mature.
Common Mistakes (I’ve Made Them All)
Let’s avoid heartbreak.
- Overbaking dries them out fast
- Natural peanut butter ruins structure
- Cold eggs don’t mix as smoothly
- Skipping parchment causes sticking
FYI, these cookies firm up as they cool. Pull them early.
Storage & Make-Ahead Tips
I store these in an airtight container at room temperature for 3–4 days. They rarely last that long.
You can also freeze the dough balls and bake straight from frozen. Just add one extra minute.
Why These Cookies Show Up Everywhere (For Good Reason)
Every top recipe agrees on a few things:
- Minimal ingredients win
- Peanut butter flavor should lead
- Chocolate kiss stays classic
This recipe checks all those boxes without overthinking anything. And honestly? That’s why it works.
Ingredients
Method
- Preheat oven to 350°F and line a baking sheet with parchment.
- Mix peanut butter, sugar, and egg until smooth.
- Roll dough into 1-inch balls and place on baking sheet.
- Bake for 8–10 minutes until edges set.
- Press a chocolate kiss into each cookie immediately after baking.
- Cool slightly and enjoy.
Notes
- Use shelf-stable peanut butter only
- Cookies firm up as they cool
- Add chocolate while cookies are hot
- Store airtight for best texture