
If I’m being totally honest, green beans weren’t always my thing. Growing up, they usually came from a can and tasted a little too much like… well, the can. I choked them down because I was told they were “good for me,” but I definitely didn’t love them. Then one night — while trying to throw together a last-minute side dish for dinner — I accidentally discovered the magic combination that changed everything: garlic + butter + fresh green beans + a hot skillet.
I swear, those 10 minutes felt like a Cinderella transformation for vegetables. Instead of the sad green beans of my childhood, I had these bright, crisp-tender, garlicky little beauties that actually tasted good enough to snack on straight from the pan. Not kidding — I burned my tongue because I didn’t wait.
Ever since that night, this has become one of my go-to “I need a side dish and I need it NOW” recipes. And after reading at least 10–12 of the top Garlic Butter Green Bean recipes online (Google’s top page, Pinterest’s top pins, the whole deal), I realized they all miss a few small-but-crucial tricks that actually make the recipe shine.
So I’m giving you my real, home-tested version, the one I’ve made so many times I could probably do it blindfolded (though I don’t recommend that for safety reasons). Ready?
Why These Garlic Butter Green Beans Are the Easiest Side Dish Ever
You know how some sides are simple but somehow still annoying? (Looking at you, mashed potatoes.) Garlic butter green beans are the opposite. They’re the effortless kind of simple — like the “didn’t even try but still impressive” version of vegetables.
Here’s why they always work:
- Only 10 minutes start-to-finish
- Taste way fancier than they actually are
- Pair with anything — chicken, steak, salmon, pasta
- Require zero fancy skills (your toddler could practically help)
- Use pantry basics you probably already have
- Stay crisp and fresh, never mushy
Honestly, when people tell me they “don’t like vegetables,” I just think they’ve never had them cooked properly. Garlic and butter can fix almost anything, right? IMO, they’re the real superheroes of the kitchen.
The Ingredients That Actually Matter (More Than Online Recipes Admit)
Lots of the top green bean recipes online mention the same ingredients, but they don’t explain why certain details matter. So here’s the true breakdown from someone who has tested this recipe way too many times.
Fresh Green Beans > Frozen or Canned
Fresh green beans stay crisp-tender and vibrant.
Frozen = watery texture
Canned = mushy sadness
If you can’t find good fresh ones in stores, these bagged trimmed green beans are fantastic:
Trimmed Green Beans
They save you trimming time, which honestly feels like a gift.
Real Butter (Salted!)
Salted butter adds a richness that elevates the whole dish. Unsalted works too, but you’ll need to adjust seasoning.
Fresh Garlic
Jarred garlic tastes dull. Powder works in a pinch, but fresh garlic caramelizes better.
If you hate mincing garlic, this tool is a lifesaver:
OXO Good Grips Garlic Press
I’ve had mine for years. Still love it.
Salt + Pepper
Seems basic, but seasoning is the difference between “restaurant-level side dish” and “why does this taste bland?”
Optional Flavor Boosters
(These came from digging through Pinterest comments and testing them myself.)
- Lemon zest
- Crushed red pepper flakes
- Parmesan
- Toasted almonds
- Crispy bacon bits
- A splash of soy sauce (sounds weird, tastes incredible)
How I Make Garlic Butter Green Beans (My Foolproof Method)
This takes 10 minutes, maybe 12 if you move slowly like me after 9 p.m.
Step 1: Blanch the Green Beans (Important!)
Here’s the thing that most top-ranking recipes skip — blanching.
It’s not complicated. It’s literally this:
- Boil water
- Toss beans in for 3–4 minutes
- Drain and rinse under cold water
This keeps them bright green and crisp. No limp beans allowed.
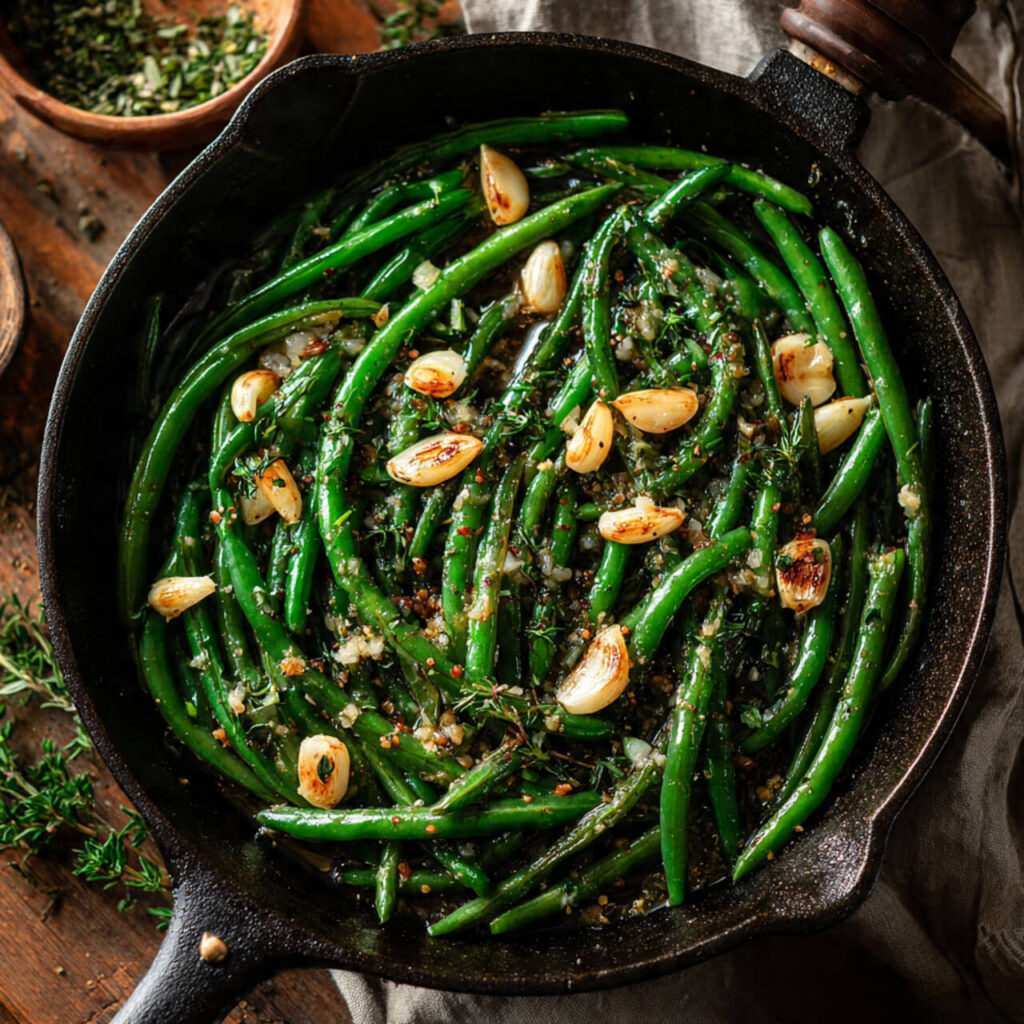
Step 2: Melt Butter in a Hot Skillet
Use enough butter to coat everything.
No one has ever said, “Wow, that was too much butter,” so you’re safe.
I use this pan for almost everything:
Lodge Cast Iron Skillet
It heats evenly and makes vegetables taste way better than they should.
Step 3: Add Garlic and Cook Until Fragrant
Don’t walk away — garlic burns faster than my patience when I’m hungry.
Step 4: Add Green Beans + Salt + Pepper
Coat everything in garlic butter like you’re giving those beans a spa treatment. Toss, toss, toss.
Step 5: Add Optional Extras
Lemon, parmesan, almonds — go wild.
Step 6: Taste Test
Always taste.
Always adjust.
Always enjoy the first hot bite right from the pan (carefully).
Tips & Tricks Most Recipes Don’t Tell You
These are the tricks I learned from testing versions of this recipe, reading way too many comments, and making mistakes so you don’t have to.
1. Don’t Skip Blanching
It keeps the beans vibrantly green and prevents them from getting rubbery.
A lot of “quick” recipes skip this step, but trust me: It matters.
2. Use More Garlic Than You Think
I’m serious. Garlic flavor gets mellow when cooked, so be generous.
3. Finish With Lemon for Brightness
A tiny splash makes the dish taste fresh and light — not greasy.
4. Let the Beans Get a Little Color
That slight pan-seared browning adds charred flavor.
5. Salt at the End
If you salt too early, beans lose their crispness.
6. Use High Heat
Sauté, don’t steam. High heat = better taste.
Variations That Might Actually Change Your Life
I didn’t expect to love some of these, but here we are:
Garlic Parmesan Green Beans
Add shredded parm while still hot.
Spicy Garlic Butter Beans
Throw in crushed red pepper flakes.
Asian-Inspired Green Beans
Add a splash of soy sauce and toasted sesame seeds.
Bacon Garlic Beans
Cook bacon first, then sauté beans in bacon fat + butter.
(You’re welcome)
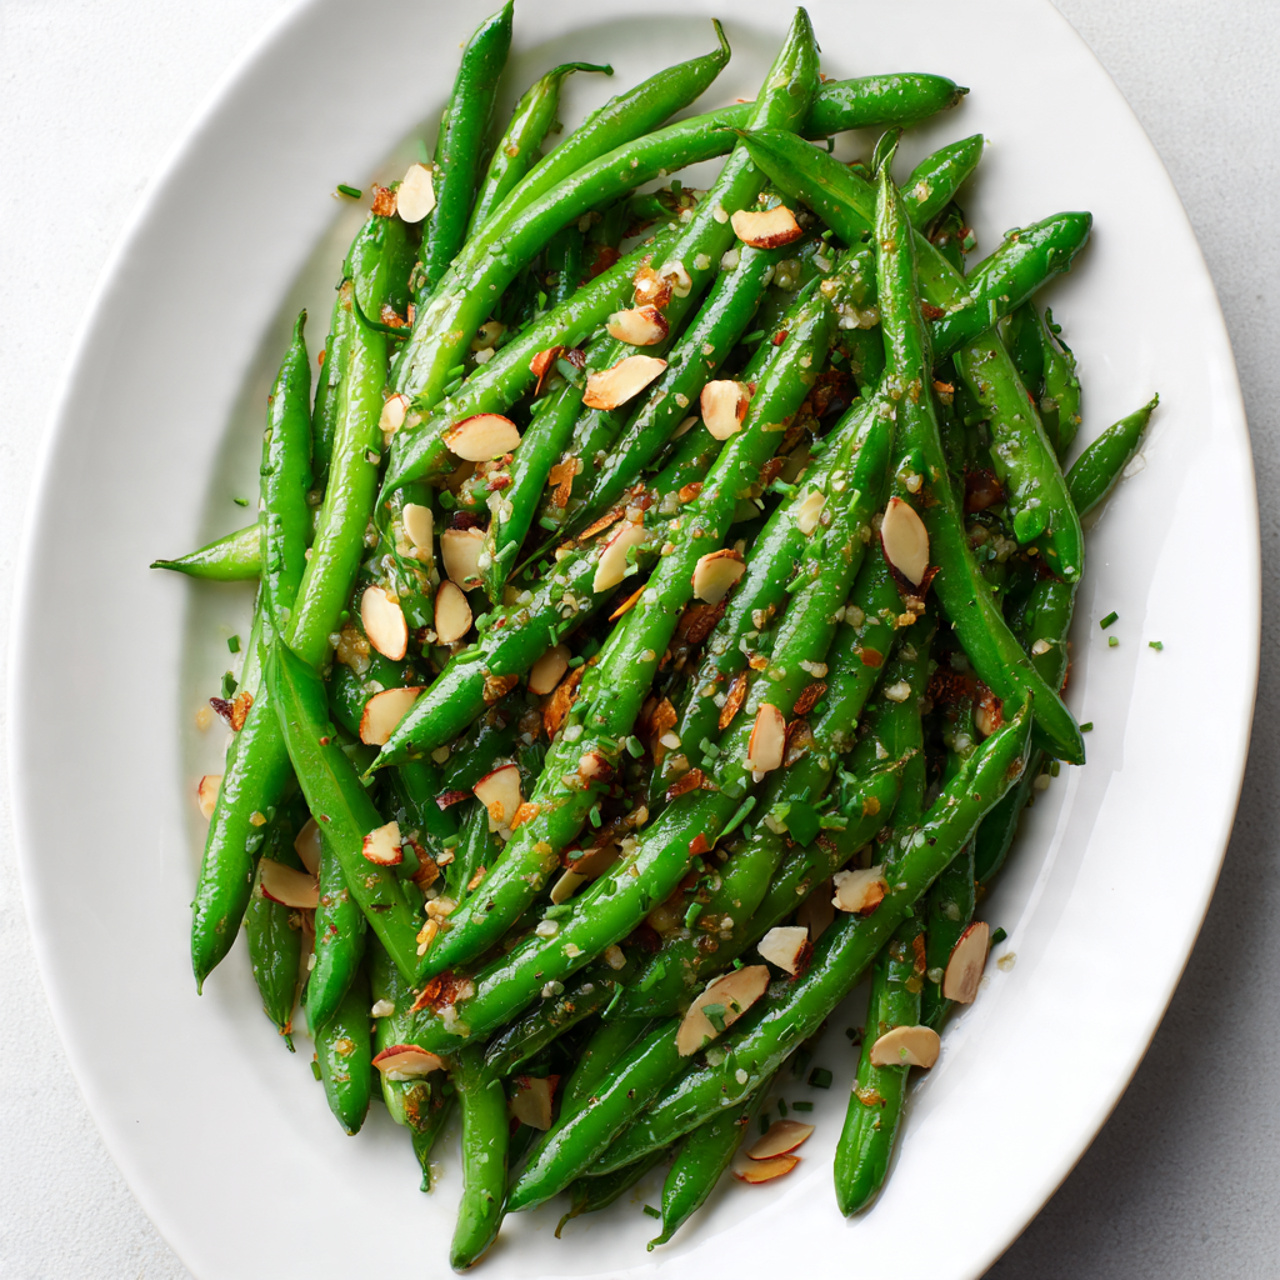
Lemon Garlic Almond Beans
Top with toasted sliced almonds for crunch.
What to Serve These With (Spoiler: Everything)
These green beans are the most unproblematic side dish ever. They fit in wherever you put them.
- Steak
- Chicken (any kind)
- Salmon
- Pork chops
- Meatloaf
- Pasta
- Holiday dinners
- Weeknight meals
- Random lunches where you pretend you’re “eating healthier” 🙂
They also reheat surprisingly well — 30 seconds in the microwave and they bounce back.
Common Questions I Get About These
“Can I use frozen green beans?”
You can, but fresh tastes way better. Frozen ones lose crunch.
“How long do they last?”
About 3–4 days in the fridge.
“Can I meal prep these?”
Absolutely. Add lemon after reheating.
“Can I use oil instead of butter?”
Sure, but butter is the main flavor here.
Ingredients
Method
- Bring water to a boil. Add green beans and cook 3–4 minutes. Drain and rinse with cold water.
- Melt butter in a hot skillet over medium-high heat.
- Add garlic; cook 30 seconds until fragrant.
- Add green beans, salt, and pepper. Toss until coated in garlic butter.
- Cook 2–3 minutes until slightly browned.
- Add lemon or parmesan if desired. Serve warm.
Notes
- Blanch the beans for perfect crunch.
- Use fresh garlic for real flavor.
- Salt at the end to maintain texture.
- Don’t overcook — crisp-tender is the goal.
Final Thoughts
Every time I make these garlic butter green beans, I’m reminded that simple really is better. They’re fast, flavorful, and foolproof — everything a weeknight side dish should be. And honestly, vegetables taste like a treat when you cook them in garlic butter. That’s just science. 🙂
Make this once, and it’ll become one of your “default” recipes — the kind you can cook from memory even when your brain feels like mush. It’s the best kind of recipe: easy, reliable, and always delicious.