
I’ll be honest—pizza night at my house used to be boring. Same box, same slices, same regret after the third piece. Then one random weeknight, standing in my kitchen with a pound of ground chicken and zero motivation, I tried something new. I folded pizza flavors into handheld pockets. That was it. Game over.
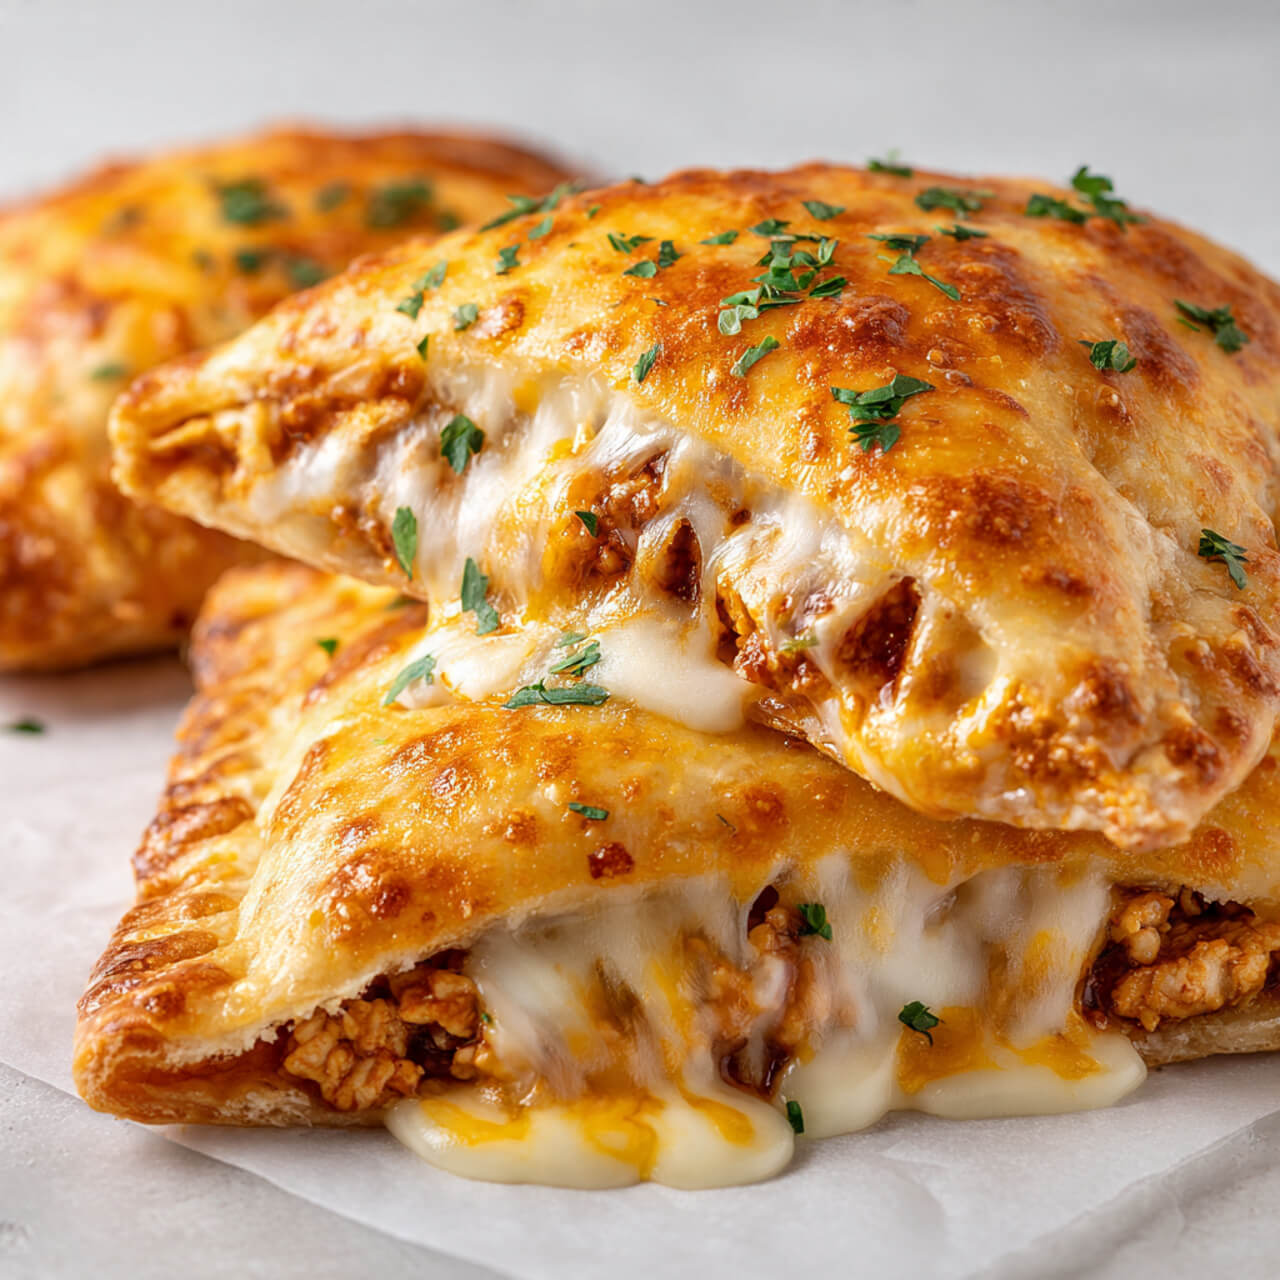
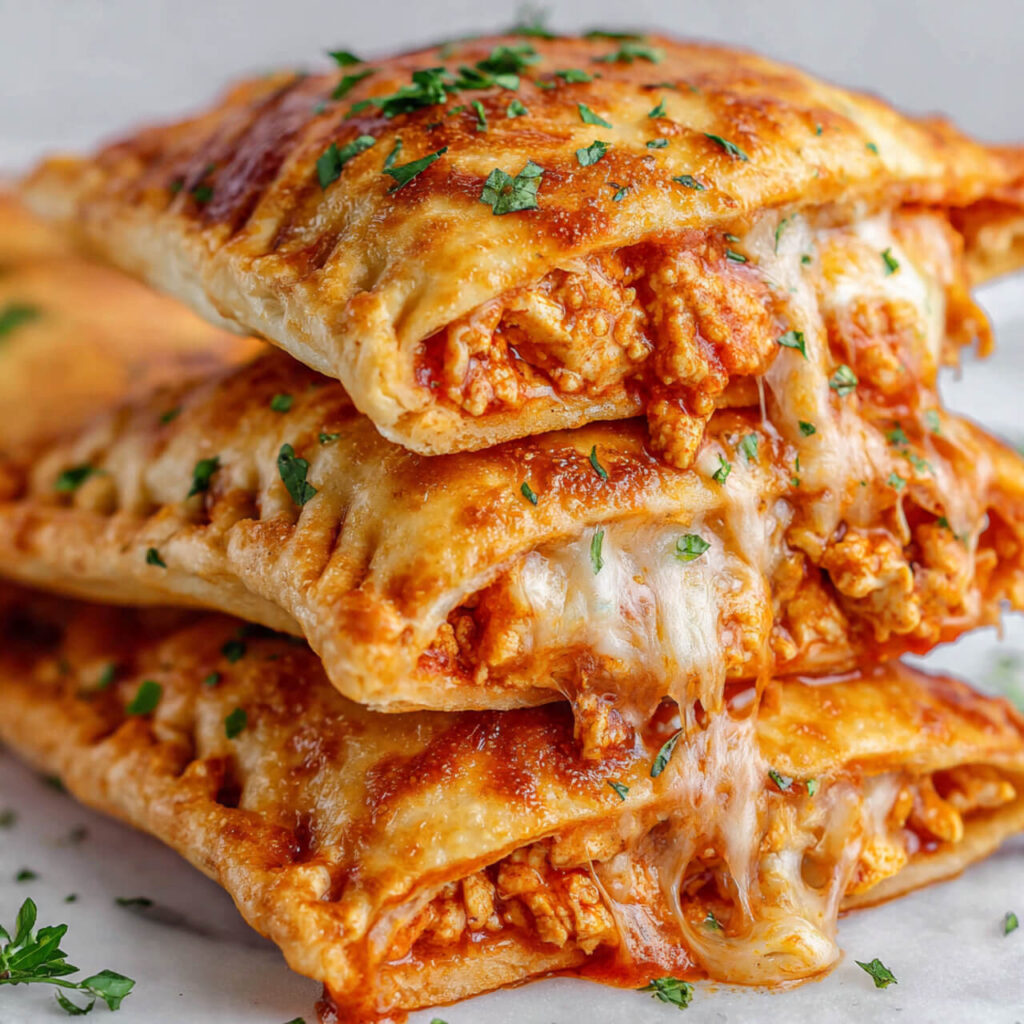
These ground chicken pizza pockets became the thing my family now asks for by name. Not “pizza.” Not “dinner.” These pockets. And yeah, I get it—crispy outside, juicy inside, cheesy in the middle. They hit every comfort-food craving without feeling heavy or greasy.
If you’ve ever wanted a pizza-style meal that feels homemade, customizable, freezer-friendly, and way more fun, you’re in the right place. Let me walk you through exactly how I make these, what I’ve learned the hard way, and how you can tweak them to fit your vibe.
Why I Ditched Traditional Pizza for These Pockets (No Regrets)
I love pizza. I really do. But pizza pockets fix everything pizza does wrong.
- No soggy center
- No toppings sliding off
- No fighting over slices
- No sad leftovers the next day
Plus, ground chicken keeps them lighter while still packing flavor. IMO, it’s the most underrated protein for pizza-style recipes. It absorbs seasoning like a champ and stays juicy if you treat it right.
Ever wondered why some homemade pizza fillings taste flat? It’s usually under-seasoned meat. We won’t do that here. Promise. 🙂
The Flavor Combo That Actually Works (And Why)
Let’s talk filling. Because this is where people mess up.
What Makes These Pizza Pockets So Good
I tested a few versions (read: my family gave brutal feedback), and this combo won every time:
- Ground chicken – mild, juicy, perfect canvas
- Garlic + onion – non-negotiable
- Italian seasoning – classic pizza energy
- Pizza sauce – not marinara, not pasta sauce
- Mozzarella + parmesan – melt + sharpness
FYI, pizza sauce matters. I use Contadina Pizza Squeeze Original Sauce because it’s thick and doesn’t leak everywhere. You can find it here:
👉 https://amzn.to/4r4og47
That squeeze bottle saves sanity on busy nights.
The Dough Debate: Store-Bought vs Homemade
I’ve done both. Here’s the truth.
Store-Bought Dough (My Weeknight Pick)
When life feels chaotic, refrigerated pizza dough wins.
- Pillsbury Pizza Dough works beautifully
- Easy to stretch
- Bakes evenly
- Zero planning
Homemade Dough (Weekend Mood Only)
If you love baking and have time, go homemade. But don’t feel pressured. The filling carries this recipe hard.
Either way, roll the dough thin but not fragile. Too thick = doughy. Too thin = explosion in the oven (ask me how I know :/).
My Exact Ground Chicken Pizza Pocket Filling (No Guessing)
This part smells incredible. Like, neighbors-will-walk-by-slower incredible.
Step-by-Step Filling Breakdown
- Heat olive oil in a skillet over medium heat
- Add diced onion and cook until soft
- Add garlic and stir for 30 seconds
- Add ground chicken and break it up
- Season aggressively (salt, pepper, Italian seasoning, paprika)
- Stir in pizza sauce and simmer briefly
Key tip: Cook until just done. Overcooked chicken = dry pockets. Nobody wants that.
I use a Lodge 12-Inch Cast Iron Skillet for this because it browns evenly and lasts forever:
👉 https://amzn.to/4jKtOOA
Worth every penny. I’ve had mine for years.
Assembling the Pizza Pockets (This Part Is Weirdly Fun)
This is where kids magically appear in the kitchen.
How I Assemble Without Chaos
- Roll dough into rectangles or circles
- Spoon filling on one half
- Add mozzarella + parmesan
- Fold and seal edges with a fork
- Brush with egg wash
- Sprinkle garlic powder + oregano on top
Seal the edges well. Cheese has no loyalty and will escape.
Baking vs Air Frying (I Tested Both)
Yes, I tested this because science.
Oven Method (Classic)
- 400°F
- 15–18 minutes
- Golden, crisp, reliable
Air Fryer Method (Fast + Crispy)
- 375°F
- 8–10 minutes
- Extra crunch, smaller batches
If you own the COSORI Air Fryer Max XL, this recipe shines in it:
👉 https://amzn.to/4jKI4a2
I use mine constantly, especially for reheating leftovers.
Tips I Learned the Hard Way (Read These)
- Cool the filling slightly before assembling
- Don’t overfill (tempting, I know)
- Use low-moisture mozzarella
- Rest pockets 5 minutes before eating
Burnt tongues ruin dinner vibes.
Variations I Make on Repeat
Once you master the base, go wild.
Flavor Twists That Actually Work
- Buffalo Chicken – swap sauce, add blue cheese
- BBQ Chicken – BBQ sauce + red onion
- Pepperoni Chicken – chopped turkey pepperoni
- Veggie Boost – mushrooms + bell peppers
Want heat? Add crushed red pepper to the filling. Just don’t overdo it unless you like regret.
Make-Ahead, Freezer, and Reheating Tips
These freeze like champs.
How I Freeze Them
- Assemble fully
- Freeze on a tray
- Transfer to freezer bags
They last up to 3 months.
Reheating Without Drying Out
- Oven: 350°F for 12–15 minutes
- Air fryer: 360°F for 6–8 minutes
Skip the microwave unless you enjoy disappointment.
Why These Beat Takeout Every Time
Let’s be real—takeout pizza costs more, tastes inconsistent, and shows up late. These pockets?
- Cost less
- Taste better
- Reheat beautifully
- Make you feel like a kitchen genius
Ever had food that makes you proud? This is that food.
Ingredients
Method
- Preheat oven to 400°F.
- Heat olive oil in skillet. Cook onion until soft.
- Add garlic, then ground chicken. Cook until just done.
- Season chicken and stir in pizza sauce. Remove from heat.
- Roll dough and cut into portions.
- Fill, cheese, fold, and seal pockets.
- Brush with egg wash.
- Bake 15–18 minutes until golden.
Notes
- Don’t overfill pockets
- Let filling cool slightly before assembling
- Use low-moisture cheese
- Rest before serving
Final Thoughts (Before You Preheat the Oven)
These ground chicken pizza pockets became a staple in my kitchen because they work. They feed picky eaters, impress guests, and save weeknights. I still love pizza—but honestly? I reach for these more often now.
Try them once. Tweak them. Make them yours. And don’t be surprised when they vanish faster than you expected. 🙂