
If you’re anything like me, you’ve had at least one moment where you’re standing in your kitchen late at night, staring at your pantry like it’s supposed to magically hand you dessert. And every single time, the same thought hits me: “Wow… I could really go for a peanut butter cup right now.”
But instead of grabbing the store-bought ones (that taste great for the first two seconds and then somehow leave a weird aftertaste?), I started making these No-Bake Chocolate Peanut Butter Cups at home—and let me tell you, they ruined store-bought candy for me forever. In a good way.
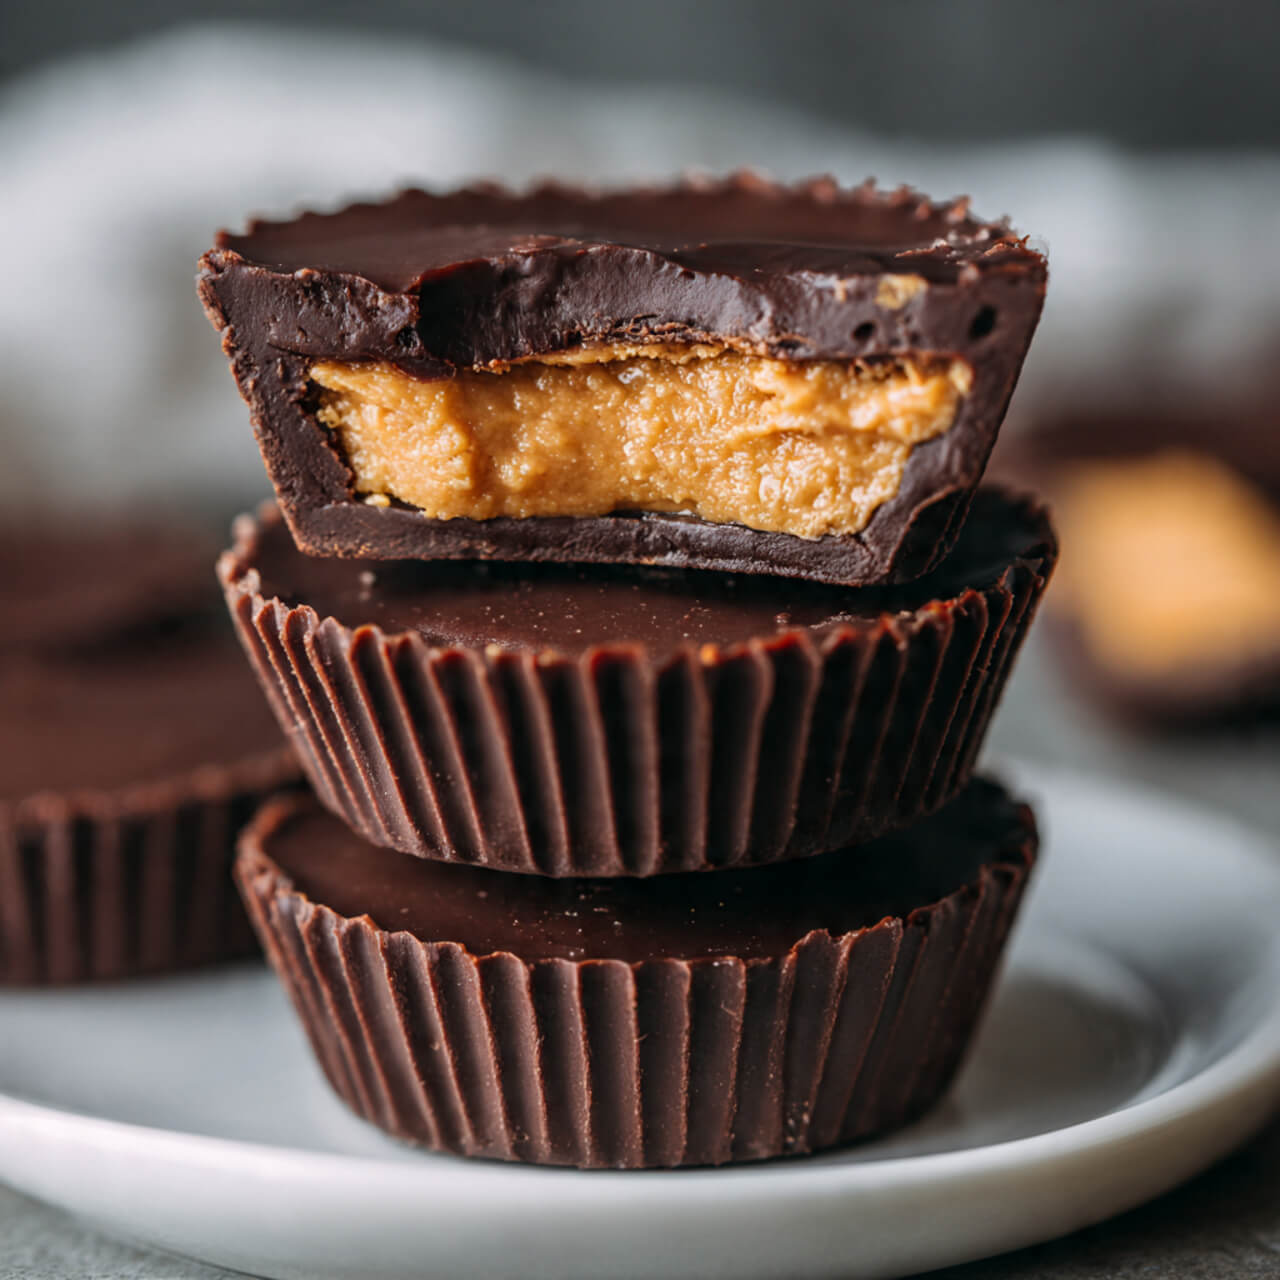
These cups are creamy, chocolatey, salty-sweet, and ridiculously easy. Like, embarrassingly easy. The kind of easy where you feel like you shouldn’t tell people how simple they really were, because they look way more impressive than the effort involved. And the fact that they’re no-bake? Absolute win.
If you want rich chocolate, silky peanut butter, zero baking, and zero stress, you’re in the right place.
Let’s make the dreamiest little treat ever—right in your own kitchen.
⭐ Why You’ll Love These No-Bake Peanut Butter Cups
I could go on about these forever, but here’s the quick breakdown:
- They take less than 15 minutes to assemble
- They use only a handful of ingredients
- They taste better than store-bought
- They freeze beautifully
- They’re great for snacks, late-night cravings, or gifting
- No oven required
- Kids love them, adults love them… everyone wins
And honestly? They’re just fun to make. They feel like a mini craft project you can eat afterward.
Plus, you can customize these in a million ways—dark chocolate, milk chocolate, crunchy peanut butter, almond butter, sprinkle of sea salt… you get the idea.
🍫 Ingredients You’ll Need (Minimal but Mighty)
You don’t need a ton of ingredients, but using good ingredients makes a big difference here. Especially the chocolate.
Here’s what I usually grab:
1. Chocolate
You can use:
- Dark chocolate chips
- Semi-sweet chips
- Milk chocolate chips
I love using Ghirardelli Semi-Sweet Chocolate Chips . They melt smoother and the flavor is spot-on.
2. Peanut Butter
Creamy works best. Crunchy can work, but the texture gets messy.
I typically use Skippy Creamy Peanut Butter—super smooth, not too oily, not too dry.
3. Coconut Oil
This helps the chocolate melt silky-smooth and makes the cups firm up perfectly.
4. Powdered Sugar
This sweetens and thickens the peanut butter center.
5. Vanilla Extract
Optional, but IMO it gives that bakery-level taste.
Bonus Flavor Options
If you’re feeling fancy, grab:
- Sea salt flakes
- Sprinkles
- Crushed pretzels
- Mini chocolate chips
- Chopped nuts
- A drizzle of melted white chocolate
All optional. All delicious.
🔧 Tools That Make This Recipe Even Easier
You don’t need fancy tools, but these make the whole process smoother:
1. Silicone Cupcake Liners
Nonstick, reusable, and the easiest way to pop cups out.
I use the OXO Good Grips Silicone Baking Cups.
2. Microwave-Safe Bowls
For melting chocolate.
3. A Small Cookie Scoop
Keeps the peanut butter portion even.
4. A Rubber Spatula
Because peanut butter sticks to everything.
🍯 Step-by-Step: How to Make No-Bake Chocolate Peanut Butter Cups
Alright, here we go. And yes—this recipe is genuinely foolproof. You could make it half asleep. (I’ve tested this… unintentionally.)
Step 1: Line Your Muffin Tin
Add silicone or paper cupcake liners to the cups of your muffin tray.
You can also make mini versions with a mini muffin tin.
Step 2: Melt the Chocolate
In a microwave-safe bowl, combine:
- 1½ cups chocolate chips
- 1 tbsp coconut oil
Heat in 20–30 second intervals, stirring between each round until smooth.
Too much heat at once burns the chocolate, and honestly, nothing ruins your day faster.
Step 3: Spoon Chocolate Into Liners
Add 1–2 teaspoons of melted chocolate to each liner.
Tilt the cup in your hand to coat the bottom evenly.
Pop the tray in the freezer for 5 minutes while you make the peanut butter filling.
Step 4: Make the Peanut Butter Center
In a bowl, mix:
- ½ cup peanut butter
- 2 tbsp powdered sugar
- ½ tsp vanilla extract (optional)
Stir until smooth, thick, and spreadable.
If your peanut butter is dry, add a little more.
Step 5: Add the Peanut Butter Layer
Scoop a small teaspoon of peanut butter into each cup.
Flatten gently with the back of a spoon.
Don’t spread it to the edges—keep it centered so the chocolate surrounds it.
Step 6: Top With More Chocolate
Cover the peanut butter layer with enough melted chocolate to hide it completely.
Tap the tray gently on your counter to release air bubbles.
Step 7: Freeze to Set
Place the tray in the freezer for 15–20 minutes.
Once firm, you can store them in the fridge or freezer.
Done. You’re a dessert wizard.
🍫 Customization Ideas (Because Why Not?)
If you want to get creative, here are variations I’ve tried and loved:
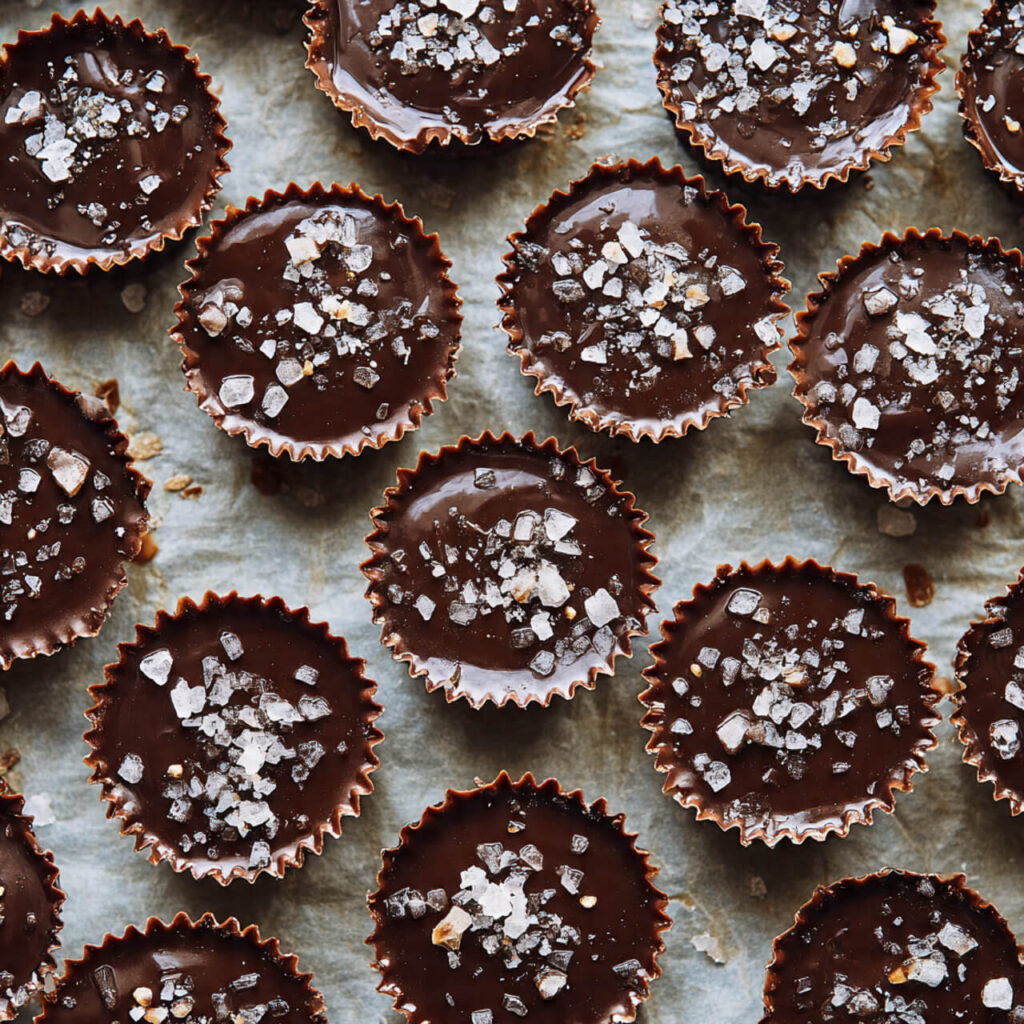
Sea Salt Chocolate Cups
Sprinkle sea salt flakes on top before freezing.
Crunchy Peanut Butter Cups
Use crunchy PB for a texture upgrade.
Chocolate Drizzle Cups
Melt white chocolate and swirl it on top.
Healthier Almond Butter Cups
Replace PB with almond butter and use dark chocolate.
Nut-Free Version
Use sunflower seed butter or cookie butter.
Protein Version
Mix 1 tbsp protein powder into the peanut butter center.
💡 Tips for Perfect No-Bake Chocolate Peanut Butter Cups
These aren’t hard, but these little tricks make them even better:
Use good chocolate.
Cheap chocolate chips melt grainy.
Don’t skip the coconut oil.
It makes the chocolate silky.
Freeze in stages.
This keeps the layers clean and neat.
Store in the fridge for softer cups.
Store in the freezer for firmer, snappier cups.
Serve cold.
Trust me. Cold chocolate peanut butter cups hit different.
Use silicone liners.
They pop out like a dream.
🧊 Storing No-Bake Peanut Butter Cups
Fridge:
Up to 10–12 days in an airtight container.
Freezer:
Up to 2–3 months.
Let them sit at room temp for 5 minutes before eating if frozen solid.
Ingredients
Method
- Line a muffin tin with 12 silicone or paper liners.
- Melt chocolate and coconut oil in the microwave until smooth.
- Spoon 1–2 teaspoons of chocolate into each liner and freeze for 5 minutes.
- Mix peanut butter, powdered sugar, and vanilla in a small bowl.
- Add a teaspoon of peanut butter mixture to each cup.
- Cover with more melted chocolate and tap tray to release bubbles.
- Freeze for 15–20 minutes until set.
Notes
- Use high-quality chocolate for the best flavor.
- Freeze in layers to keep cups neat and clean-looking.
- Store in fridge or freezer depending on desired texture.
- Silicone liners make removal much easier.