
I’ll just say it—cookie dough is better than cookies. Warm cookies are great, sure, but raw cookie dough? That’s the stuff of legends. Growing up, I “helped” my mom bake mostly so I could sneak spoonfuls of dough when she wasn’t looking. Did I get yelled at? Yes. Did I stop? Absolutely not.
Fast forward to adulthood, and I finally figured out how to enjoy that same cookie dough joy without the oven, without raw eggs, and without side-eye from anyone. These no-bake cookie dough bars have become my most-requested dessert. Friends ask for them. Family expects them. I’ve even hidden them from myself (unsuccessfully).
Let me show you exactly how I make them, what I learned the hard way, and why these bars beat almost every other no-bake dessert I’ve tried.
Why No-Bake Cookie Dough Bars Deserve a Spot in Your Life
Ever crave dessert but refuse to turn on the oven? Same. These bars exist for moments like that.
Here’s why I keep coming back to them:
- No baking. Zero. Nada.
- Safe-to-eat cookie dough (no eggs, heat-treated flour)
- Ridiculously rich and satisfying
- Perfect for parties, potlucks, or random Tuesday nights
IMO, they hit that sweet spot between nostalgic and indulgent. Plus, they slice clean, store well, and travel like champs.
What Makes These Bars Better Than Most Recipes Online
I tested a lot of versions before landing on this one. Some tasted gritty. Some felt greasy. Others leaned way too sweet.
Here’s what I fixed:
- Creamy texture without being oily
- Balanced sweetness (not tooth-aching)
- Firm enough to slice, soft enough to melt
- Chocolate layer that actually sticks
Ever wondered why some cookie dough bars fall apart? They mess up the fat-to-sugar ratio. We won’t do that here.
The Ingredients (Nothing Fancy, All Purpose)
For the Cookie Dough Base
- Unsalted butter (softened, not melted)
- Brown sugar (for that classic dough flavor)
- Granulated sugar (just enough)
- Vanilla extract
- Heat-treated all-purpose flour
- Sweetened condensed milk
- Mini chocolate chips
- Salt (don’t skip this)
For the Chocolate Topping
- Semi-sweet chocolate chips
- A little butter or coconut oil
That’s it. No cream cheese, no dates, no mystery ingredients pretending to be healthy :/
The One Step You Should Never Skip: Heat-Treating Flour
FYI, raw flour isn’t safe. It’s boring advice, but it matters.
I heat-treat flour one of two ways:
Microwave Method (Fastest):
- Microwave flour in 30-second intervals
- Stir between each round
- Stop once it hits 165°F
Oven Method:
- Spread flour on a baking sheet
- Bake at 350°F for 5–7 minutes
- Cool completely
I usually use the microwave because I’m impatient. No shame.
Step-by-Step: How I Make No-Bake Cookie Dough Bars
Step 1: Cream Butter and Sugars
I beat softened butter with brown and white sugar until fluffy. This step sets the texture. I use a hand mixer, but a sturdy spoon works if you want an arm workout.
A solid mixer helps here. I’ve used the KitchenAid 5-Speed Hand Mixer for years, and it’s never failed me:
👉https://amzn.to/4qAJ5Ue
Step 2: Add Vanilla and Salt
Vanilla brings warmth. Salt keeps things from tasting flat. Balance matters.
Step 3: Mix in Heat-Treated Flour
Add flour slowly. I mix until it looks crumbly, then…
Step 4: Pour in Sweetened Condensed Milk
This is the magic. The dough comes together smooth, rich, and spoon-lickable. Try not to eat it all right here. Or do. I won’t judge.
Step 5: Fold in Chocolate Chips
Mini chips work best. They distribute evenly and don’t overpower each bite.
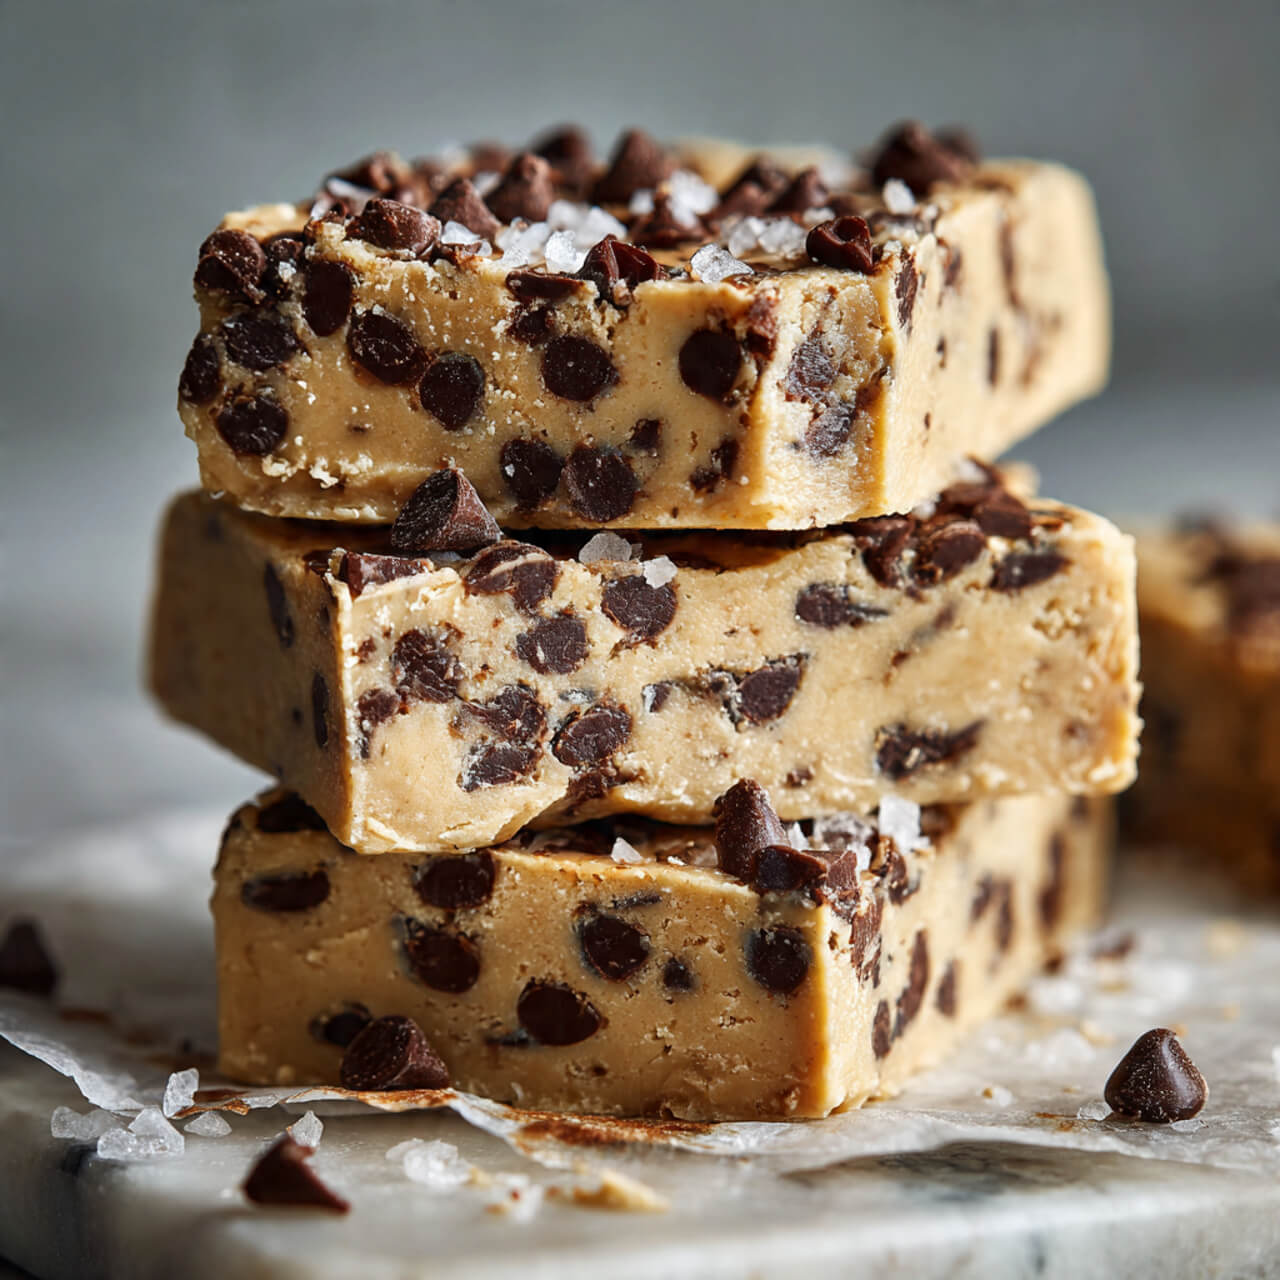
Step 6: Press Into Pan
Line an 8×8 pan with parchment paper. Press the dough firmly into an even layer. Use the bottom of a measuring cup if needed.
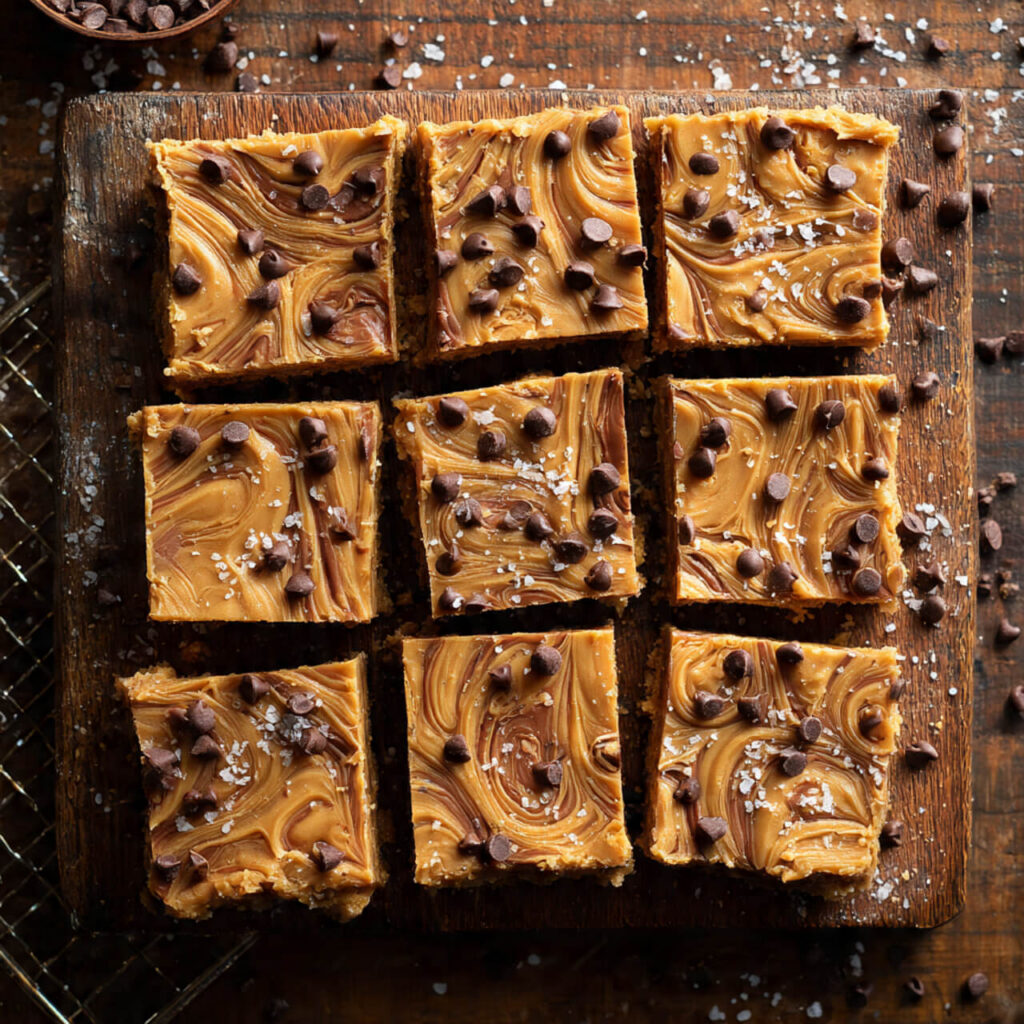
Step 7: Add the Chocolate Layer
Melt chocolate chips with butter until smooth. Pour and spread evenly over the dough.
Step 8: Chill
Refrigerate for at least 2 hours. Longer is better. This part tests patience every time.
How to Slice Them Clean (Without Losing Your Mind)
Hot tip:
- Chill thoroughly
- Use a sharp knife
- Wipe blade between cuts
If you rush this step, the chocolate cracks. Ask me how I know 🙃
Tips & Tricks That Actually Matter
Use Brown Sugar, Not All White
Brown sugar gives depth and that real cookie dough vibe.
Mini Chocolate Chips > Regular
Better texture. Better distribution. End of story.
Don’t Overdo the Chocolate Top
Too thick and it overpowers the dough. Aim for balance.
Want Extra Texture?
Add:
- Crushed pretzels
- Toffee bits
- Mini M&Ms
Storage & Make-Ahead Advice
These bars store beautifully.
- Fridge: Up to 7 days
- Freezer: Up to 2 months (slice first!)
I wrap individual bars and freeze them. Late-night dessert emergencies happen, okay?
Why These Bars Always Win at Parties
I’ve brought these to:
- BBQs
- Baby showers
- Office potlucks
- Game nights
The tray always comes back empty. People ask for the recipe every time. There’s something about cookie dough that makes adults act like kids again. Ever notice that?
Ingredients
Method
- Beat butter and sugars until light and fluffy.
- Add vanilla and salt; mix well.
- Gradually mix in heat-treated flour.
- Pour in condensed milk and mix until smooth.
- Fold in chocolate chips.
- Press dough into parchment-lined pan.
- Melt chocolate with butter; spread over dough.
- Chill for 2 hours before slicing.
Notes
- Always heat-treat flour before using
- Use mini chocolate chips for best texture
- Chill fully before cutting
- Store chilled for clean slices