
If you’ve ever craved s’mores at home but didn’t feel like starting a campfire, grabbing skewers, chasing mosquitoes, and smelling like smoke for the next three days, then friend… welcome. Pull up a chair. Because No-Bake S’mores Bars saved my sanity during one brutally hot summer when even turning on my stove felt dramatic.
I made these bars “just to experiment,” and honestly, I didn’t expect much. Then the first batch disappeared in what felt like 0.2 seconds. My family inhaled them, my neighbor “just stopped by” twice, and I may or may not have eaten the corner pieces right out of the pan with zero shame. 🙂
Ever since that day, I’ve become low-key obsessed with perfecting this recipe. I read through pretty much all of the top No-Bake S’mores Bar posts on Google and Pinterest—you know, the ones with 800-step photos and the same exact tips copy-pasted from each other—and I realized something: most of them overcomplicate a snack that SHOULD be simple, fun, and outrageously delicious.
So today, I’m sharing my foolproof, totally stress-free version that hits all the right notes:
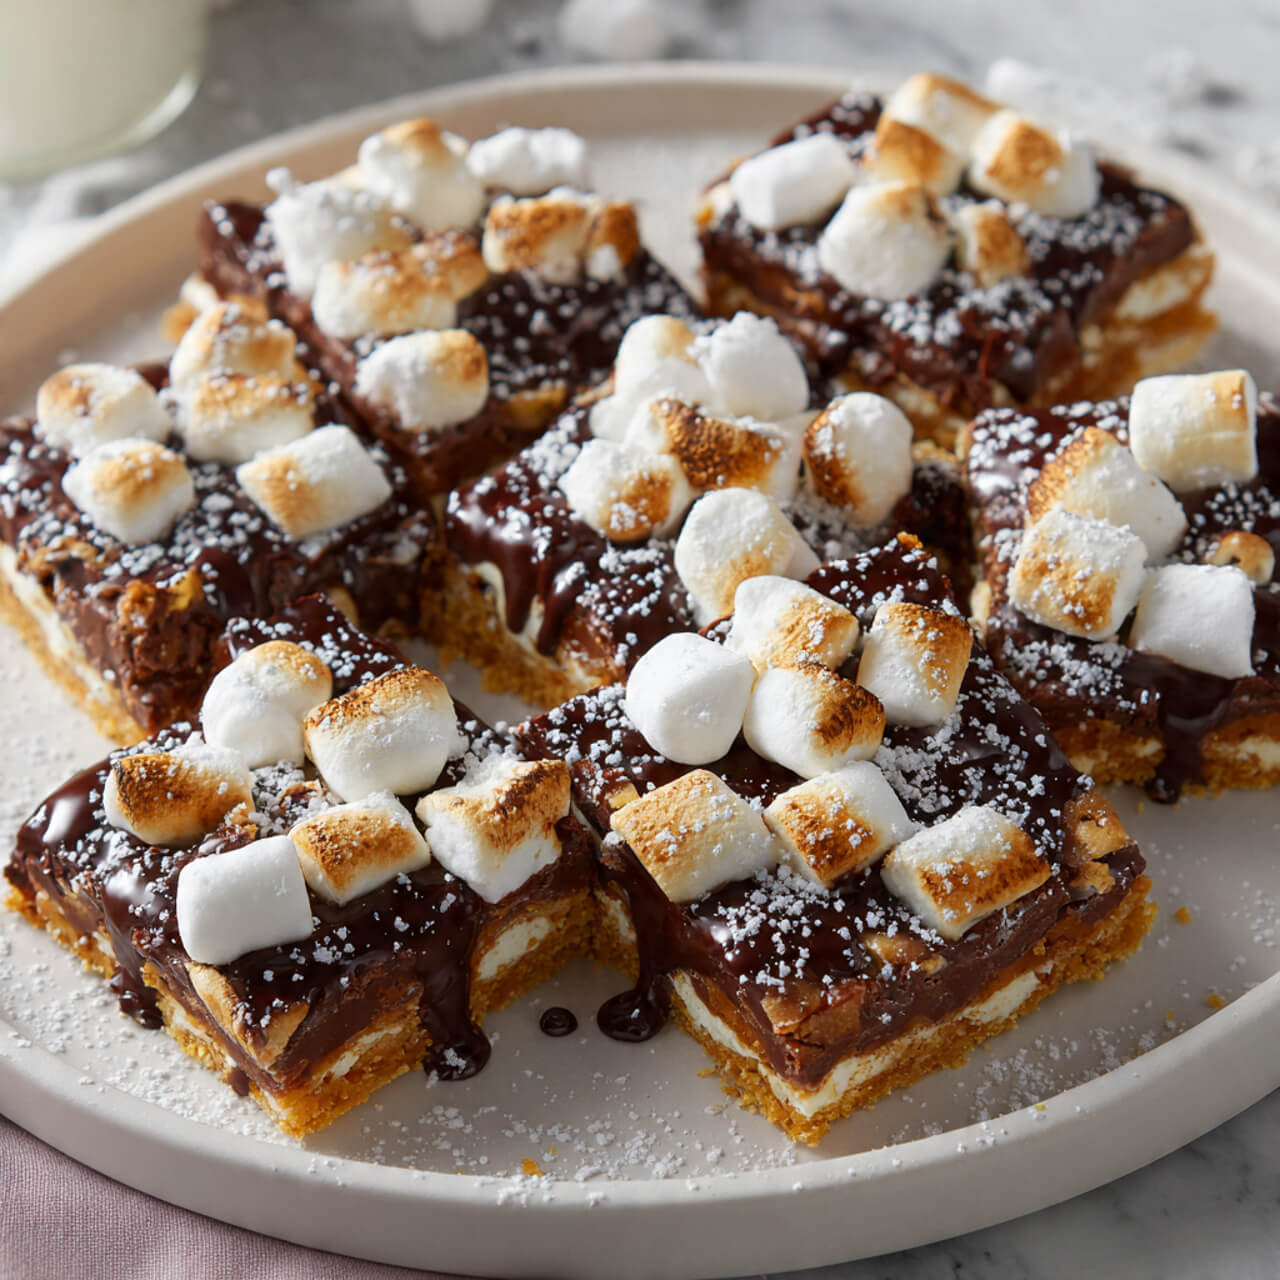
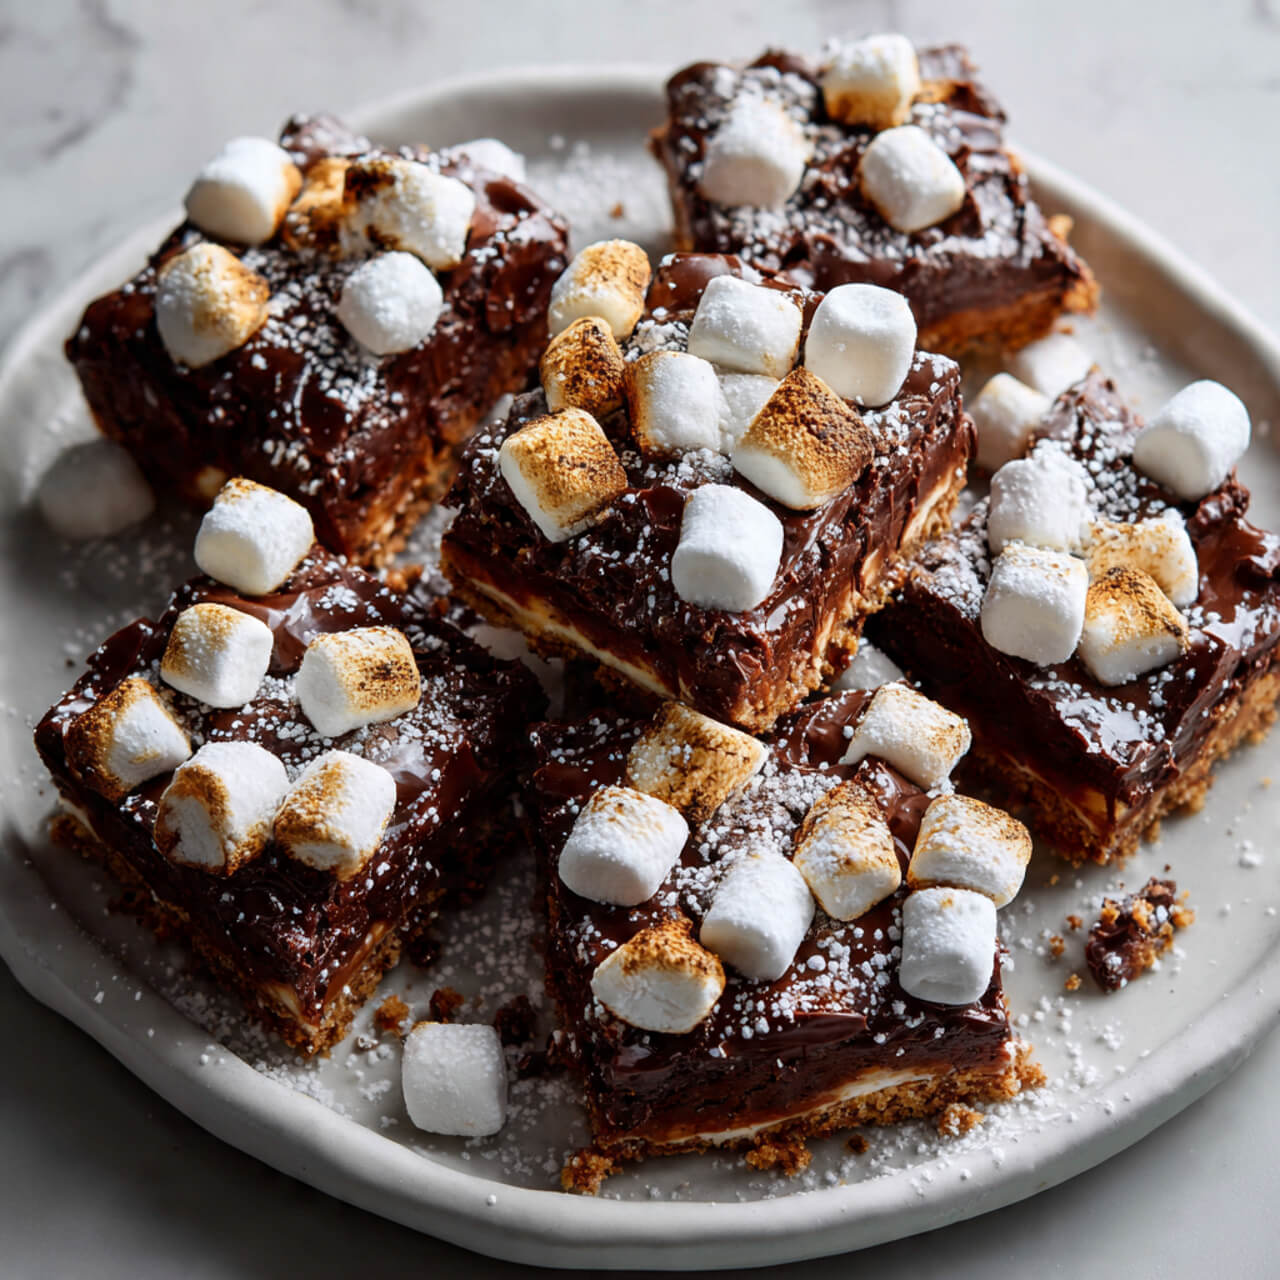
- Buttery graham cracker crunch
- Thick layers of melty chocolate
- Soft, pillowy marshmallow goodness
- No baking, no scorching, no burnt marshmallow smell stuck in your hair
And yep, these bars taste exactly like classic campfire s’mores—without any of the chaos.
Let’s get into it.
Why No-Bake S’mores Bars Deserve a Permanent Spot in Your Dessert Rotation
I’ll just say it: these bars are dangerous. They look innocent, but once you cut them into squares, they vanish. And if you’ve ever tried to roast marshmallows over a gas burner (don’t lie, we’ve all done it), then you already know why no-bake is the way to go.
My Top Reasons They’re Foolproof
- You mix. You layer. You chill. Done.
- Kids adore them, adults pretend not to, and dogs beg for crumbs (but sorry pups… chocolate).
- You can make them ahead of time for parties, BBQs, road trips, or random Wednesday cravings.
- The recipe doesn’t require a stove or oven, which makes these lifesavers in summer.
- No burning marshmallows on accident… unless you’re into that kind of chaos.
Ever wondered why they taste so ridiculously good despite being so simple? Honestly, IMO it’s the texture combination—the crunch + melt + chew situation hits the brain’s “treat me like royalty” button. FYI, that’s the scientific term. 😉

The Ingredients That Actually Matter (More Than People Think)
Most top-ranking recipes keep repeating the same ingredients but never explain WHY certain brands or choices matter. So here’s where my mildly obsessive testing comes in handy.
1. Graham Crackers
Use plain honey graham crackers, not cinnamon. Cinnamon ones can overpower the chocolate.
I’ve found that Honey Maid Original gives the most consistent flavor and texture. If your grocery store grahams crumble weirdly or taste stale, you can order the reliable ones here:
Honey Maid Graham Crackers
2. Chocolate Chips
Use good-quality chocolate chips. Cheap ones melt grainy and re-harden chalky. (Yes, chocolate can get chalky, and no, it’s not cute.)
My favorite: Ghirardelli Semi-Sweet Chocolate Chips
3. Marshmallows
Mini marshmallows melt evenly and distribute better. Jumbo ones leave weird pockets.
Jet-Puffed minis always behave the best for me.
4. Butter
Use real butter, not margarine. The flavor matters here.
5. Optional Upgrade Ingredients (but amazing)
- Marshmallow crème for extra gooiness
- Flaky sea salt on top (trust me)
- Peanut butter mixed into the chocolate layer (yes—it slaps)
How to Make My Foolproof No-Bake S’mores Bars
Let’s walk through it the way I explain it to my cousin who once asked if marshmallows “expire.” (They do, but not fast enough to save you.)
Step 1: Prep Your Pan
Line an 8×8 or 9×9 pan with parchment paper.
You want clean edges and easy lifting.
Step 2: Make the Graham Cracker Base
Crush graham crackers until fine, pour into a bowl, and mix with melted butter.
This forms the crunchy base that actually stays together—unlike some recipes that turn into a crumbly disaster.
Step 3: Melt the Chocolate + Marshmallows
You mix chocolate chips and mini marshmallows together over low heat (or microwave in intervals).
This gives that perfect gooey-meets-fudgy layer you expect from a s’more without the aggressive flame involvement.
Step 4: Layer Everything
- Press graham cracker mixture into the bottom
- Spread melty chocolate-marshmallow overtop
- Add more mini marshmallows on top
Step 5: Chill
Refrigerate the bars for at least 1 hour.
And the best part? You get to forget about them and “accidentally” snag a corner piece later. Just saying.
Tips & Tricks I Learned From Testing (and From the Top 10 Blog Posts Online)
After obsessively reading top-ranked No-Bake S’mores Bar recipes (yes, I take my dessert research way too seriously), I realized a lot of the “advice” online feels… copy-pasted and not actually tested.
So these tips come from real mistakes I’ve made and real wins I’ve had—not just SEO requirements.
1. Don’t Pulverize the Graham Crackers
Leave some tiny chunks in there. It makes the base crunchier.
2. Use Parchment Paper, Not Foil
Foil sticks no matter how much you butter it. Parchment saves your sanity.
3. Don’t Overheat the Chocolate
If chocolate scorches, it tastes burnt. Heat slowly. Chill faster.
4. Add Marshmallow Crème for Luxe Texture
Just a dollop makes the bars feel bakery-level gooey.
5. Sprinkle a Little Sea Salt
This balances the sweetness like magic.
6. Freeze for 10 Minutes Before Cutting
This gives cleaner edges and less marshmallow mess.
7. Use a Silicone Spatula
This sounds random but helps the chocolate spread smoothly.
(My fave: DI ORO Silicone Spatula Set
Delicious Variations You’ll Want to Try
Because once you make one batch, you’ll want to experiment.
1. Peanut Butter S’mores Bars
Mix peanut butter into the melted chocolate.
It tastes like a Reese’s cup met a campfire and had a beautiful baby.
2. Oreo S’mores Bars
Replace some graham crackers with crushed Oreos.
Pure chaos. But in a good way.
3. Dark Chocolate Espresso S’mores Bars
Add a pinch of espresso powder to the chocolate layer.
Adults love this version.
4. Salted Caramel S’mores Bars
Drizzle caramel over the top before chilling.
No explanation needed.
Why These S’mores Bars Will Always Beat Store-Bought Desserts
Look, I’ve wasted money on store-bought s’mores snacks before (FYI: I regret all of them). They never taste like real s’mores—they taste like sugar air wrapped in plastic.
These bars, on the other hand:
- Use real chocolate
- Keep the marshmallow fluffy
- Have a sturdy, buttery graham base
- Don’t rely on preservatives or weird textures
- Actually taste like the campfire classic
Plus, they make you look like the kind of person who “bakes all the time,” even though you didn’t technically bake anything.
I call that a win.
How to Store No-Bake S’mores Bars Without Losing Texture
If you make them ahead of time (which is smart), store them properly:
- In the fridge: up to 5 days
- In the freezer: up to 3 months
- At room temp: 24–48 hours max
They soften fast on hot days, so keep that in mind if you’re serving them outside.
Quick FAQ Because People Always Ask
“Do these taste exactly like regular s’mores?”
Yes. No fire needed. No burnt fingers. No sticky marshmallow hair.
“Can I use chocolate bars instead of chips?”
Absolutely. Hershey’s bars melt faster and taste nostalgic.
“Can I double the recipe?”
Yep—use a 9×13 pan.
“Can I make them gluten-free?”
Use gluten-free graham crackers. Everything else is naturally gluten-free.
Ingredients
Method
- Line an 8×8 or 9×9 pan with parchment paper.
- Mix graham cracker crumbs with melted butter until combined.
- Press the mixture firmly into the bottom of the pan.
- Melt chocolate chips + 1 cup mini marshmallows together until smooth.
- Spread chocolate mixture over the graham crust.
- Sprinkle remaining mini marshmallows on top.
- Chill at least 1 hour before cutting.
Notes
- Don’t scorch the chocolate—heat it low and slow.
- Use mini marshmallows for best texture.
- Add marshmallow crème for extra gooey layers.
- Freeze for 10 minutes before slicing for clean cuts.
Final Thoughts
If you’re craving an easy dessert that takes 10 minutes of “effort” and delivers full summer-camp nostalgia without smoke inhalation, these No-Bake S’mores Bars are honestly unbeatable.
They’re kid-friendly, party-friendly, and fridge-friendly. And if you eat three squares at once (IMO: totally valid), no judgment from me.
Go grab your graham crackers, melt that chocolate, and make a batch tonight. Your future self will high-five you for it. 🙂