
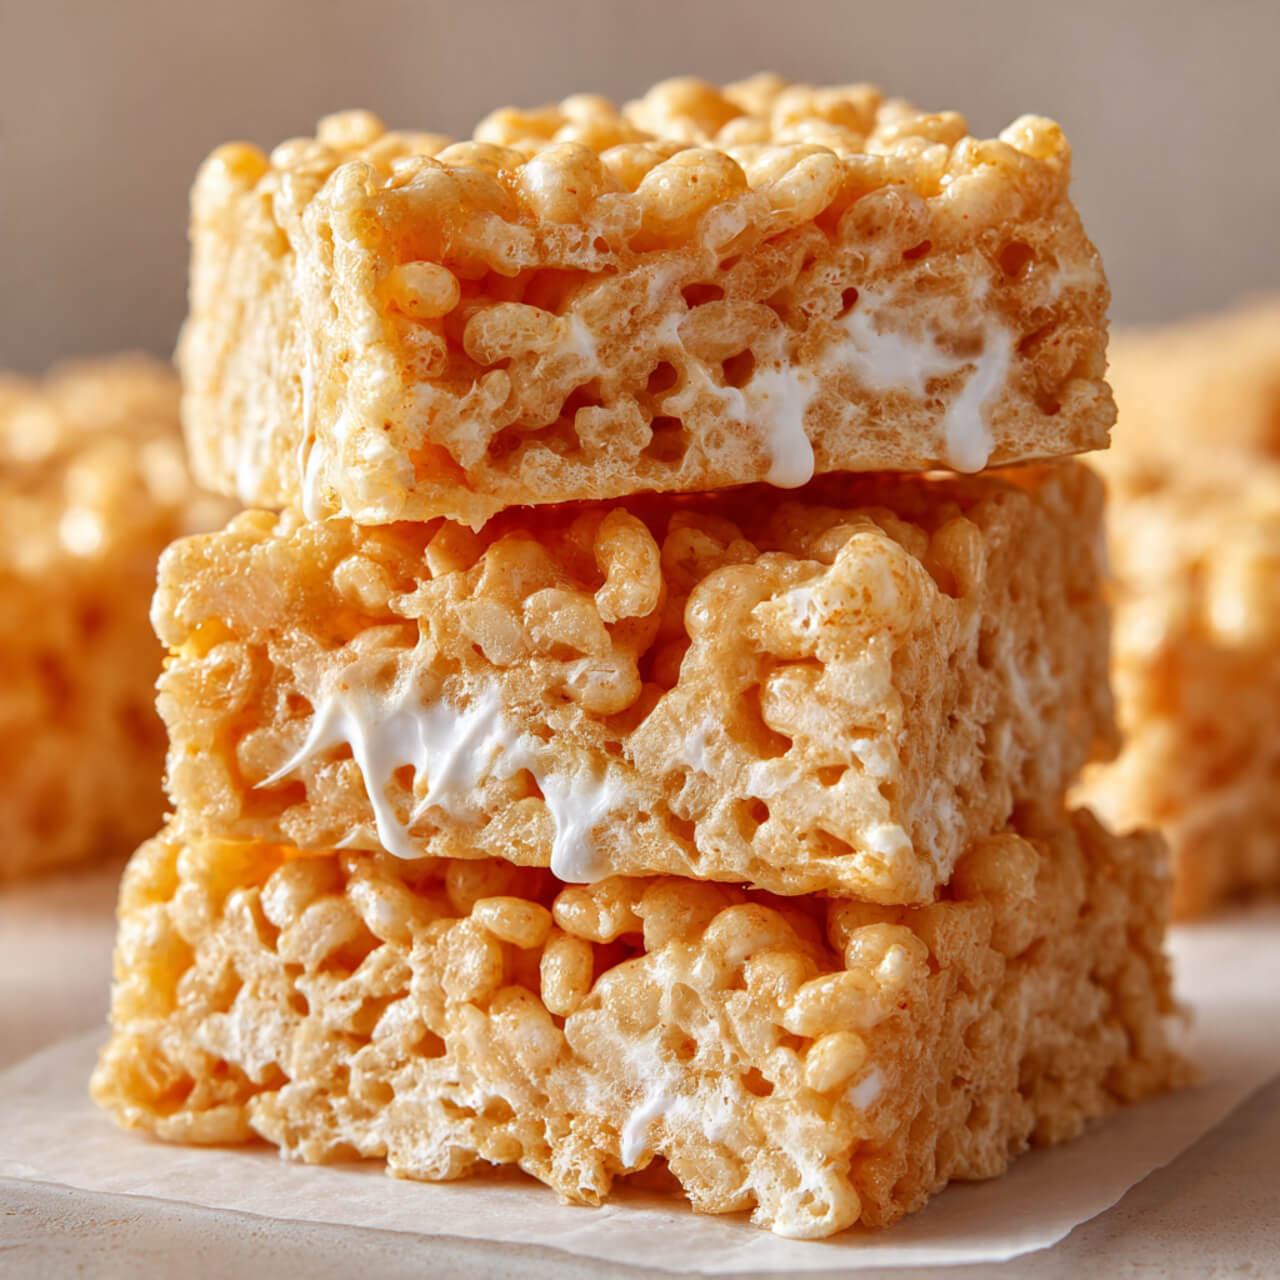
You know that moment when you bite into a Rice Krispie Treat and it’s so soft and gooey that you kinda pause and think, “Wait… why don’t I make these more often?”
Yeah, that’s exactly what I want for you—because life’s too short to eat sad, dry, crumbly Rice Krispie bricks that were clearly made by someone who hates joy.
I grew up making these with my grandma, who always said something like, “Marshmallows wait for no one, so move fast.” I never understood what she meant until I got older and realized that making perfect Rice Krispie Treats isn’t just about ingredients—it’s about timing, temperature, and not wandering away from the stove like I definitely used to do.
Over the years (and after way too many failed batches), I figured out the little tricks that separate “meh” from “OMG why is this so good?” So if you love soft, buttery, stretchy Rice Krispie Treats—the kind that make that marshmallow-pull moment worthy of a slow-motion TikTok—you’re in the right place.
Let’s get right into it, because honestly, the quicker you make these, the quicker you get to eat them. 🙂
⭐ Why These Rice Krispie Treats Taste Better Than Anything You’ve Tried
I’ve tried every variation online—brown butter, extra marshmallows, salted versions, cereal swaps, you name it. Some were good, some were… let’s just say “character building.”
Here’s why this recipe actually works:
- More marshmallows. Like, way more. Most top-ranking recipes use around 10 oz. I use 16 oz because I have taste buds.
- Low heat only. Melted marshmallows burn fast. Burnt marshmallow = sadness.
- Butter proportions that make sense. Too much butter gives greasy bars. Too little gives dry bars. This recipe hits that balance.
- Fresh cereal. I don’t care how organized your pantry looks—stale cereal will betray you.
- A handful of mini marshmallows added at the end for extra gooey pockets (the trick nobody talks about but we all deserve in our lives).
Also, tools actually matter here. I always use my OXO Good Grips Nonstick Pot. It heats evenly and makes cleanup a dream.
🌟 The Four Keys to Soft, Gooey Rice Krispie Treats
Let me break down the part nobody explains clearly.
1. Use Fresh Marshmallows
Not the dusty bag sitting at the back of your pantry since last Labor Day.
I always buy Jet-Puffed Marshmallows because they melt smoother than the generic ones.
2. Melt Low and Slow
High heat makes marshmallows turn into weird, chewy science experiments.
Low heat keeps them silky and stretchy.
Ever tried rushing it? Yeah… don’t. I once tried to multitask and ended up with a pot of sadness that could’ve chipped a tooth.
3. Don’t Over-Stir
You only want to fold the cereal gently.
Aggressive stirring turns the cereal into powdery mush.
4. Press—Don’t Smash
Light pressure = soft squares.
Heavy pressure = compacted, dry, slightly tragic squares.
I use a silicone spatula or the back of a greased measuring cup. Works like a charm.
🍯 Ingredients You’ll Need
This is the classic version, but I add a couple of little upgrades I’ll explain below.
Main Ingredients
- 6 tablespoons unsalted butter (Kerrygold tastes amazing here)
- 1 teaspoon vanilla extract
- 1/4 teaspoon salt
- 16 oz mini marshmallows, plus a hefty handful for stirring in later
- 6 cups Rice Krispies cereal (or any crisped rice brand)
Optional Mix-Ins (Highly Recommended)
- M&M’s
- Mini chocolate chips
- Confetti sprinkles
- Crushed Oreos
- Peanut butter (melt into the marshmallows for PB version)
🥄 How to Make the Best Rice Krispie Treats Ever (Step-by-Step)
Follow this exactly and you’ll get perfect bars every time. Pinky promise.
Step 1: Prep Your Tools
Butter a 9×13 baking pan or spray it with nonstick spray.
If you own the USA Pan 9×13 Rectangle Baking Pan, you’ll thank yourself—it’s sturdy, never warps, and releases like magic.
You’ll also want:
- A silicone spatula
- A large nonstick pot
- A big mixing bowl (optional if your pot is big enough)
Step 2: Melt the Butter Slowly
Add the butter to your pot and melt it over low heat—not medium, not “I’m impatient” heat.
Want to make these taste extra fancy?
Let the butter brown slightly until golden and nutty. (Just don’t let it burn. Burnt butter smells like regret.)
Step 3: Add the Marshmallows
Pour in 16 oz of mini marshmallows and stir slowly until they melt.
This is the moment where everything smells like heaven.
Don’t crank the heat. Ever.
High heat ruins the texture and makes them hard.
Step 4: Add Vanilla and Salt
Stir in your vanilla and salt.
This tiny step punches up the flavor more than you’d think.
Ever wondered why store-bought bars taste bland? They skip this.
Step 5: Add the Cereal
Turn off the heat completely.
Dump in 6 cups of Rice Krispies and fold gently.
Add more cereal only if needed.
IMO, the worst thing you can do is cram in too much cereal—it makes them dry.
Step 6: Stir in Extra Mini Marshmallows
This is the magic step.
Throw in a handful of minis and fold gently.
They’ll create melty pockets inside the treats. I still get excited when I bite into them.
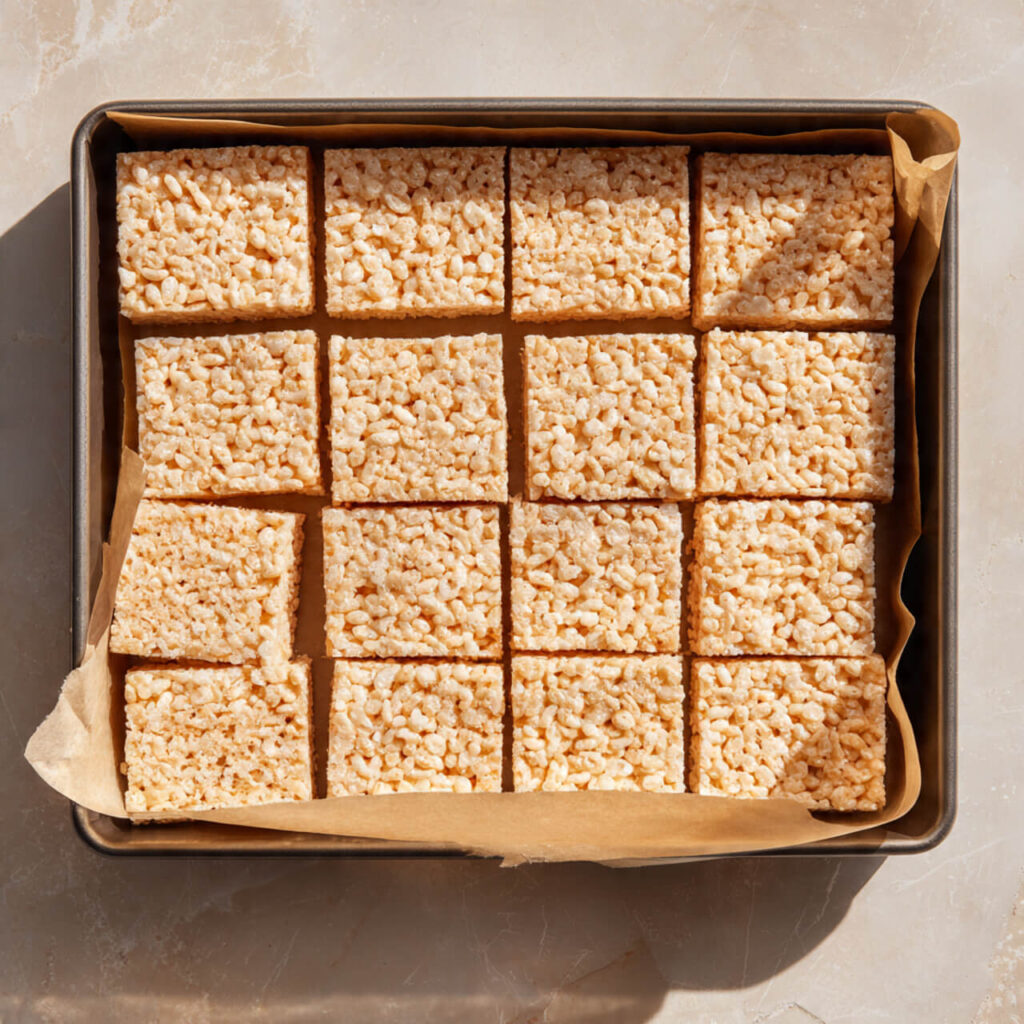
Step 7: Press Into the Pan (Gently!)
Transfer everything to your greased baking pan.
Then:
- Use a greased spatula
- OR a buttered piece of parchment
- OR the back of a greased measuring cup
Press lightly.
You’re shaping, not compressing.
Step 8: Let Them Set
Let them sit at room temp for 30–40 minutes.
Yes, I know it’s torture.
But cutting them too early turns them into goo piles. Ask me how I know.
🎉 Variations You Have to Try
I love classic treats, but sometimes you want to have a little fun.
Chocolate Chip
Add 1 cup of mini chocolate chips after the cereal.
Birthday Cake
Add 1 teaspoon almond extract + sprinkles.
S’mores
Stir in crushed graham crackers + chocolate chunks.
Salted Caramel
Drizzle caramel over the top and sprinkle flaky salt.
Peanut Butter Lover
Add 1/2 cup peanut butter to the melting marshmallows.
🔧 What Tools Make This Easier?
You don’t need fancy equipment, but some do make a difference.
Here are the things I use (all easily found on Amazon):
- OXO Good Grips Nonstick Pot – heats evenly, marshmallows never burn.
- USA Pan 9×13 Baking Pan – durable, nonstick without coatings that peel.
- OXO Silicone Spatula – doesn’t stick to melted marshmallows.
- Reynolds Kitchens Parchment Paper – for lining the pan and less cleanup.
IMO, good tools don’t make you a better cook… they just prevent kitchen rage. 🙂
💡 Expert Tips and Tricks
These are the things I wish someone told me when I started making these:
Use mini marshmallows—not big ones.
They melt smoother and faster.
Never heat on medium or high.
Heat ruins gooey texture.
Don’t over-press.
This is the #1 mistake people make.
Add more marshmallows, not more cereal.
Always choose goo over crunch.
Use fresh cereal.
Stale cereal makes cardboard treats.
📦 Storage Tips
Room Temp:
Store in an airtight container for up to 3 days.
Freeze:
Yep—Rice Krispie Treats freeze shockingly well.
Wrap individually and freeze for up to 6 weeks.
Thaw at room temp for 15 minutes.
Ingredients
Method
- Grease a 9×13 pan and set aside.
- Melt butter over low heat.
- Add marshmallows and melt slowly, stirring occasionally.
- Stir in vanilla and salt.
- Turn off heat and fold in Rice Krispies gently.
- Add a handful of extra mini marshmallows and fold again.
- Press lightly into the pan using a greased spatula.
- Cool for 30–40 minutes, cut, and enjoy.
Notes
- Use low heat only for soft, gooey bars.
- Don’t pack the mixture tightly or treats will be dry.
- Fresh marshmallows melt better than older ones.
- Add a handful of extra minis for goo pockets.